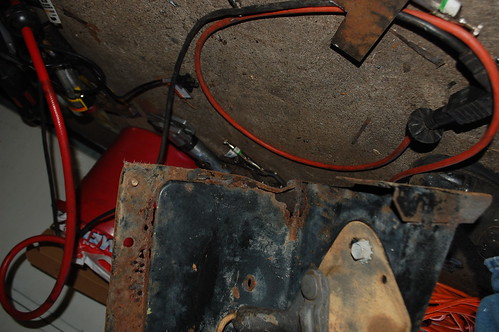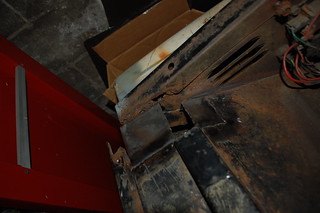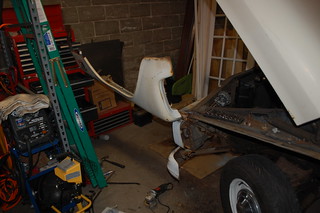
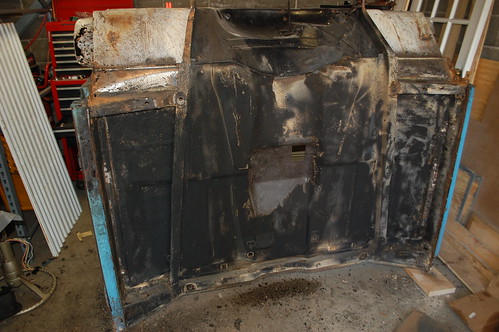
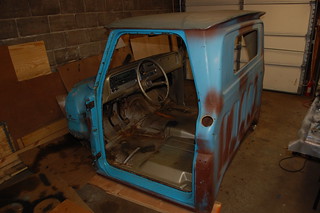
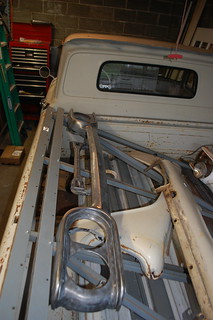
 Got the new cab tilted on it’s back, and started digging into the underside.
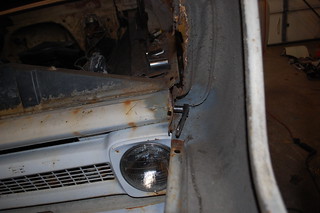
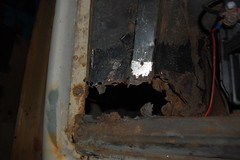
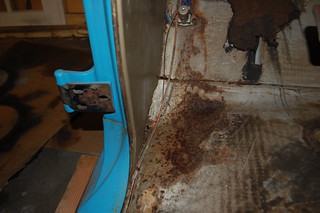
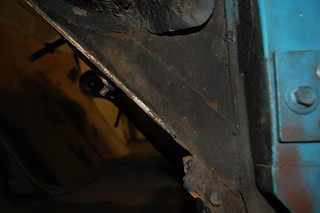
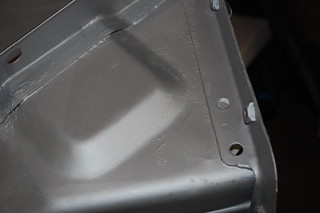
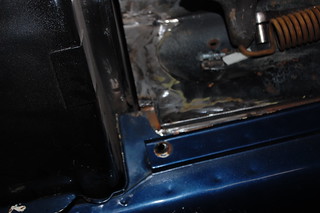
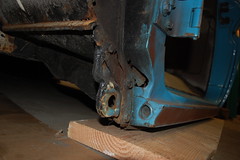 The outer rockers have been replaced already, but whoever did it didn’t actually fix the rust under them, just covered it with new rockers. I knew about this, so I’ll have to cut the new outer rockers off to properly fix the stuff behind them(inner rockers and lower front pillars).
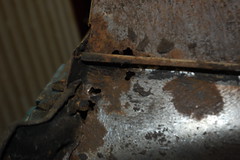
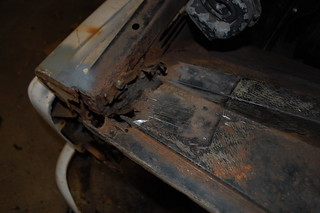
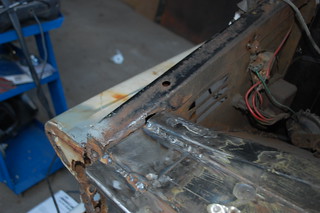
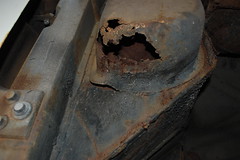
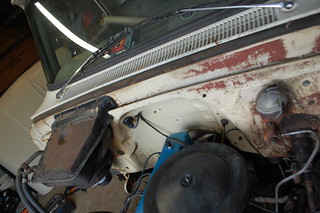
Also found rust in all four cab braces, floors in front outer corners, cowl vents, & cowl panels below vents.
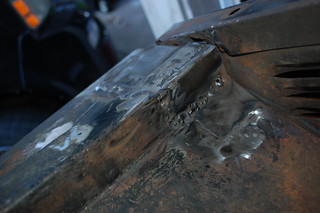
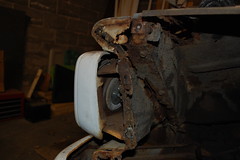
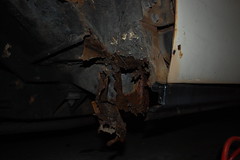
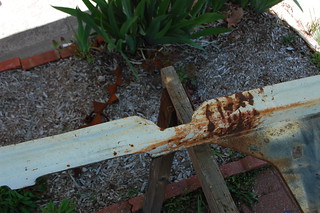
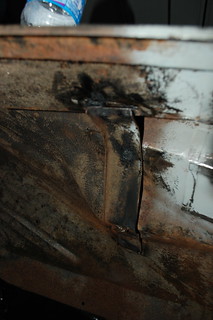
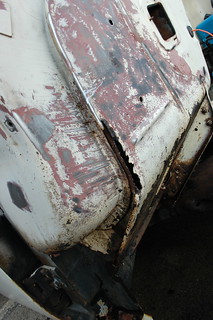
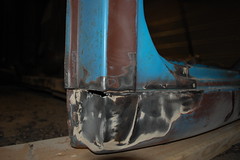 Annoyingly, I found out the cab corners *were* replaced, but done very badly and covered with bondo. Those are coming out too, to be done right
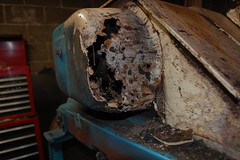 As bad as this all looks, It is still better than my other cab. I have everything to fix it except 1 cab brace & the lower front pillars. I’m going to form the patches for the cowl vents as those are invisible under the fenders.
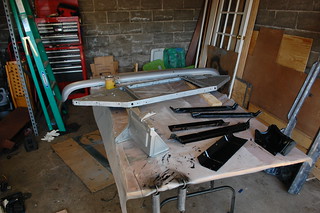
I’ve decided that the cab is a low priority, I’m going to get all the rust *on* the truck delt with, then swap the cab over. However I wanted to mess with the cab a bit, so I decided to knock something easy out first.
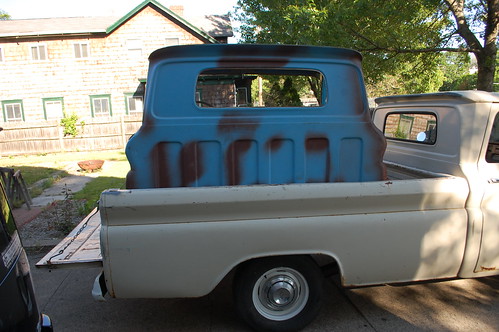
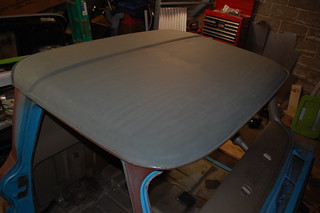
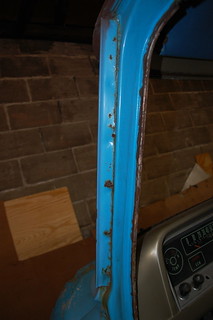
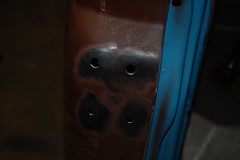 This cab was from a deluxe trim truck (like the other ’64 I had), so I need to weld up the 4 sail panel screw holes, and the 4 larger side trim holes. I may put the side trim on this truck later, but if I do I’m going to used double sided trim tape.
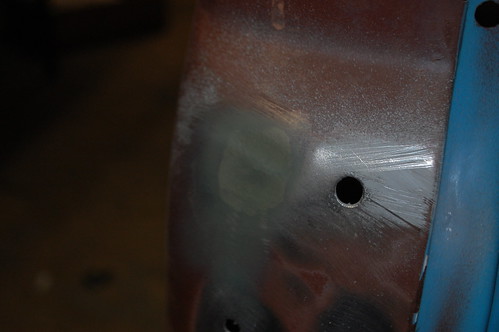
For the small sail trim holes I just removed the paint and filled the holes with the welder & ground them smooth.
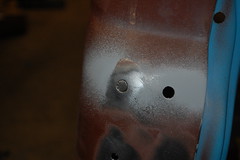
For the bigger trim holes I’m making small circular filler pieces and welding those in. A skim coat of filler and these should be perfect.
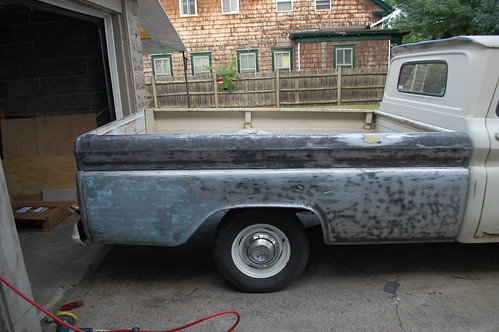
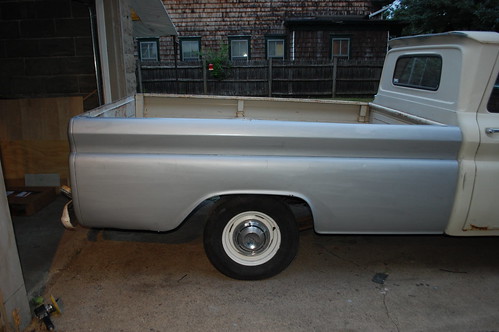
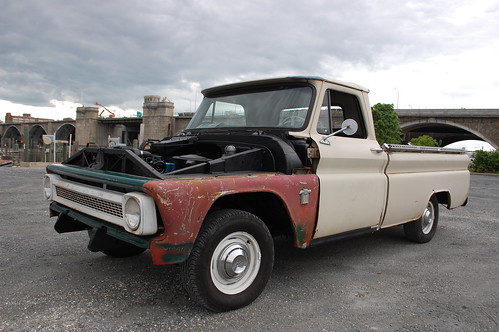
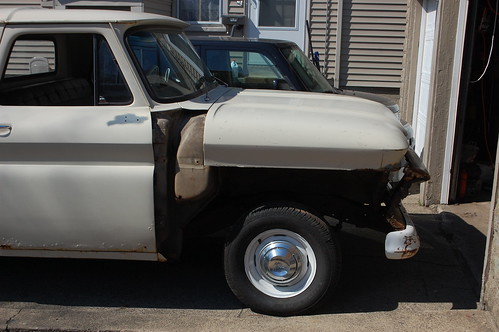
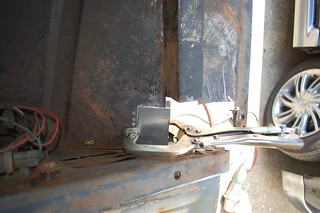
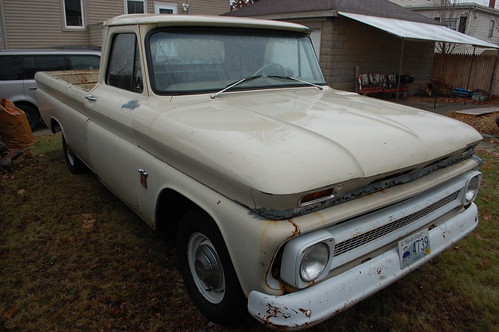
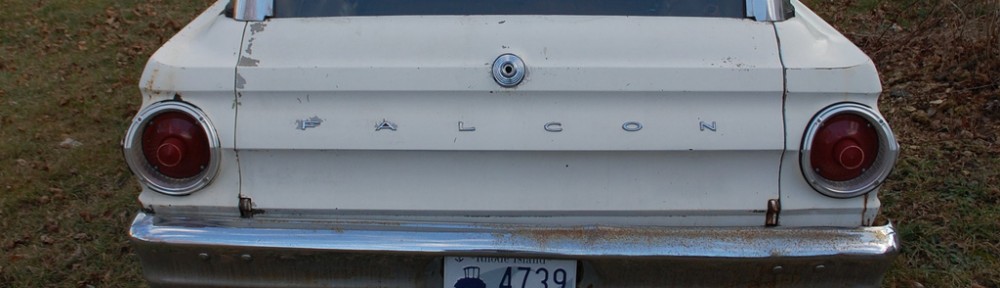
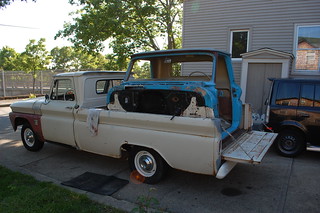
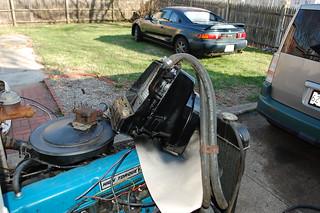
 I put some of my junk parts on the truck so I could use it. I have to admit it looks pretty cool like this. I drove it up the Boston to drop of some shelving that has been sitting in the truck since the fall, and I got more thumbs up and compliments with the truck like this than in any other trip.
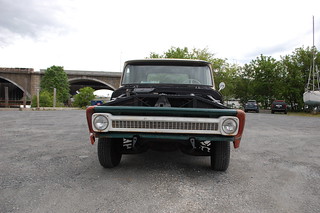


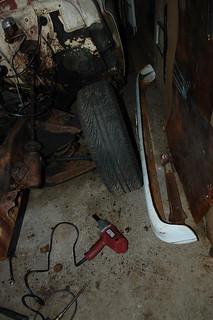
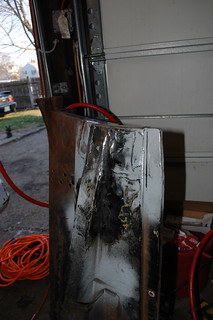
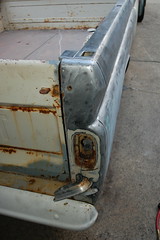
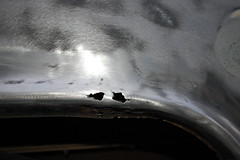
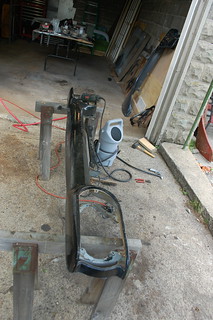
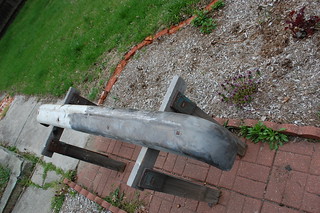 So once the bumper was off, I stripped it of several layers of white paint, and ground down all the surface rust. I was pleasantly surprised to discover it doesn’t appear to be bent, and doesn’t have an dents in it.
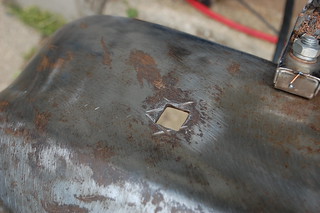 Before I could start the repainting, I had to address the gouge I’d made with the cutting wheel when I cut the various bolts off.
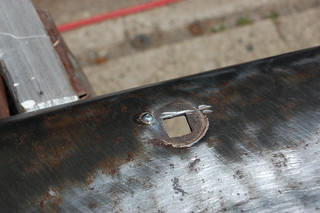
 Once that was done the bumper was coated in MasterSeries & primer like all the other parts.
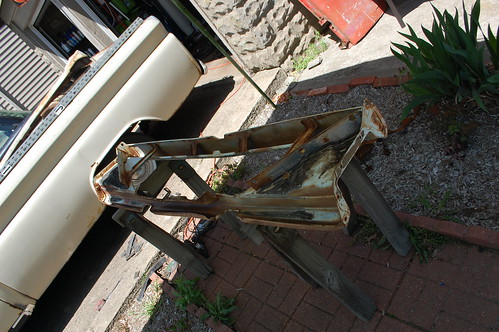
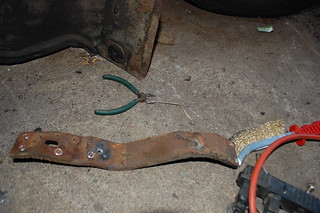
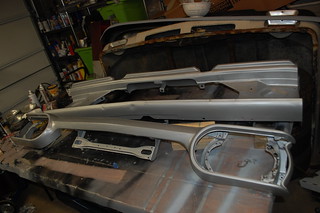
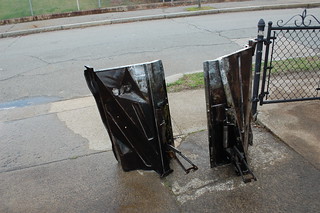
 The first order of business was to unbolt everything from them and get to work grinding all the paint off. The grille panel has this odd spot of rust. Which, given its location, was probably the result of battery acid from a battery leaking or exploding, fortunately it was only surface deep and came right off.
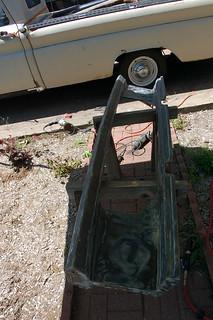
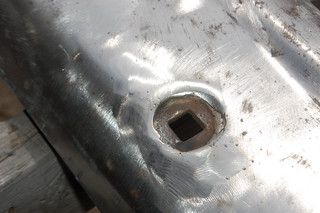
 Fortunately this turned out to be an easy fix, the brace on the back had a cutout where the GMC grille hole was supposed to be, so I just had to drill them out and I had the
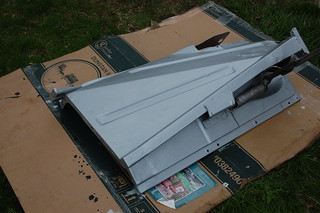
 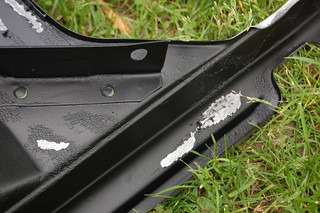 I painted the backs of both with Rustoleum, then sprayed the back of the grille panel with truck bed liner. I think it was because I didn’t dust the parts with primer when the MasterSeries was still wet, but when the bedliner went on it crinkled and lifted most of the Rustoleum off the back of the grille panel.
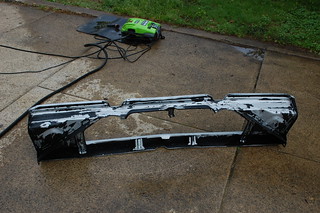
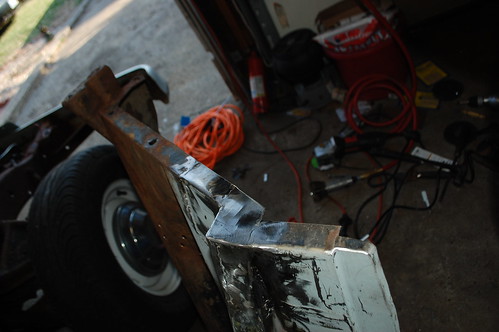
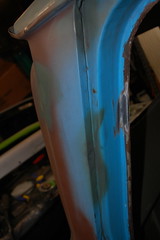
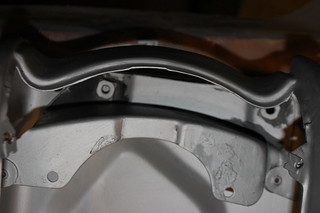
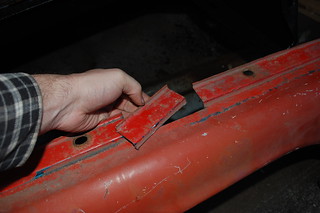 But first I needed to patch the other section that you can see cut out above. There is 3 bends here that needs to be carefully made so everything lines up. I got a brain wave and measured the lip at the top of a junk fender I had. Everything appeared to match so I cut out a section.
 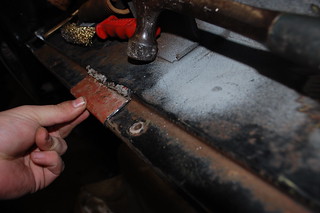 I flipped the piece over and tested it, the bends are an exact match. I carefully trimmed it and the fender edge to fit and tacked it into place.
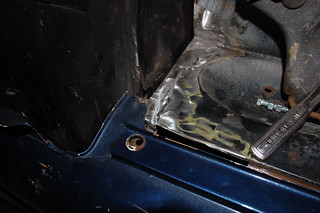
  Here it is tacked in place, please ignore the terrible welds from forgetting to turn on the shielding gas on the MIG. Below is the piece with the welding finished & ground down.
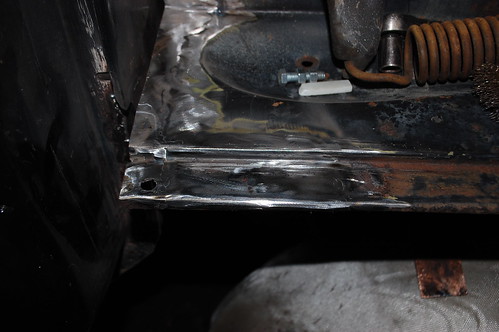
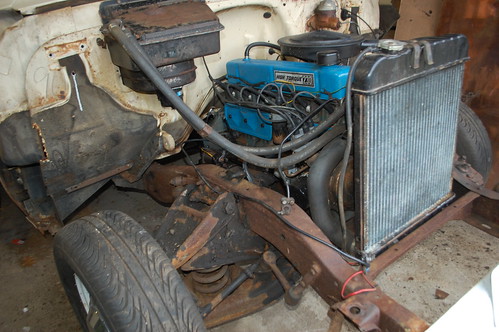
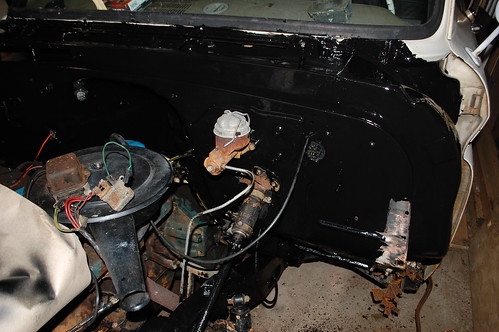
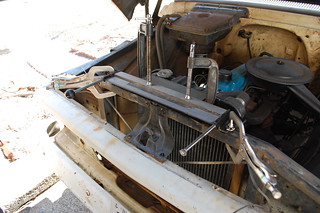
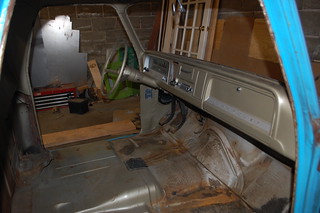
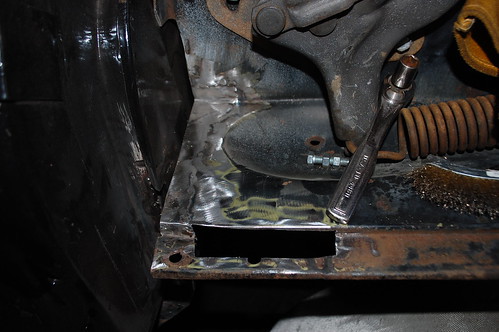
 I decided I was tired of welding, so I worked on something else for a change. I decided to paint the now exposed parts of the frame & firewall. Normally the firewall should be matched to the body color on these trucks, but since I am not sure what shade of dark green I ‘ll be using I decided to paint the firewall to match the rest of the sheetmetal in the engine compartment so I didn’t have to worry about it matching the outside.
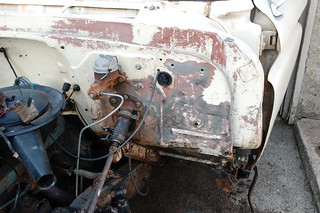
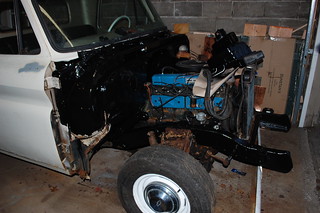 And here is the frame & firewall freshly painted gloss black. I used tractor paint as it is supposed to have good durability. The frame came out great. However despite looking good in pictures, the firewall has a lot of runs & brush marks. I let it dry for a few days anyway, and decided to cover it in textured truck bedliner to hide the flaws.