Thrills & Grilles

DSC_3118

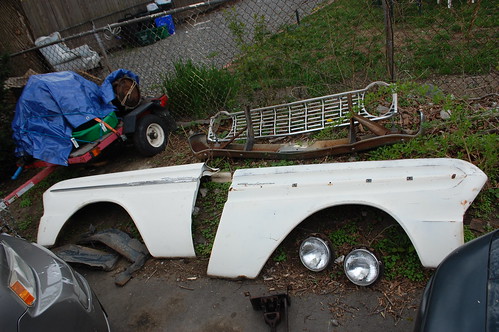
Despite being in very good shape for their age, the GMC grille from the swap meet and the grille support panel from Arizona were both still going to need work.
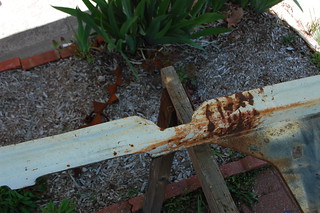
DSC_3119The first order of business was to unbolt everything from them and get to work grinding all the paint off. The grille panel has this odd spot of rust. Which, given its location, was probably the result of battery acid from a battery leaking or exploding, fortunately it was only surface deep and came right off.
 

DSC_3123


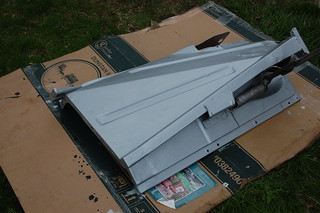
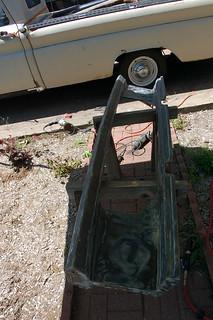
A few hours work gave me a shiny and largely rust-free grille panel. There was no rot, but there will be a lot of little dents & dings to fix.


DSC_3168


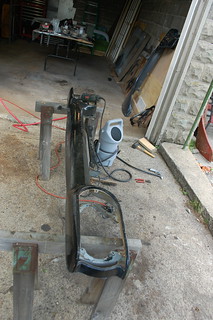
The grille was stripped of its little headlight trim & headlight buckets. These will be rebuilt & painted before going back on the grille.


DSC_3200


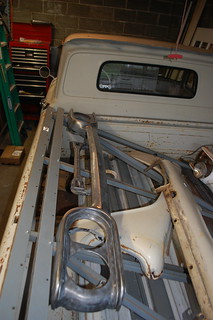
Then the grille was similarly ground clean. I found one old dent that will need a skim of filler to be smooth, but there were no nasty surprises hiding under the paint.
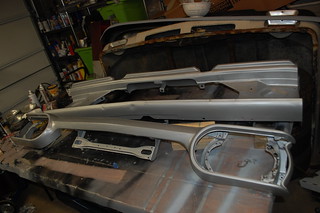
 

DSC_3207


Both were given two coats of MasterSeries anti-rust paint.


DSC_3214
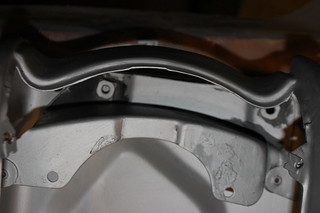
One surprise I did run into was that despite having come with a GMC grille on it, the Grille panel from AZ was actually for a Chevy, which meant two of the mounting hole per side were in the wrong place.
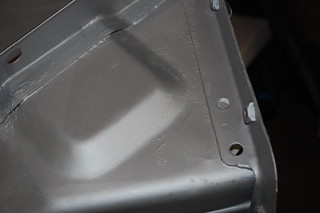
 

DSC_3212Fortunately this turned out to be an easy fix, the brace on the back had a cutout where the GMC grille hole was supposed to be, so I just had to drill them out and I had the correct holes needed to let the GMC grille bolt up.
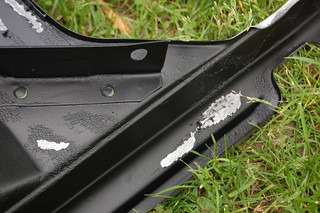
DSC_3228I painted the backs of both with Rustoleum, then sprayed the back of the grille panel with truck bed liner. I think it was because I didn’t dust the parts with primer when the MasterSeries was still wet, but when the bedliner went on it crinkled and lifted most of the Rustoleum off the back of the grille panel.
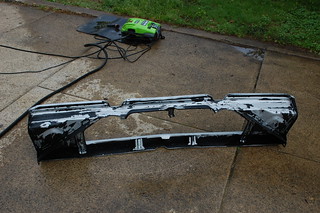
DSC_3231

I power-washed it the next day and was left with the result at the right. I’m going to need to sand this down to get any other unattached paint off, then re-prime & paint this again. Not a huge setback, but very annoying.

Giving the truck a bit of structure again

(Yes, I am finally updating this, this is all work that was done shortly after the work in the prior posts)

DSC_3140

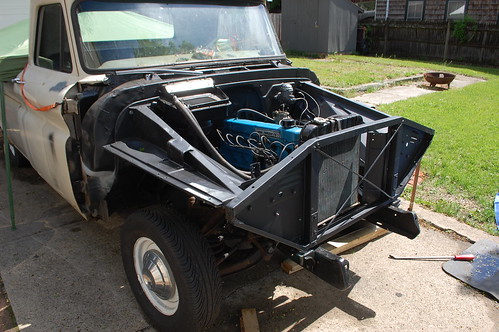
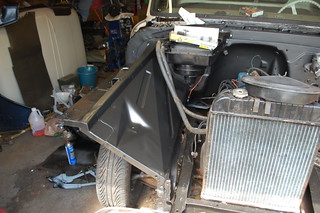
After spending a  week getting all the layers of paint & bedliner on the rebuild radiator support, I finally re-assembled the re-done inner structure of the front end.

DSC_3070


I painted the inner fenders with truck bed liner and installed them.


DSC_3076


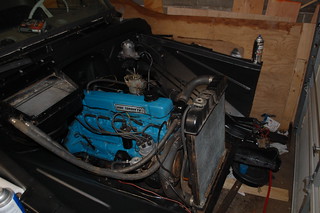
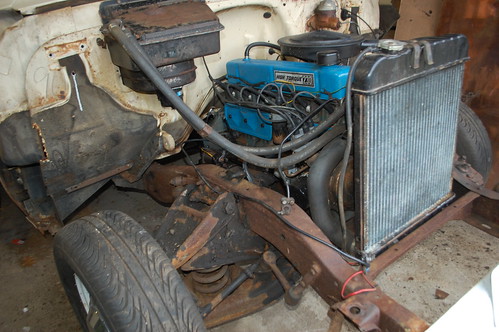
The engine got a quick repaint just so it wouldn’t look terrible in the redone engine compartment. It’ll get a better job once I actually re-do it.


DSC_3141


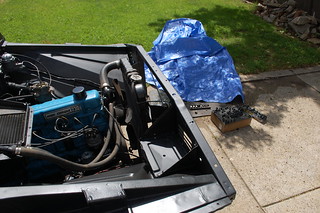
Then the radiator support went in. The “new” radiator support is definitely bent, and despite my efforts to straighten it, it is still not right. However it is still an improvement and will suffice until I find an good one.


DSC_3148


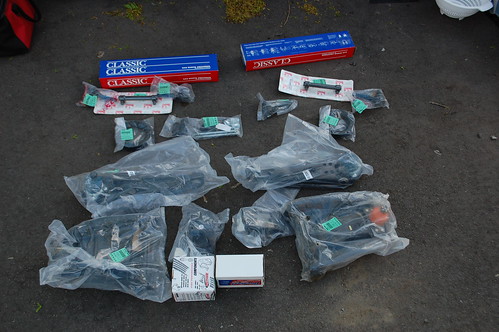
I cleaned up and reused the original bolts for most of it, and bought new support mount kits for the radiator support.


DSC_3145

Just after these pics were taken I put on the upper radiator bracket and was able to start & run the truck for the first time in two months. I then installed a Pertronix electronic ignitiion kit in the distributor, now it starts much easier, unlike the fight it used to be.

Inner fenders, done!

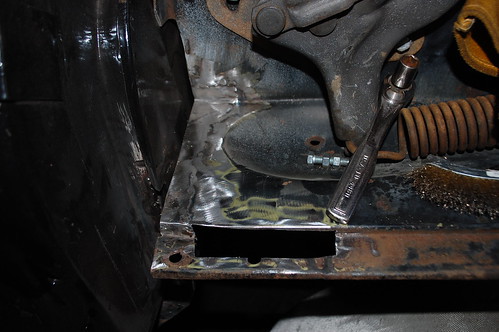
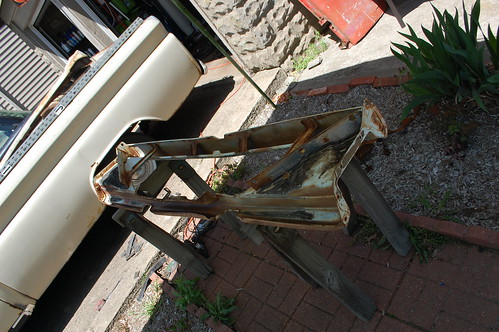
DSC_2966 I finally got the last of the welding on the inner fenders completed. I cut the rusted lip off the back and made two patches to replace that area. I tried to make it easier on myself by removing the step down at the back edge(on the left in the picture above. This caused an issues as you can see below. DSC_2976But first I needed to patch the other section that you can see cut out above. There is 3 bends here that needs to be carefully made so everything lines up. I got a brain wave and measured the lip at the top of a junk fender I had. Everything appeared to match so I cut out a section.   DSC_2977 I flipped the piece over and tested it, the bends are an exact match. I carefully trimmed it and the fender edge to fit and tacked it into place.       DSC_2978 Here it is tacked in place, please ignore the terrible welds from forgetting to turn on the shielding gas on the MIG.   Below is the piece with the welding finished & ground down. DSC_2979 DSC_2974
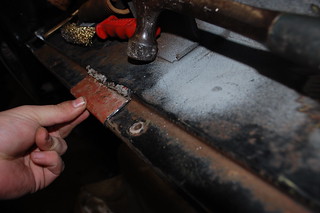
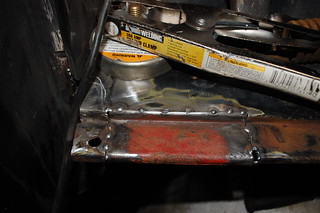
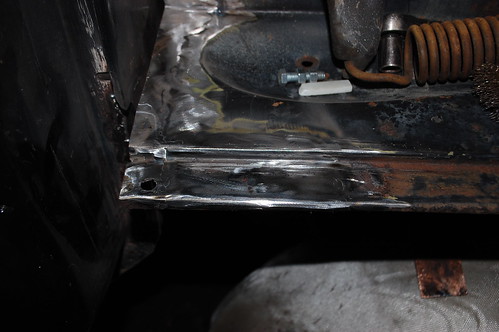
As I mentioned above, the lazy way I decided to fix the back edge bit me in the butt. I tested fitted an outer fender and realized I’d forgotten this little flange that fits over this spot.


DSC_2980

I pondered just cutting the flange off on the outer fender, but decided I’d rather have it so any fender could fit here. So I cut the corner where it overlapped, flipped it over and welded it in place.   DSC_2969


Then the repaired battery box brace was welded back on, and the repairs to the inner fenders were done.


DSC_2984


I chucked a wire cup brush in my angle grinder and ground all the loose rust off the inner fenders and gave them a good scrubbing to get any last bits of grease off.


DSC_3000

Then they got two coats of Masterseries anti-rust paint. After they dried I gave the m a coat of black paint and a coat of truck bed liner. The finished liners then got installed, which will show up in another post.

A bit of paint finally goes on

DSC_2900

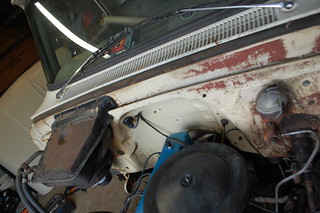
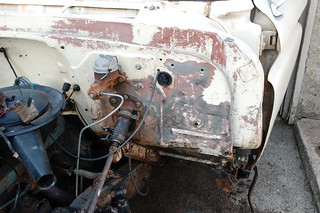
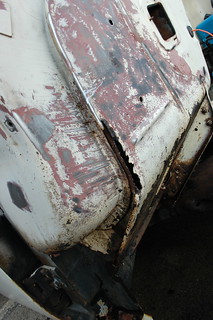
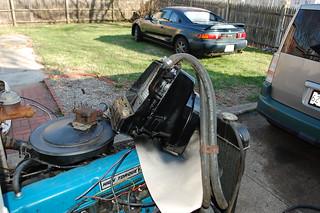
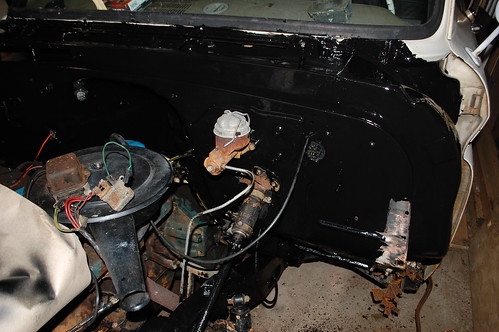
DSC_2898I decided I was tired of welding, so I worked on something else for a change. I decided to paint the now exposed parts of the frame & firewall. Normally the firewall should be matched to the body color on these trucks, but since I am not sure what shade of dark green I ‘ll be using I decided to paint the firewall to match the rest of the sheetmetal in the engine compartment so I didn’t have to worry about it matching the outside.
DSC_2935


I ground down the surface rust on the bits of the frame I could easily reach now that the sheetmetal was off the nose. And also ground down the rust on the firewall, scuffed & degreased everything in preparation for some paint.


DSC_2944


There is still rot to be dealt with on the firewall edges, but I figured if I paint everything but that area I’ll have the option to do some re-assembly before I get to fixing the rot.

DSC_2948


I also sanded down & rattle-canned the heater box semi-gloss black. This is just to make it presentable until I get around to tearing it down and rebuilding it with new gaskets, motor, & core.


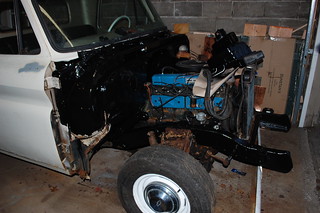
DSC_2961And here is the frame & firewall freshly painted gloss black. I used tractor paint as it is supposed to have good durability. The frame came out great. However despite looking good in pictures, the firewall has a lot of runs & brush marks. I let it dry for a few days anyway, and decided to cover it in textured truck bedliner to hide the flaws.
 

DSC_2964

Box’s new look

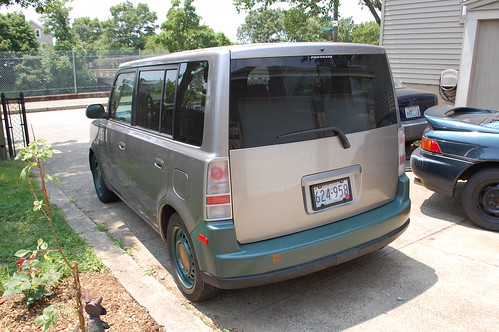
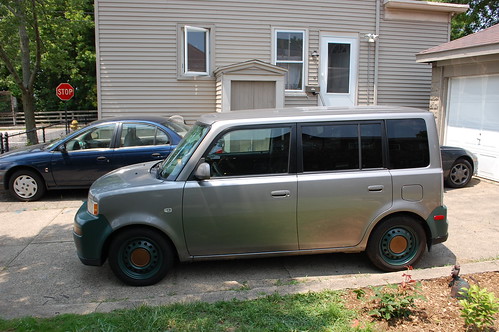
Box recently got a makeover. He needed some attention, so I decided to have fun with him.

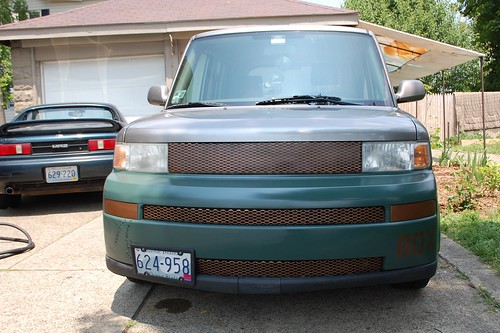
I was tired of the battered bumpers, which had suffered greatly through the last winter. They were cracked and scraped and the lower lips(which I never liked) were half-destroyed. In addition the custom aluminum grilles had started to corrode, and the wheel paint I’d done four years ago was getting worn & tired.


So off came the bumpers & wheels. I’d been buying up 90’s Jetta front lips as I found them at junkyard, with a plan to use them to make new lower bumper lips that were about half as low as the factory ones. I’d tried just removing the factory lips, but the bumpers looked unfinished, it was obvious there should be a lower lip on them.

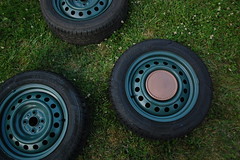
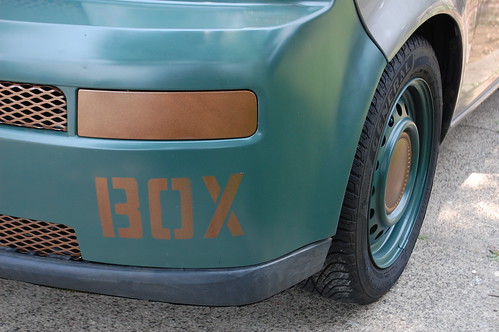
First up was the wheels. I scuffed them and painted them with some Rustoleum paint. I’d been aiming for a dark hunter green, however the color turned out to be more of a military olive drab. I wasn’t sure at first, but the color has grown on me. The hubcaps got a coat of aged copper.


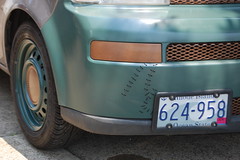
For the bumpers I sanded out the worst of the scratches & chips, and painted them the same green. As the color is a satin rather than a gloss I wasn’t worried about perfection(plus there is no way these bumpers would ever look perfect).


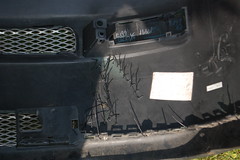
The Jetta lips were obviously not designed to fit  the xB bumpers, so I spent a lot of time cutting & trimming them to match. They are not a perfect match shape wise, but look good in general, and have the right shape to give the bumpers the look I wanted. I also fixed the cracks in the bumper using zip-ties to stitch it back together. I could have used epoxy and made the repair virtually invisible, but this amused me much more.

All total a hundred or so zip-ties were used to put it all back together. The grilles were painted the same aged copper, along with the fog-light covers and the tow hook cover on the rear bumper. Then everything was re-assembled.

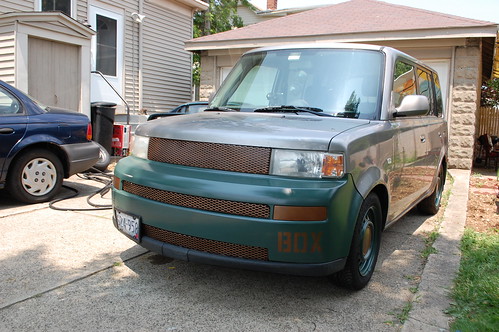
I also removed the side skirts, and with a bit of stenciling the project was done.


All together it came out exactly as I’d hoped. I was able to fix several issues that were making box look beat-up, fixed the lips that always bugged me, and made a major change in his overall aesthetic. So I’m calling this a win.

Project Creep 3, paint and more paint!

If you aren’t sick of seeing parts of a Falcon with paint on them, you will be soon, almost as sick as I was of painting them.

After two coats of Masterseries it was time for primer. I’m using various Rustoleum paints for this, as they are cheap and pretty durable. It may not be professional level restoration quality, but since that isn’t what this car is, it suits me just fine. So several cans of Rusty Metal Primer later and everything was consistently dark orange.

Since there was a lot of waiting for paint to dry, I was jumping somewhat randomly between lots of different parts of the car. So for instance I might find myself painting Masterseries on the inside of the fenders, then putting a coat of primer on front suspension parts. I had an elaborate (and likely baffling to anyone else) system as to where things got placed on the driveway so that I could keep parts from the left & right sides of the car apart so I didn’t cross anything important up.

One thing I learned on a previous project, and utterly failed to remember to photograph here was how I kept all the nuts & bolts organized. as things came off the car, all the relevant hardware would go into a simple ziploc style sandwich bag, and have “Right Fender” or whatever written on it. Then later I’d sort & count what was in that bag and add a list of the contents. I had gotten a Harbor Freight Vibrator Tumbler(which is less exciting than it sounds) for my birthday, so all the hardware got a run through that, which while it didn’t come out looking brand new, definitely cleaned it up significantly. Then it all got a quick coat of spray paint, just to keep it from rusting right back up and making my new paint look a mess.

After primer came the top coat. Everything got two coats of semi-gloss black, then any part that was going to be inside the wheelwell got a coat of truck bed liner to help protect it from stuff kicked up by the tires. I continued on painting the various suspension bits so that everything that was going back on the car would look like new.

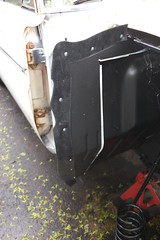
One thing I needed to replace was the rubber seal that went between the inner fender & the fender itself to keep the tire from flinging stuff where it would collect and help form more rust. The originals were dry & cracked and basically fell apart when I removed them. I had planned to find some other material to make replacements out of, make patterns and cut new ones. I was even going to do a separate blog post about it. Then I discovered a full set of reproduction pieces was all of $24, so I bought those. Sorry. I ended up using sheet metal screws with extra-wide heads to install them. They were originally stapled on from the factory, but I don’t own any tools capable of punching a staple through 18 ga sheet metal.

Next up, stuff goes back together.

Headlight Bucket Restoration

As I missed a few updates, I figured I’d give you some short bonus entries to make up for it. So here is the first, the restoration of the headlamp buckets.

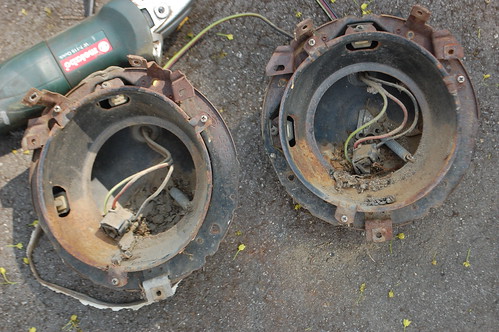
Each of these buckets were covered in surface rust, full of dirt and each had it’s own long empty hornets’ nest.

First everything had to come apart. Everything on these was intact, and like the car had no rot. The wiring & connectors were all still good and the wiring was still flexible.


Everything got a very thorough wire brushing to remove the surface rust, then two coats of primer, followed by two coats of semi-gloss black.

The back of the bucket got a coat of truck bed liner like the inner fender, then the wiring was scrubbed clean and everything was re-installed.


Little side projects like this are really great when working on a larger overall project, they give a sense of accomplishment and completion that helps keep the momentum going when the larger project is taking longer than expected.

Project Creep part 2, in which a rotted mess fails to materialize

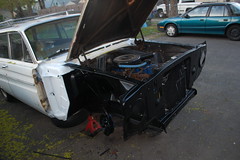
In my last post (two weeks ago, sorry about that) I’d started out replacing the front suspension ,and ended up stripping the front end completely off. The new plan was to check over, derust & repaint all the inner structure, while leaving the exterior looking just as ratty as before. I’m sure some of you are wondering why I don’t just paint over all the worn out paint & surface rust, but I both rather like the patina on the car, and would prefer consistently ratty to a mismatch of ratty & repainted.

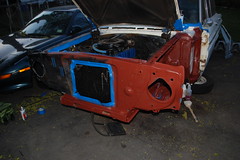
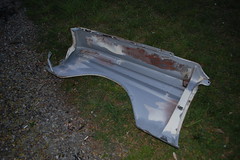
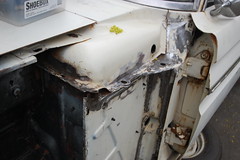
First up was assessing what I found. And I was surprised to find just how good everything was. There was surface rust in several places, like the edges of the cowl, the torque boxes, the bottoms of the fenders & inner fenders & under the battery tray. However there was absolutely zero rot anywhere. Not one rot hole to be found. When I pulled apart the “better” of the two ’62 Comets I had, it had been a very different story.

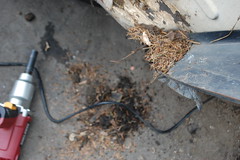
This was all the more surprising considering the piles of pine needles & mulch hidden at the bottom of both fenders and packed into the cowl drains. I can only guess that that stuff dated from the last few years(and in particular the eight months the car sat in the woods before I bought it), rather than the previous decades it sat in a barn. So the moist plant matter didn’t have time to really encourage rot.

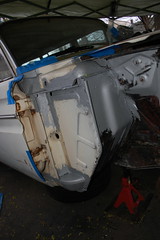
The next step (after I spent 45 minutes with a pressure washer removing a garden’s worth of plant debris from inside the cowl) Was to start grinding down all of the rust in preparation for paint. It may not look it in shots like this, but every spot of rust has been diligently gone over with a wire wheel and/or angle grinder. Ford used a rust-colored primer though, so exposing that ended up making the car look more rusty, not less.

I also ground off what I initially though was a layer of undercoating, but eventually realized was actually a sort of clay-heavy dirt that was caked onto every surface of the wheelwell and had been there so long it had taken on the appearance of being part of the original car. I eventually was able to get everything looking as shiny new as I could, and was able to start putting paint on, instead of grinding it off.

Lets hear it for Masterseries paint, This is my absolute favorite rust-sealing paint, and I’ve been through at least 3-4 quarts so far on various projects (and have two more I just bought sitting in the garage for later on this car). I put a nice thorough coat onto everywhere I’d found rust, making sure to get it into and gaps or cracks where rust might fester. As much as I wanted to just coat everything, I had to prioritize as I was low at the time and didn’t have time to wait for more to be delivered. So stuff ended up looking a bit odd, with seemingly random silver painted bits over the worn old paint. And, of course, because the universe likes to mess with me, it started to drizzle the moment I was done paints, necessitating an emergency solution.

Next up, painting and more painting.