Box recently got a makeover. He needed some attention, so I decided to have fun with him.
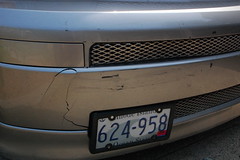 I was tired of the battered bumpers, which had suffered greatly through the last winter. They were cracked and scraped and the lower lips(which I never liked) were half-destroyed. In addition the custom aluminum grilles had started to corrode, and the wheel paint I’d done four years ago was getting worn & tired.
 So off came the bumpers & wheels. I’d been buying up 90’s Jetta front lips as I found them at junkyard, with a plan to use them to make new lower bumper lips that were about half as low as the factory ones. I’d tried just removing the factory lips, but the bumpers looked unfinished, it was obvious there should be a lower lip on them.
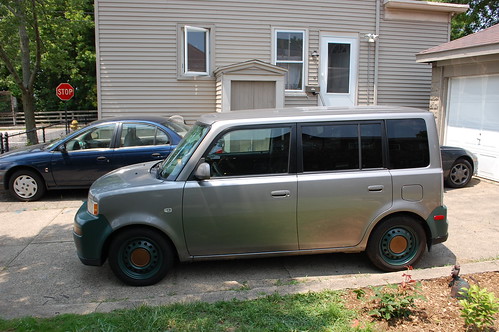
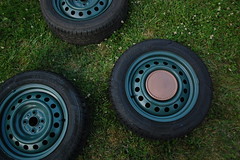 First up was the wheels. I scuffed them and painted them with some Rustoleum paint. I’d been aiming for a dark hunter green, however the color turned out to be more of a military olive drab. I wasn’t sure at first, but the color has grown on me. The hubcaps got a coat of aged copper.
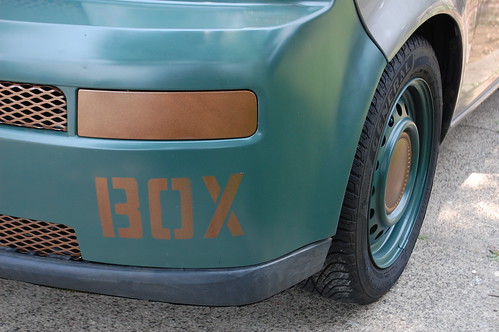
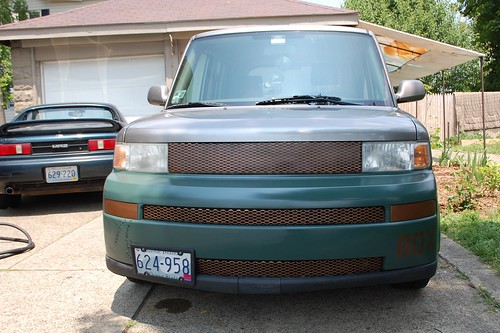
 For the bumpers I sanded out the worst of the scratches & chips, and painted them the same green. As the color is a satin rather than a gloss I wasn’t worried about perfection(plus there is no way these bumpers would ever look perfect).
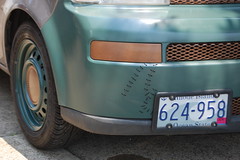 The Jetta lips were obviously not designed to fit the xB bumpers, so I spent a lot of time cutting & trimming them to match. They are not a perfect match shape wise, but look good in general, and have the right shape to give the bumpers the look I wanted. I also fixed the cracks in the bumper using zip-ties to stitch it back together. I could have used epoxy and made the repair virtually invisible, but this amused me much more.
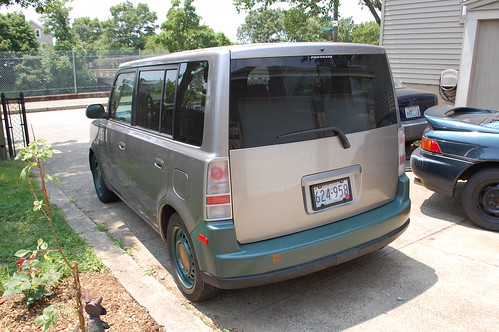
 All total a hundred or so zip-ties were used to put it all back together. The grilles were painted the same aged copper, along with the fog-light covers and the tow hook cover on the rear bumper. Then everything was re-assembled.
I also removed the side skirts, and with a bit of stenciling the project was done.
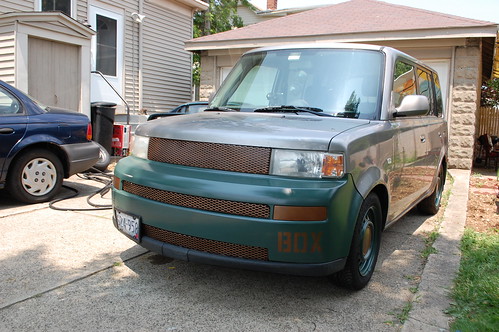
All together it came out exactly as I’d hoped. I was able to fix several issues that were making box look beat-up, fixed the lips that always bugged me, and made a major change in his overall aesthetic. So I’m calling this a win.
I love the front and back lips you made. I’d like to do something similar on my box. Can you tell me how you fixed them to the bumpers? Please email me if possible mail.johnmsmith@gmail.com. Thanks!
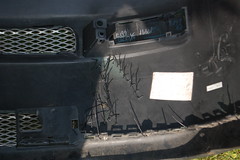
They are held on with a lot of zip ties. Once you remove the factory lower lips on the bumper you will see a small flange that the lower lip fits into, that needs to be cut off, then you need to drill holes through the bumper and the new VW lips and zip-tie them together. These pics show that to some extent.
https://www.flickr.com/photos/improbcat/9130327868/sizes/o/
https://www.flickr.com/photos/improbcat/9130328480/sizes/o/
Be aware that you are going to need 2.5 to 3 sets of the mk3 front lips, as the xB is wider than the jetta/golf so you need to add a filler piece in the middle. You will also have to trim them at the wheelwell as they go to far back. The front scion plastic undertrays & fender liners will also need trimming/replacing. I got some chloroplast sheets(you can get it from sign shops or at home depot), painted them black and trimmed & screwed those in to make new undertrays. I also don’t think the stock lower grille will stay in place without being screwed or zip-tied in place as removing the lower lip removes half the places it attaches.
Good luck and I hope it works for you!