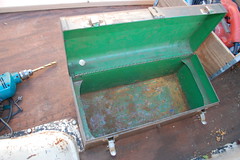
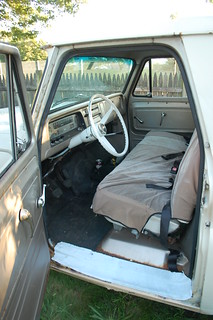
 The seat in the ’64 Chevy was a disaster area, and made the cab look like it had been a home to wolverines with a 2-pack a day habit.
It was torn, paint splattered, and yellowed with nicotine stains. And it was covered with a cheap ill-fitting cover that came off every time you climbed in.
A factory-correct replacement seat cover was $150 + shipping and that wouldn’t fix the battered foam. A local upholstery shop gave me a quote of $250 to completely re-upholster it, but that would be in plain vinyl that would be pretty boring looking.
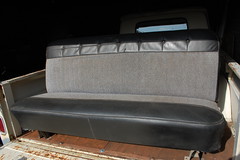 I was surfing the list that is Craig’s one day when I found this bench seat for sale for all of $100. It is from a similar truck but had been custom upholstered. The seller was replacing it with some bucket seats. It was in perfect condition aside from one minor tear in the piping.
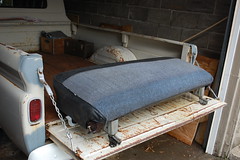 I power-washed the whole thing to get the grime out of all the nooks & crannies. It turns out the tweed portions were once blue, but had faded to the current grey(which I’m ok with, as I prefer the grey). I also painted the brackets on the sides while it was apart.
After installing the seat I was amazed at how much it changed the interior. With no other changes but the seat the cab now looks respectable with a bit of patina.