Utility trailer, part the last.

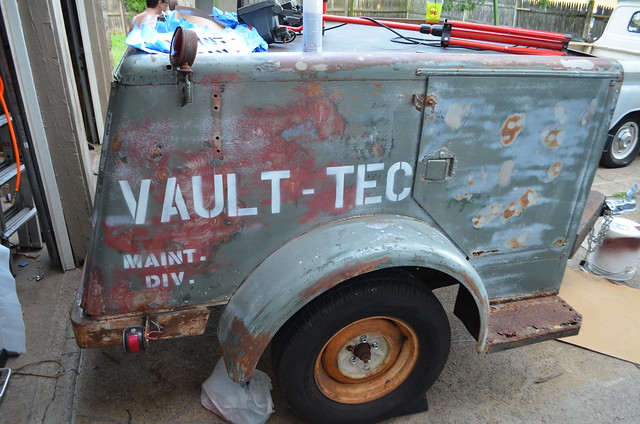
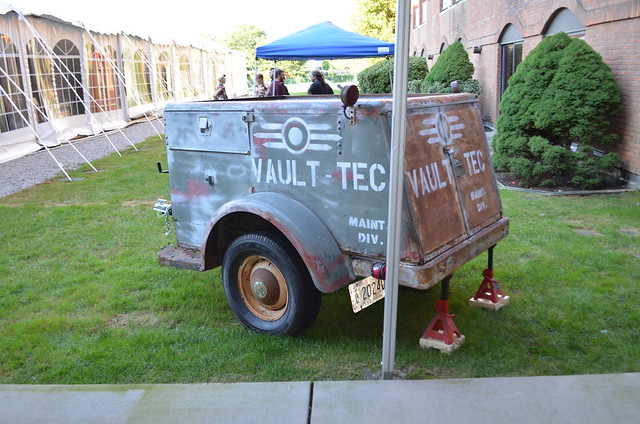
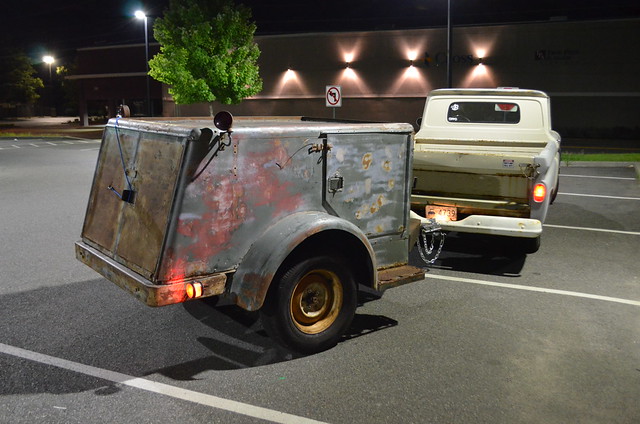
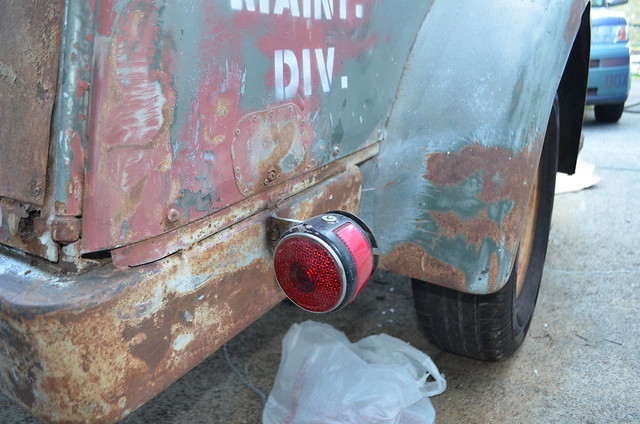
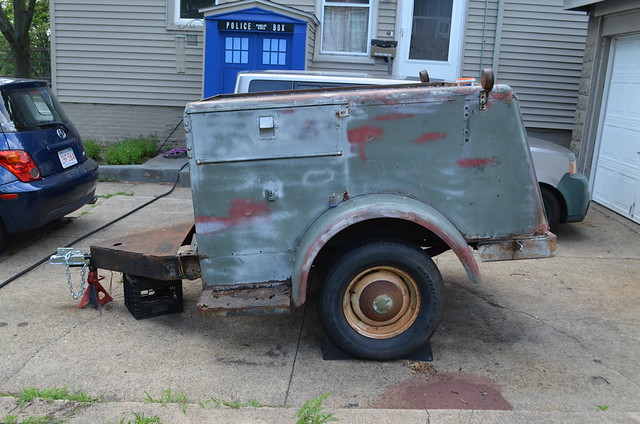
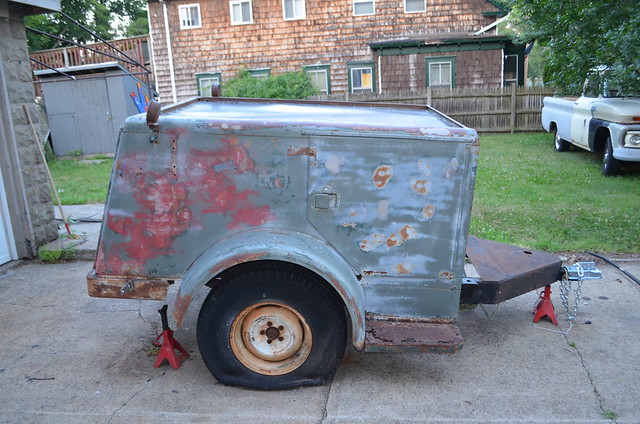
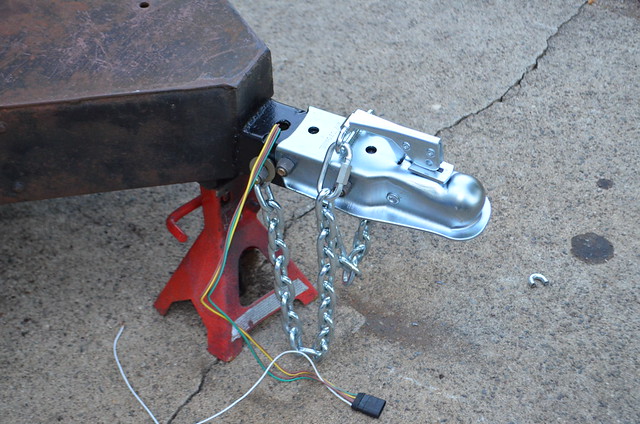
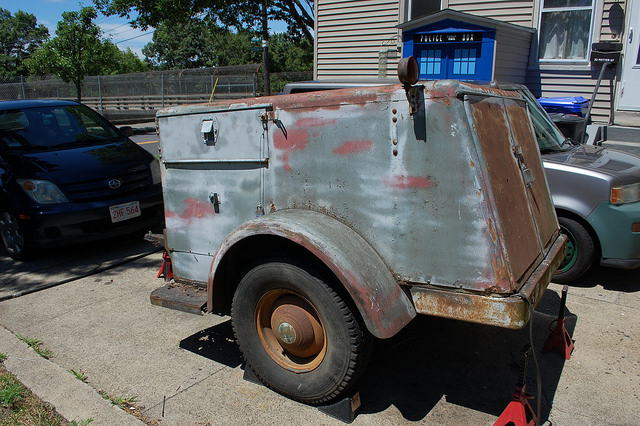
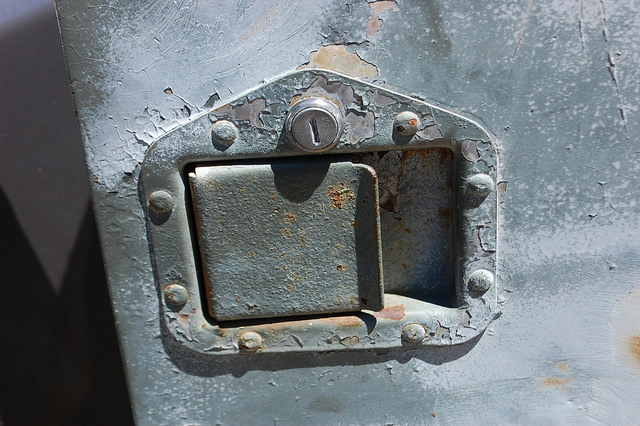
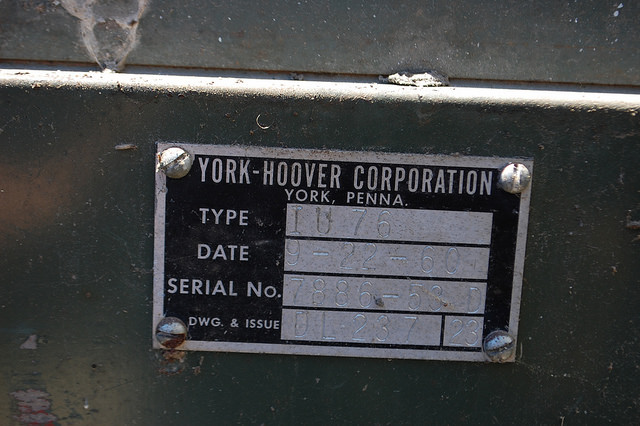
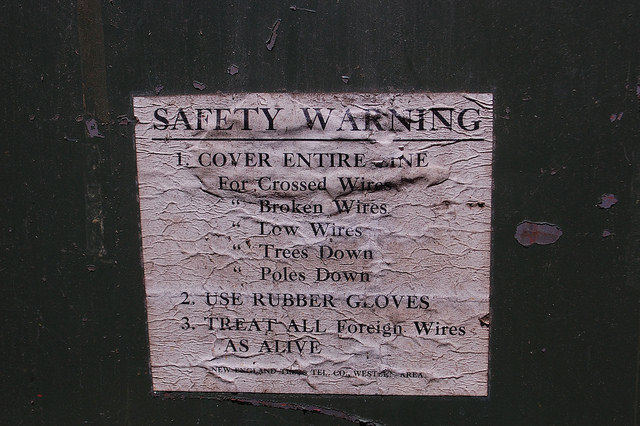
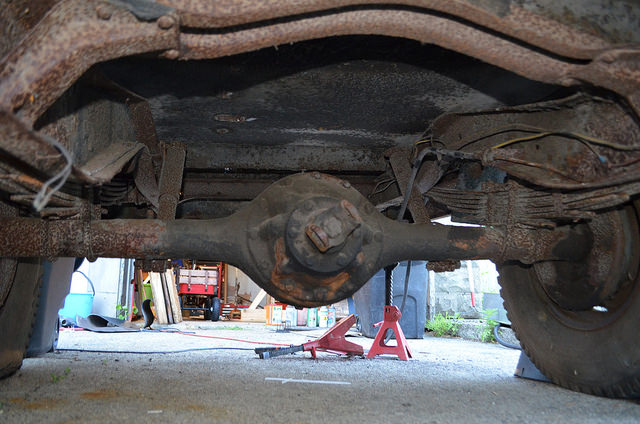
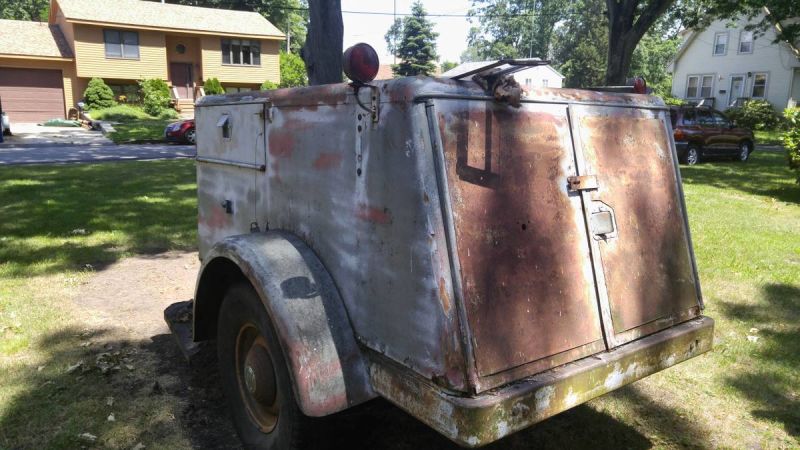
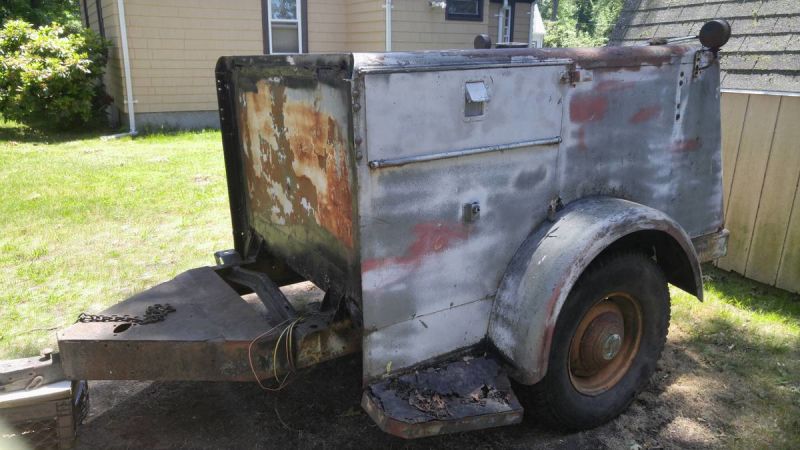
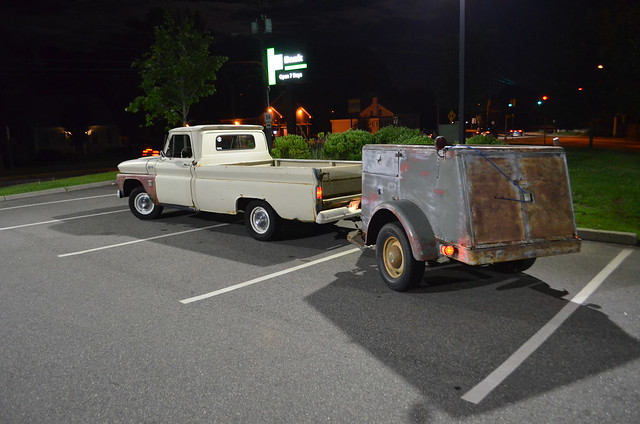
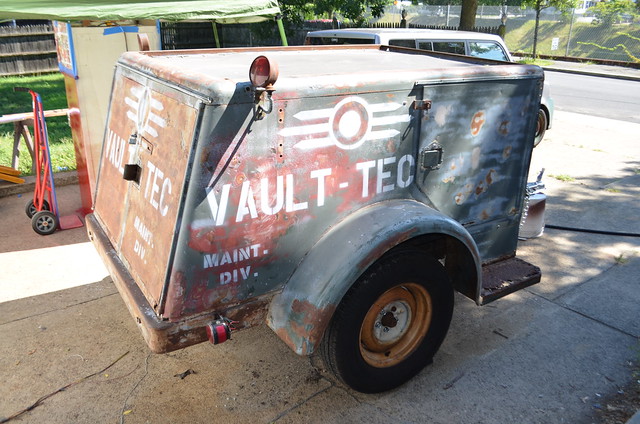
As you may recall, I bought a rusty trailer made from the back half of a Bell Systems utility truck, got it safe to tow, and displayed it at a post-apocalypse themed convention.

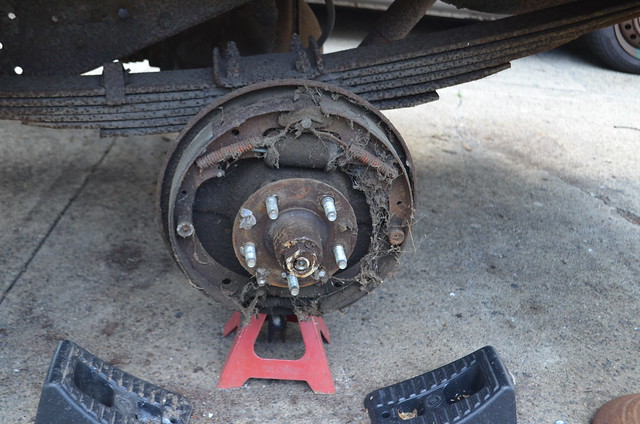
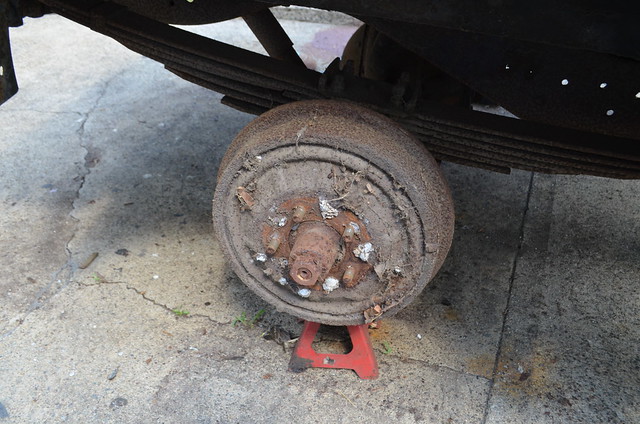
Well I wasn’t entirely sure what I wanted to do with it next, needed to put a lot of work into my truck, and recently discovered a house disaster that requires a complete bathroom renovation.

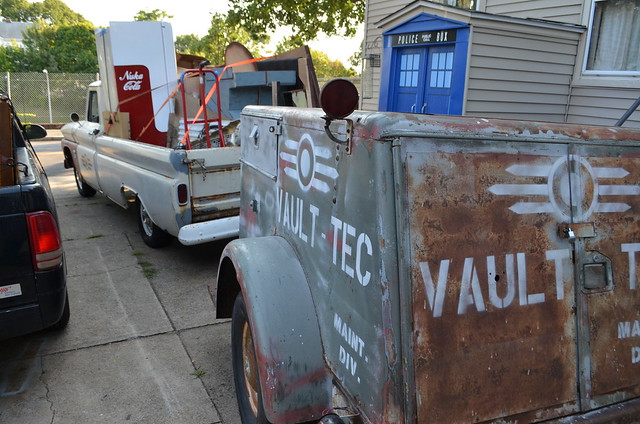
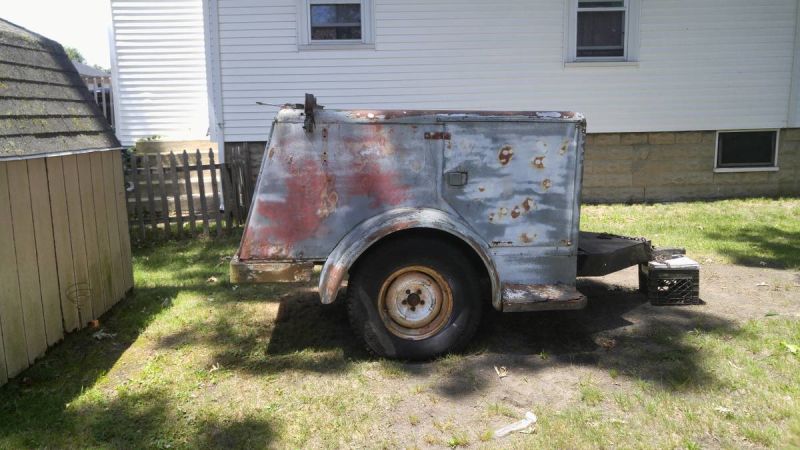
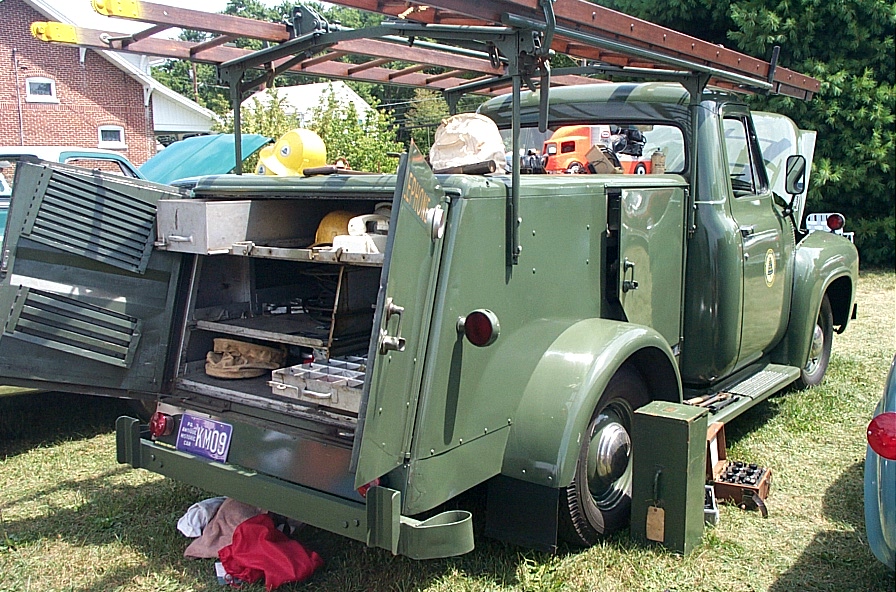
So the trailer was thrown up on Craigslist, and the first person who came to look at it bought it. He’s going to use the box on the custom ‘47 Ford rat-rod pickup he is building for his grandson’s first car. He needs to get a move on with the project too, as the kid is already 18 months old.

I paid $150.00 for it, spent another $227 getting it safe to tow, and ended up selling it for $600. While turning a profit was never my goal, it is nice when I can put more money into the “dumb idea fund” than I took out.

Honestly I’m not sad I sold it. It was a fun & amusing toy, exactly like I’d hoped for when I bought it. But having one less set of projects around the house is probably all for the best right now.

Utility Trailer Update #4, Vault-Tec and you!

It has been embarrassingly long since the last update, given I’m reporting stuff that actually happened before that update. I blame the mother of all sinus infections, which knocked me on my ass for a month and is still sapping my energy.

Once I got the trailer safe to tow, it was time to make it look right. I was in charge of props for Templecon, and our theme was post-apocalypse. So in addition to the Nuka-Cola machine, and the vault-door stage backdrop, I decided to letter the trailer up as belonging to Vault-Tec.

The lettering was simple hardware store stencils. At this point I wasn’t really happy with it and was afraid it was going to look half-assed.

That all changed when I made and applied the stencil for the Vault-Tec logo. that changed the look so much I was downright giddy.

I also quickly tack-welded the ends of the steps to the fenders to keep them from flapping around, and made a loop for the rear lock hasp as the original was cut off. Then it was time to load everything up and head for the convention.

During the convention the trailer was on display as seen in the first pic. In addition to looking cool I used it to store my tools/duct tape/zipties/etc. which came in handy for inevitable disasters on stage and around the con.

$150 utility trailer progress report #3

It lives! Or more accurately, it tows! As of the last update I needed to run the wiring and install lights. I finally took care of that, with my awesome partner taking on the job of crawling under the trailer and fishing the wiring.

The lights are the ones that came with the trailer, I installed them sideways and tinted the license plate light portions red to give the trailer better side visibility. They are surprisingly bright for ancient lights with cheap bulbs, but I will probably paint the inside of the housings silver and get some red LED bulbs to make them really bright.

I found out the links for the tow chains won’t fit on the loops of the truck’s Curt bumper, so I’ve already upgraded them to larger snap-hooks rated for 2600lbs each.

Prior cost: $368

upgraded chain hooks: $6

electrical connectors, heat shrink, etc. $0(already had)

nuts & bolts to mount lamps: $3

Total: $377

$150 utility trailer progress report #2

For those interested in the ongoing saga, it is still ongoing, but massive progress was made. I pulled the wheels off the trailer. The driver’s side(above) had no brake drum, but did have recent lug studs & nuts, so that was a pleasant find.

The passenger side required a 2 foot breaker bar with a 3 foot cheater bar. However I didn’t snap any lugs, so it went easily all things considered.

A couple of hours hunting junkyards and used tire shops netted me two mismatched but similar 235/70R16 passenger tires. They should be fine as I’m not planning to do any heavy hauling with the trailer. If I start using it for heavier loads I’ll upgrade to proper heavy duty trailer tires.

Replaced 4 of the rusted lug nuts as autozone(the only place open at 5pm on Sunday) only had 4 so I need to find another. Or find 5 that are the same style as the far side(these take a different socket size).

I also installed a Harbor Freight trailer jack. I had to drill one new hole to match the pattern on the new jack. I would have preferred to mount it from underneath so it would be lower(it is at its maximum when the trailer is level, but this was the only way it would both fit and be able to be bolted in place.

So the trailer is now level front to back & side to side, and able to be moved for the first time since it arrived. I will need to add some sort of fold/crank down support at the back as it likes to tip back if you put weight on the bumper.

But for now it is installed & wired lights away from it being legal and safe to tow.

Prior cost: $211

2 used tires $85

mounting tires $35

lug nuts & valve stems $14

trailer jack $23

Total thus far: $368

Progress on the $150 1960 utility trailer

Picking up where I left off, my partner scrubbed the entire exterior with Simple Green & a Scotchbrite pad. She got some of the white paint off and all of the grime & moss, but it still looks like hell.

While she was at that I cut off the old coupler and safety chains, ground down & repainted the tongue, and installed new ones. The first foot is restored, now I just have to keep working backwards. I also started running new wiring.

I also used some spare brackets that came with the new coupler to make some trailer light mounts. Still need to drill holes to mount the lights to them.

I need to run the wiring & install the lights, then locate some better tires and it will at least be safely towable.

Cost so far:

$150 – Trailer

$35 – coupler

$25 – chains, bolts, links

$1 – scotchbrite pad

$0 – trailer wiring loom(from spares box)

$0 – tail light bracket(spare coupler brackets)

Total: $211

Rusty utility trailer video & photos.

1Here is a walkaround of the $150 Trailer made from a 1960 Bell Telephone truck, that I bought and am attempting to get functional. Pics below.

3 I need to figure out who makes/made this latch so I can try and get replacement parts & locks for it.

4

Think I can get a few more seasons out of these?

25

Original Labels inside.

76

The rear-end of the mystery chassis.

I bought something stupid…

It is a trailer made from the back half of a ‘50s Bell Systems utility truck. Judging by the one hubcap it might be an International chassis.

1

I paid all of $150 for it, and the guy is delivering it to my house. I’m not sure what I’m going to do with it, but if nothing else it’ll be good for annoying my neighbors.2

It needs new tires, to be rewired, a lot of cleaning, not a small amount of rust repair, and a coat of paint. It might end up painted like a Vault-Tec vehicle, or restored to the original color.3

Here is what it would have looked like when it was a truck:

1