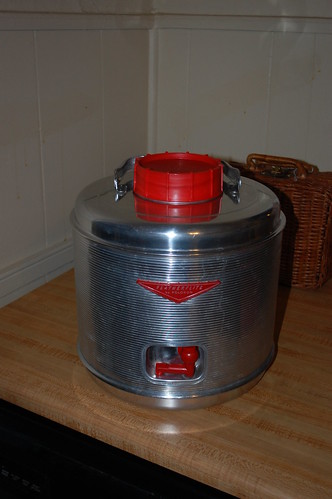
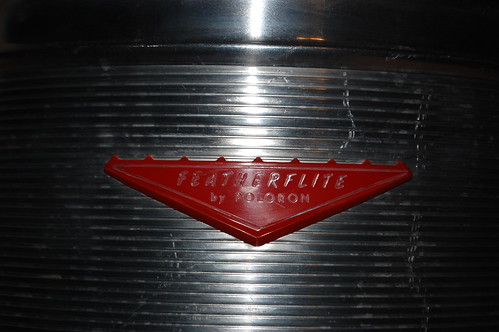
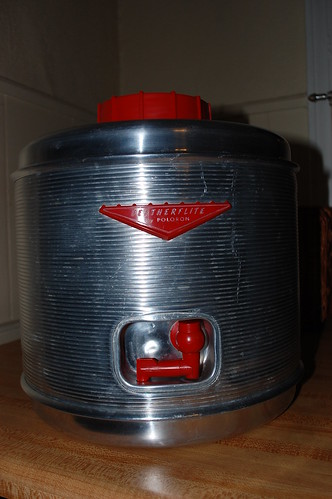
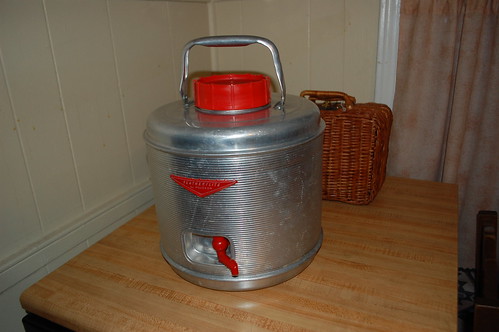
I found this cooler at an antiques flea market, its a “FeatherFlite by Poloron” 2 gallon drinks cooler. It cost me all of $18 dollars and is in great condition. The aluminum was a bit dull, so I spent an hour while watching TV polishing it out with my favorite metal polish (Nevr-Dull). It came up amazingly well, and looks great.
In addition to looking great in the wagon, this drinks cooler will be really handy for picnicking this summer.Now I just need a matching cooler.
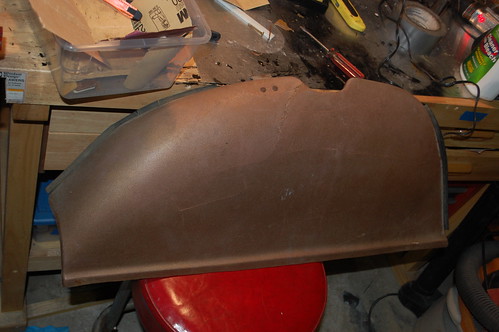
The spare tire cover on the wagon was a shattered mess when I got the car, with multiple cracks making it a floppy useless mess. There was even signs that someone else had tried to fix it with epoxy at some point in the past. The only other one I could fine on ebay was $50 and had cracks of its own. So I figured this was a perfect time to try something I’d heard about, plastic welding. The idea is to heat & fuse the plastic together, mixing in a bit of extra plastic as filler, the same way you would use filler rod in regular torch welding. Since the cover was garbage otherwise, I figured I had nothing to lose.
The first thing I did was duct tape the various cracks together. I couldn’t get them to sit tightly closed, but it at least kept the pieces in place enough that the welds wouldn’t pull apart as they cooled. They sell specialized tools for plastic welding, but the tutorials I found online said it could also be done with a soldering iron, which I do have.
I started out by dragging the tip of the iron across the cracks, sort of tack-welding them together. This was enough to keep the pieces together. Once I had stitched all the various cracks closed like this, it was time for the real “welding.” I shaved a thin strip off the bottom of the cover where it wouldn’t be noticed to use as filler for the welds.
If you haven’t done any welding, the filler is(in over simplified terms) used to provide enough material to allow the two piece of whatever you are welding together to fuse together. Basically what you do is heat of the material(with the soldering iron in this case), then add the filler and the material & filler flow together and form one solid piece.
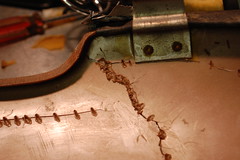
In this case I was using the point of the soldering iron the form a V furrow along the crack, and adding filler to the tip of the iron so it would flow into the V welding the two halves together.
In reality it didn’t go anything like that. It was really clear that the soldering iron is not designed for this sort of thing. What I ended up with in most cases was a line of melted plastic that looked like old chewing gum. However it was holding the piece together pretty well. Even bending the cracks didn’t pull apart.
However between the time it took and the fumes making me feel a bit sick I decided I wasn’t going to try and weld every single crack. Instead I welded the major cracks, and spot welded any junctions of cracks or ends of cracks to help hold everything together. In the case of the biggest crack, the one that had been epoxied, the edges were so ragged the crack was still looked open from the outside, so I filled it in with plastic from the outside, it didn’t hide it, but it at least made it less obvious.
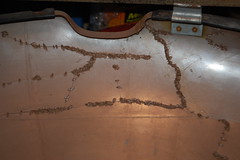
.All told, it came out pretty well. The cracks are still visible as there is no way to get it perfect and the patterning in the plastic make it impossible to fill & sand it smooth. However it is now solid and functional, and when/if I redo the interior I’ll cover it in the same vinyl as the interior.
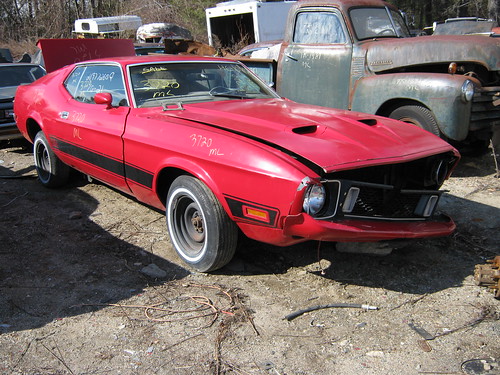
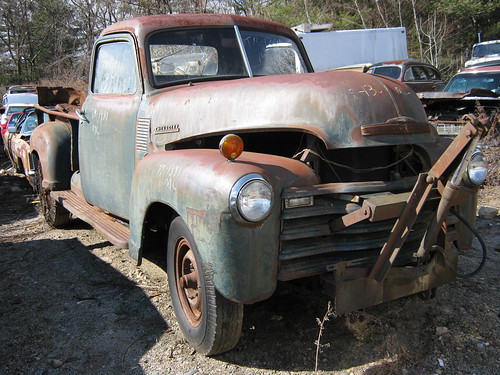
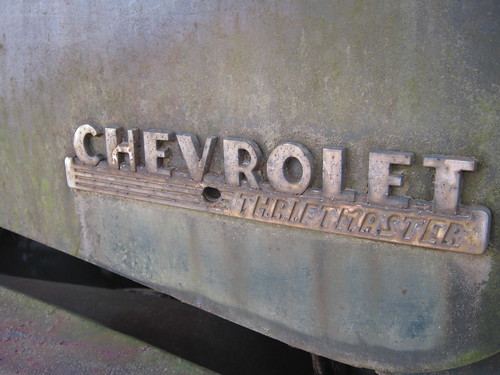
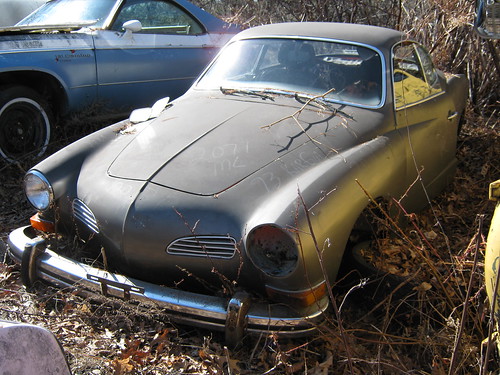
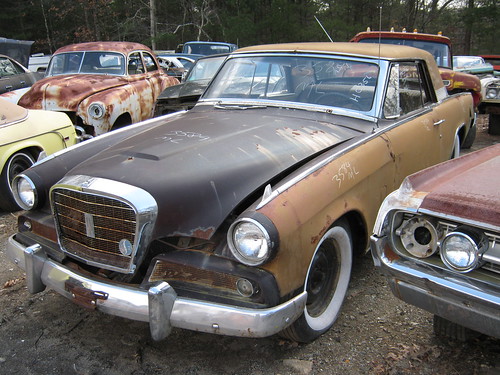
I spent a few hours at North Smithfield Auto Parts a few weeks ago looking for bits for the wagon & Box. I was able to find replacements for some broken trim piece on Box, but pretty much struck out for the wagon. They had some bumpers that could best be described as “not as bad as the ones I have”, but they wanted $150 each for them, and I would had to wrestle them off the car.
Regardless, I did at least get some cool pictures.
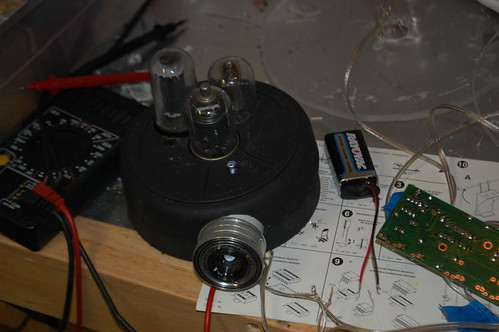
What you are looking at was my excuse to play more with wiring, circuits & LEDs. I’ve done a little before but back this last August I wanted to get into it more. Conveniently I’d gotten involved with the Templecon retrofuturist/gaming convention here in RI. We were talking about interesting ways to promote the convention and the 2012 theme of “1950’s post-apocalypse”, and it occurred to me to build a ‘robot’ to bring to other conventions and hold signs/flyers. So off to my favorite toy store(Home Depot) I went.
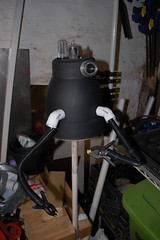
I spent a good long time wandering around looking for something with the right aerodynamic shape. I knew if I had to sculpt something it would take forever, however I ended up getting lucky. The main body is made from, of all things, an upside down flowerpot. Not only that but a cheap one at $2.79 each, so I could hack them up without fear. A few more stops for plumbing bits, drop ceiling support wire, wire loom, MDF board & plexiglass and I was ready to start building.
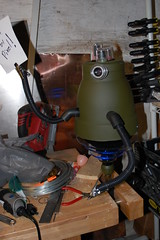
I started with the head, two bases for the flowerpot stacked together gave me the height I needed. The original plan was to ring it with vacuum tubes, but that didn’t look right so found a junk camera for $10 at a flea market and raided it for it’s lens. I mounted the lens to a piece of PVC pipe, and mounted a red LED I’d scavenged from a Nerf gun inside pointing out. The neat part is the iris of the lens still works, so you can adjust the width of the light beam. Three random vacuum tubes became his “brain”, I mounted some LEDs in them I had left over from another project, they blink randomly between three colors and do a good job of looking really complicated for not much effort.
Some more building got me a torso and two arms capable of bending wherever I need them. The photo at right shows black plastic clamp ‘hands’, but this kept breaking so they were swapped out for metal ones. Now came the hard part. I wanted the bot to appear to be hovering, and to that end the plan was to have several plexiglass rings light up in sequence. I did a lot of reasearch and was frankly daunted by trying to figure out how to make it happen. Then I stopped by “You-do-it” Electronics outside Boston. There I found a $7 solder-it-yourself kit that let you light up to 8 LEDs in sequence. Perfect.
A lot of soldering, and a fair amount of trial and error got me four rings with either 4 or 2 LEDs per ring that all blink in sequence and light to the same brightness.
Once everything was working I carefully assembled the lower half, testing each section before epoxying it to the base(this would bite me in the ass later when one of the rings stopped working). Some final wiring and everything worked well off two 9-volt batteries hidden inside.
Next I found an appropriately military looking flat green paint and painted it up. A base was welded up out of threaded rod & some flat stock.
After I finished it I dropped it off with my friend Grant, who runs Templecon for a custom post-apocalyptic makeover. After working his magic, the newly christened TempleBot was born.
Click on this pic for a whole set of pics
Soon he was pimping Templcon at variouseventsaround the northeast. At Templcon itself TempleBot had a place of honor next to the registration booth. Now that it is over he’s going to decorate my living room.
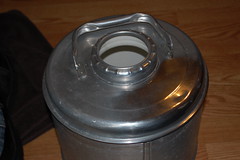 I found this cooler at an antiques flea market, its a “FeatherFlite by Poloron” 2 gallon drinks cooler. It cost me all of $18 dollars and is in great condition. The aluminum was a bit dull, so I spent an hour while watching TV polishing it out with my favorite metal polish (Nevr-Dull). It came up amazingly well, and looks great.