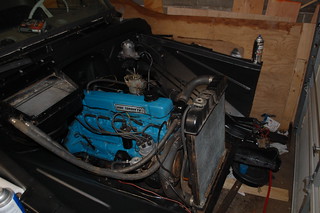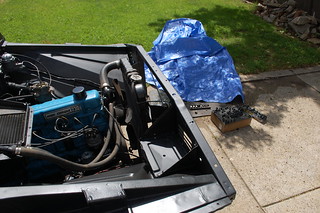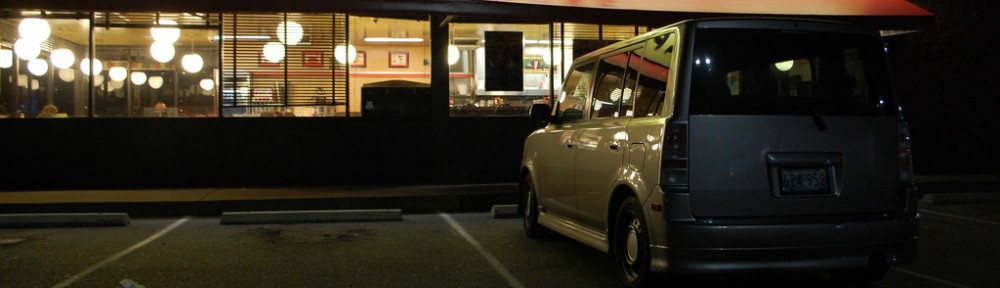
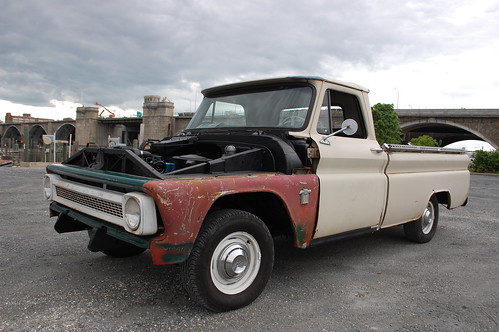
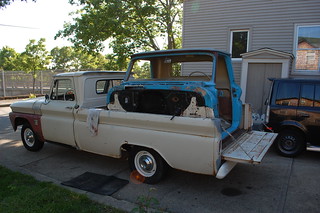
 I put some of my junk parts on the truck so I could use it. I have to admit it looks pretty cool like this. I drove it up the Boston to drop of some shelving that has been sitting in the truck since the fall, and I got more thumbs up and compliments with the truck like this than in any other trip.
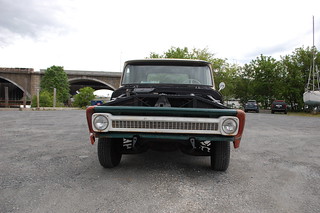
I put the hood on shortly thereafter, as having the engine exposed while the truck was parked outside seemed like asking for trouble.

Got my “new” ’66 cab home the next Saturday. I ended up paying only $400 for it, and the guy threw in a beat up aluminum grille for free.
Rounded up 3 of my friends to load it in the truck and unload it into my garage. The unloading was full on 3-stooges madness trying to get it out of the truck inside the garage without smacking it into the roof beams.
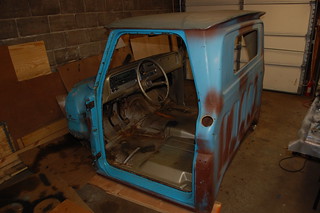
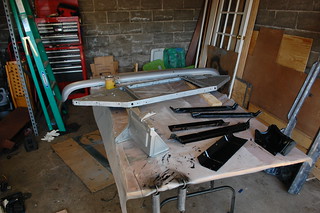
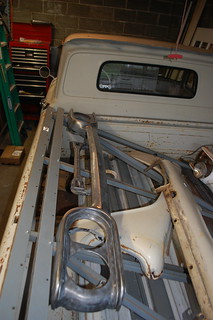
Once it was in my garage, I finally was able to dig deeper into the new cab and see whet I now had.
It came with the full dash(lessheater stuff), AM radio, steering column & wheel), and a set of nice blue sun-visors(the center mirror looks nice, but the ball & socket is rusted solid). I’ll be keeping the wiper switch as it appears to have a washer switch built in, other than that everything else is getting sold to help put some money back in the truck fund.
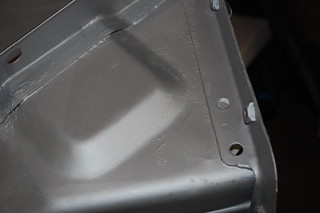
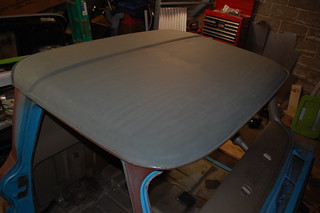 The biggest selling point for me is that the roof is perfect inside & out. No dents or rust(the rust at the front edge of the inside roof in the sun visors pic is surface rust from where the scraped the paint getting the windshield out). All the roof should need is a quick sand & re-prime for some tiny surface rust spots, new sealant in the gutter and to be painted.
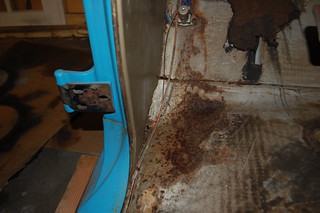
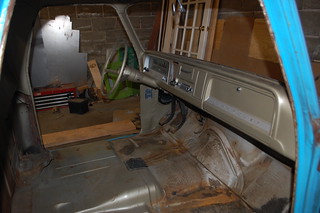
The bad now, there is rust in the floors at the outer edge, though not much.
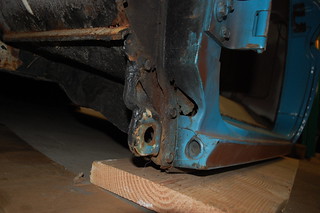
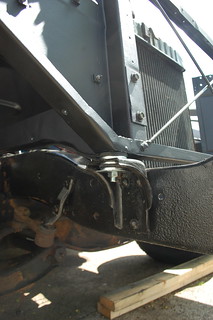
The cab has also had cab corners and rockers done, but they put the new rocker on over any issues under there, and made the inner rocker out of scrap steel and barely welded it to anything. So the outer rocker is coming back off so I can re-do this area.
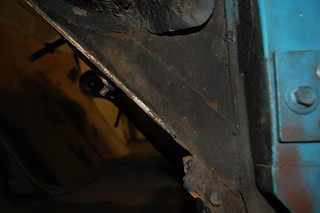
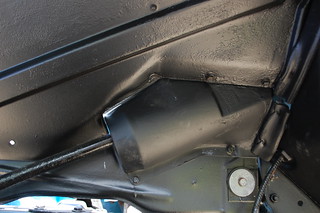
There is also this mystery patch, so that has to come off to find out what is going on there.
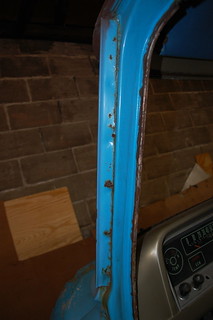
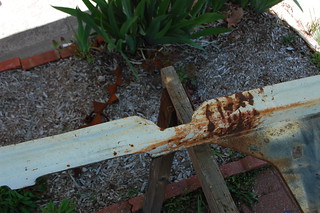
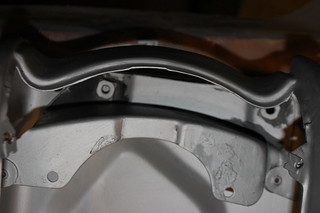
The only rust not in the floor I’ve found so far is in the driver’s drip rail(but non in the passenger side, weirdly). Once I remove the rusty one, I’ll either scavenge the one off my old cab, or cut the rusted section off the drip rail and weld on new metal.

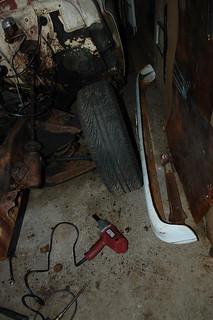
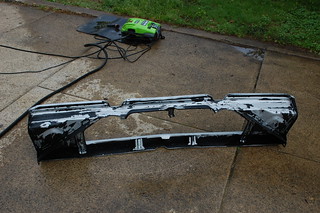
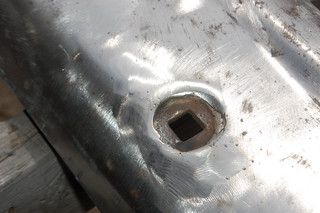
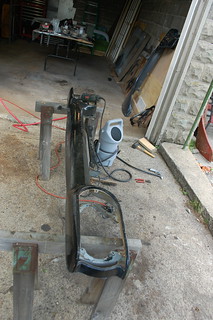
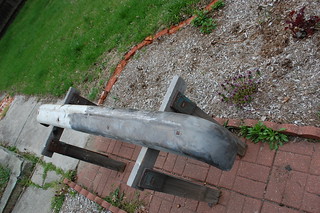 So once the bumper was off, I stripped it of several layers of white paint, and ground down all the surface rust. I was pleasantly surprised to discover it doesn’t appear to be bent, and doesn’t have an dents in it.
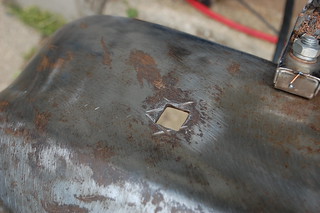 Before I could start the repainting, I had to address the gouge I’d made with the cutting wheel when I cut the various bolts off.
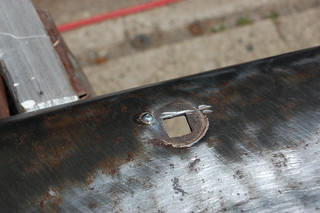
 Once that was done the bumper was coated in MasterSeries & primer like all the other parts.
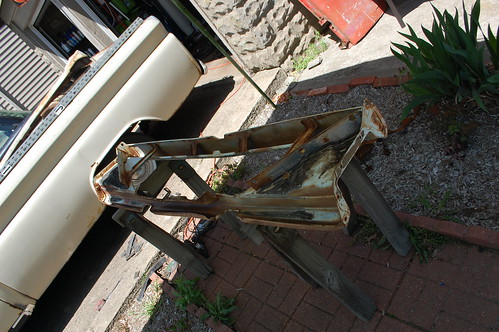
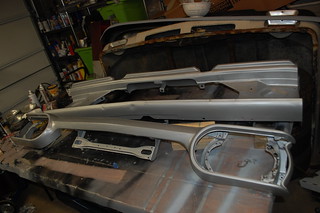
 The first order of business was to unbolt everything from them and get to work grinding all the paint off. The grille panel has this odd spot of rust. Which, given its location, was probably the result of battery acid from a battery leaking or exploding, fortunately it was only surface deep and came right off.
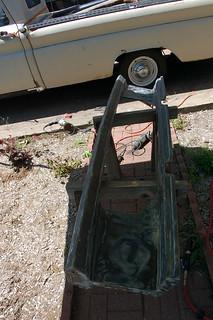
 Fortunately this turned out to be an easy fix, the brace on the back had a cutout where the GMC grille hole was supposed to be, so I just had to drill them out and I had the
 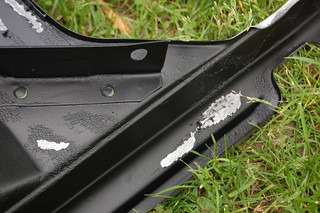 I painted the backs of both with Rustoleum, then sprayed the back of the grille panel with truck bed liner. I think it was because I didn’t dust the parts with primer when the MasterSeries was still wet, but when the bedliner went on it crinkled and lifted most of the Rustoleum off the back of the grille panel.