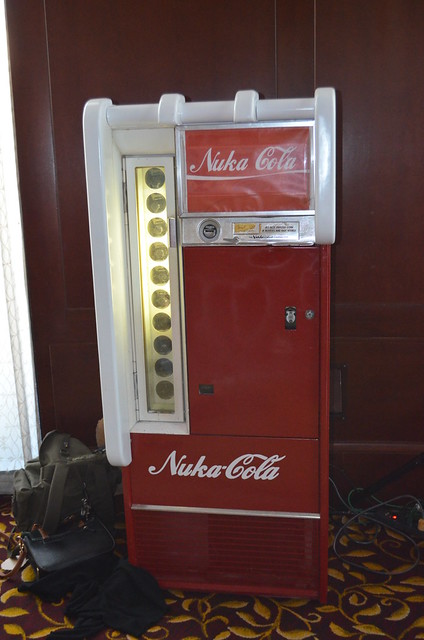
Sometimes I build stuff that amazes even me. This working Nuka Cola machine is one of them. I was in charge of props for Templecon last week here in RI, and our theme was post-apocalypse. So it gave me a chance to build something I’ve been wanting to do for a while, a real Nuka Cola vending machine.
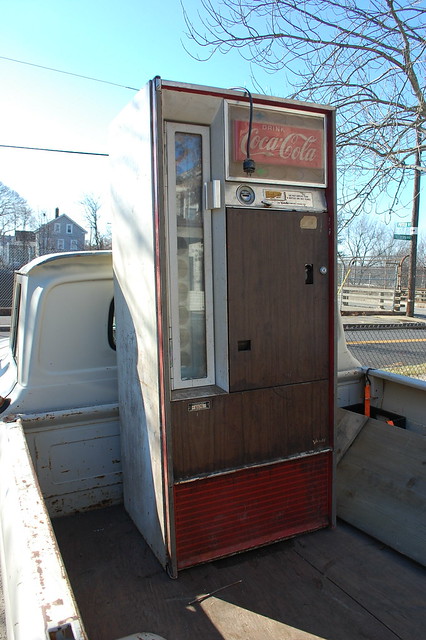
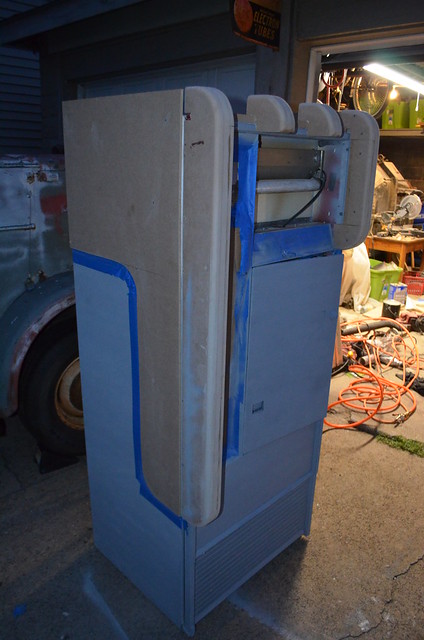
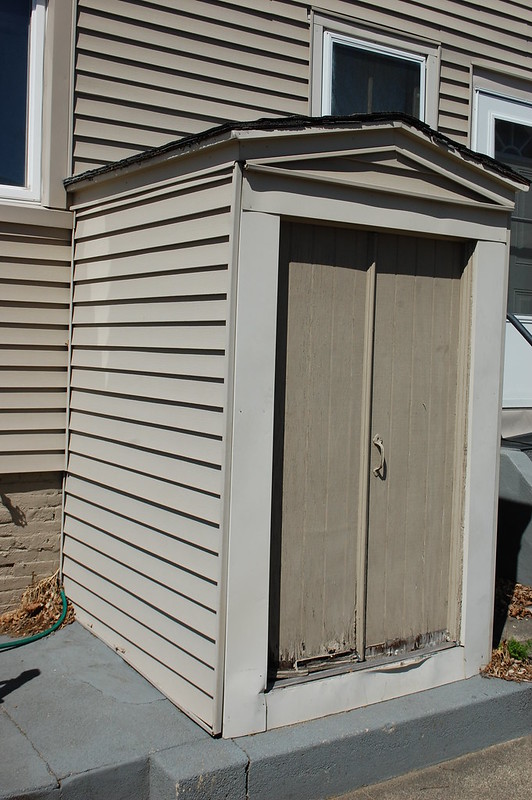
It started with a battered and ugly 1960s Vendo V90 Coke machine I picked up for the princely sum of $90. It was a dirty mess and parts of it had been badly brush-painted at some point. But all the mechanicals worked and it was the right starting shape.
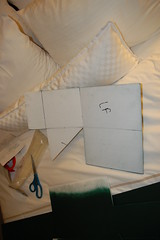
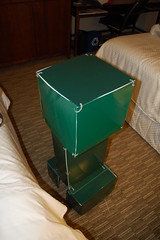
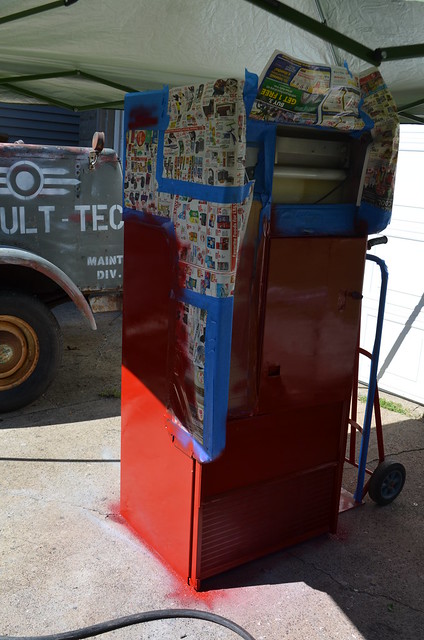
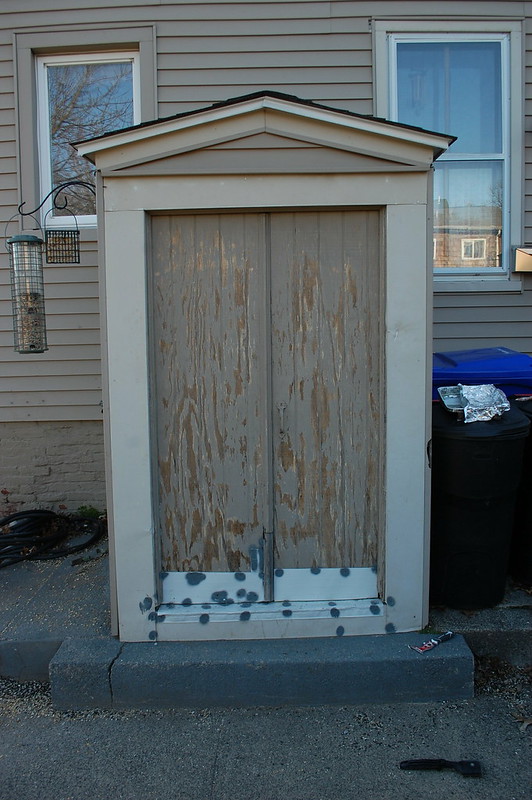
The machine was scrubbed, sanded and primed, and the add-on bits were constructed out of MDF and PVC pipe. I planned to make the top of the machine, complete with small TV screen, but was on too much of a time crunch. So just the front & sides were done. The light up sign on the front was also modified to stick out more to give the machine added dept.
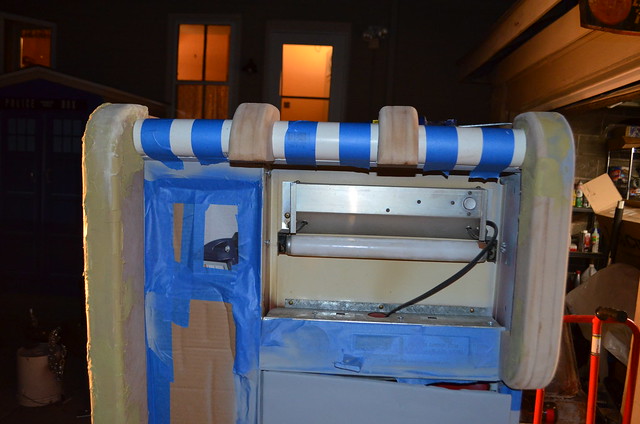
After that it was several layers of body filler and a lot of sanding to get the shape right and seal the wood enough for a glossy paint job.
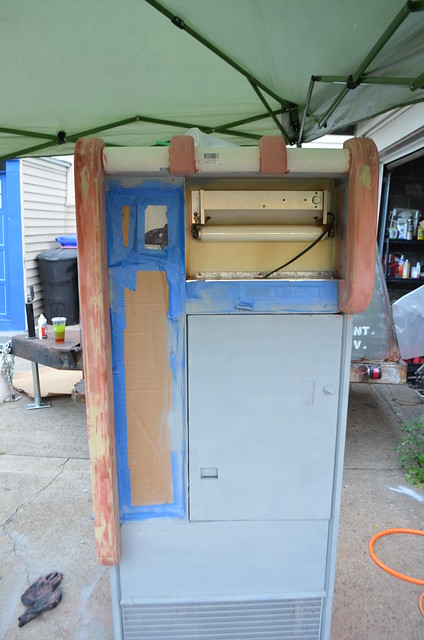
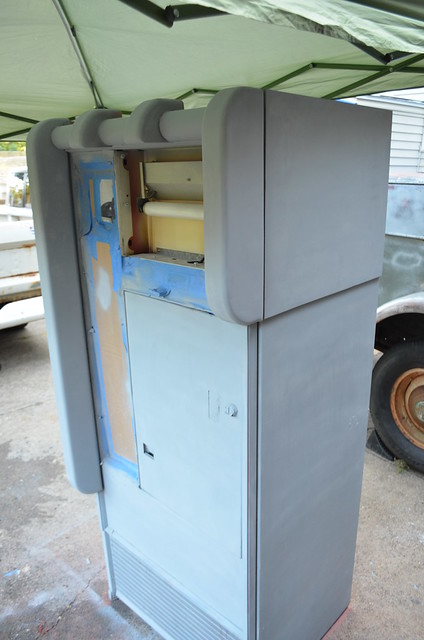
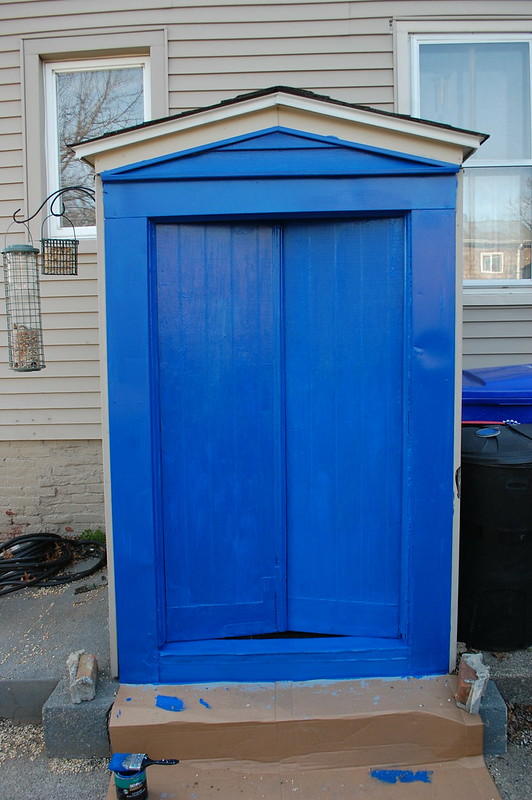
Then primer, more sanding, and more primer. The joke at this point was “Got the 3d model done, now just need to build the textures.”
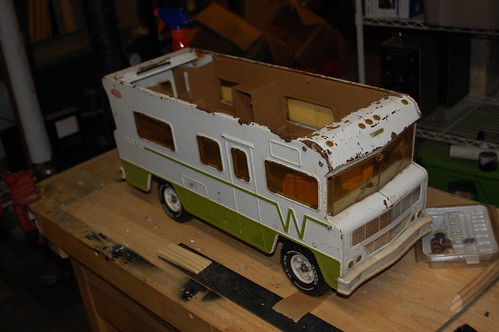
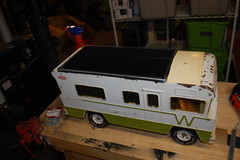
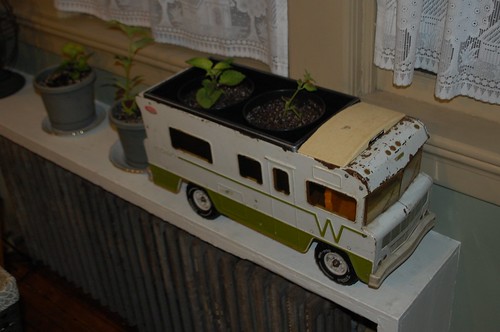
Then the red went on. You can see my custom painted trailer in the background, more on that in another post.
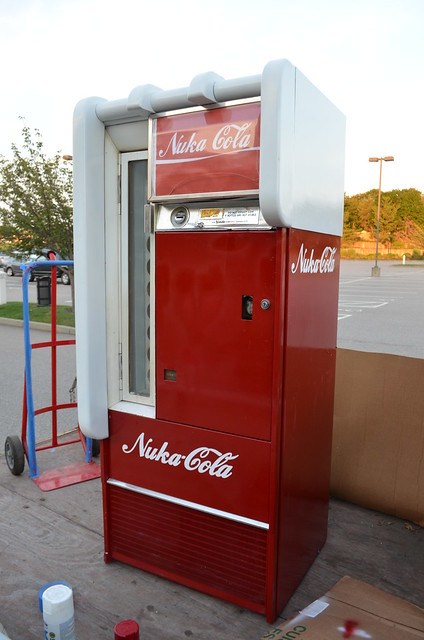
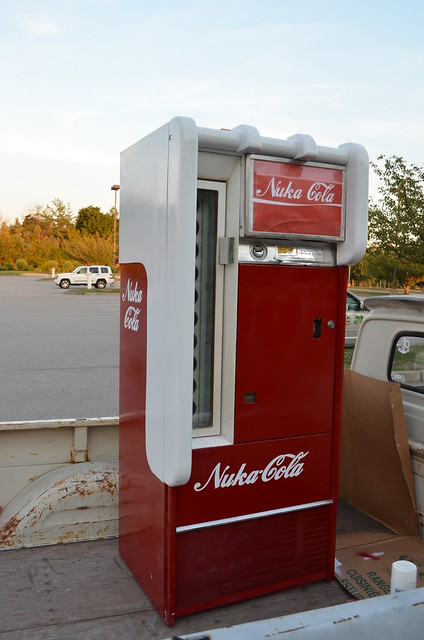
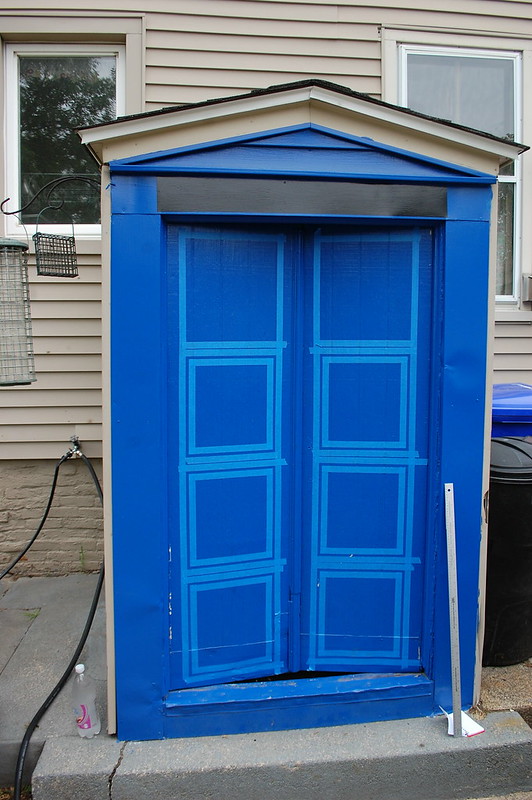
Time was so tight the machine was loaded in my pickup on Monday night(the only time I had enough people to get it in there). The white was masked & painted in the back of the truck that night, and the lettering & front sign were installed Tuesday before heading over to the convention on Wednesday.
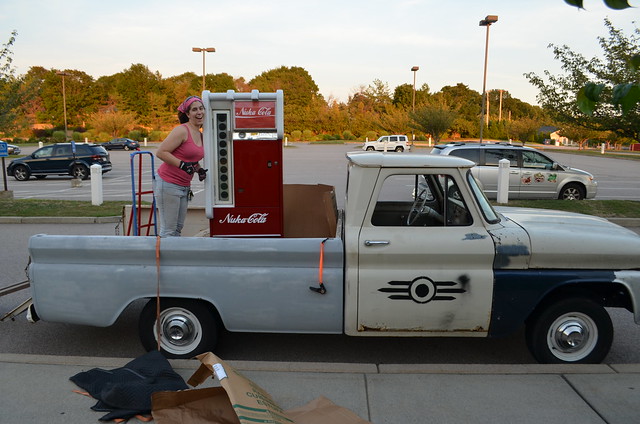
My friend Liz, who was a major help in getting everything done in time.
We actually ended up touching up the machine in the parking lot as the paint was so fresh it got scratched from the trip over, despite careful wrapping.
Once in place we loaded it up with bottles of Nuka Cola & Quantum. Sadly the pictures didn’t pick it up, but we had UV LEDs behind the quantum bottles to make them glow.
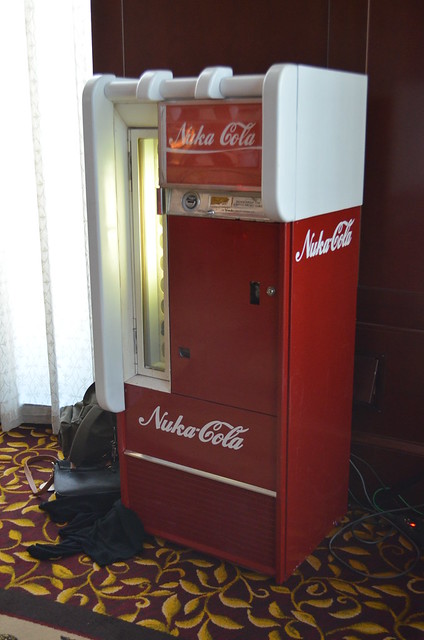
Now that the convention is over the machine is in my garage, waiting for me to decide what to do with it next.


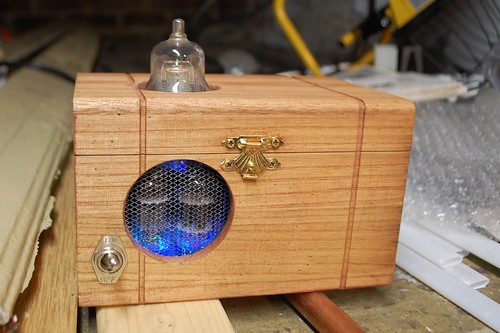


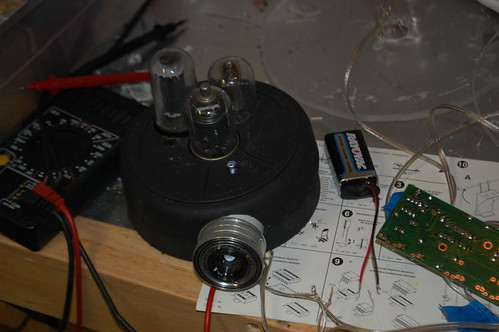
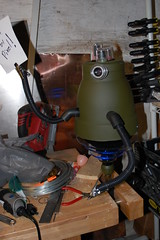
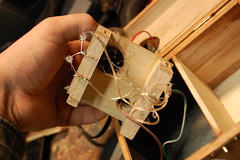 Since I was in a hurry and it was a simple circuit, I use some speaker wire and soldered it together and used hot-glue to insulate the connections. It is ugly, but hidden so it doesn’t matter. Amusingly the only thing I didn’t have on hand for this project was a 9-volt battery. I had to steal one out of a smoke-detector to test the thing, and buy one on the way up to give it to her.