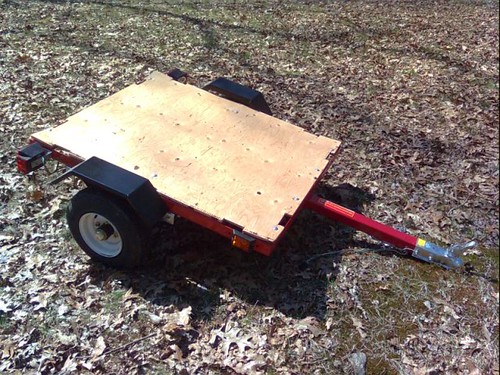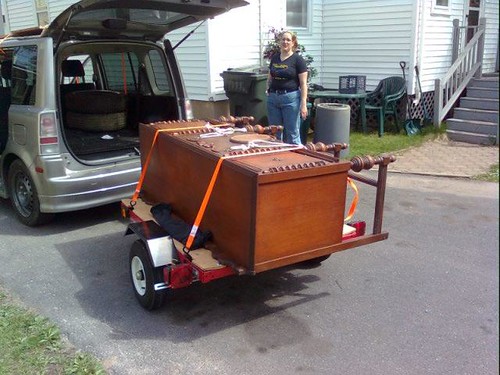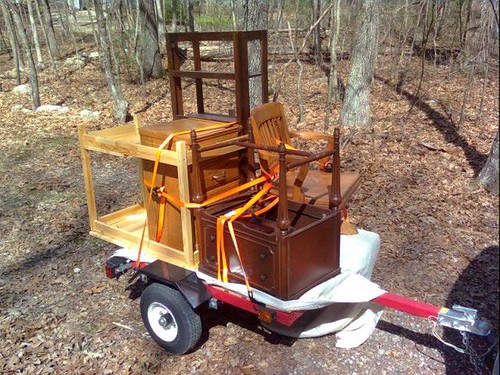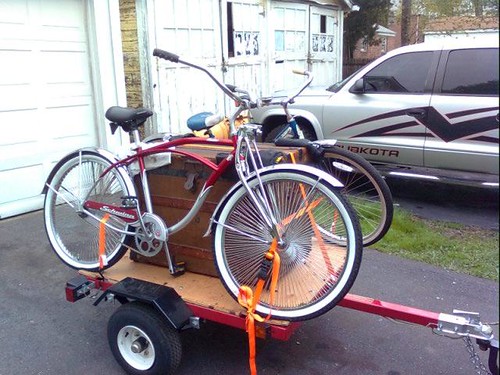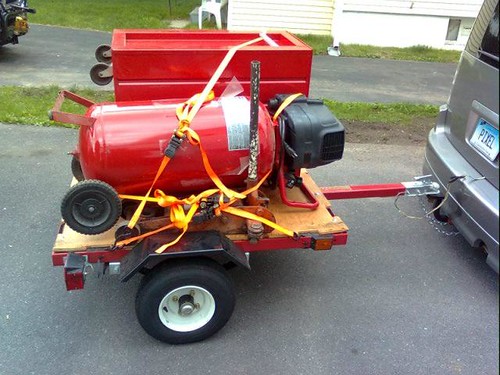

The wee trailer has served me well for over two years no matter what I threw at it, and despite a lot of abuse it just kept going. However it was due for a bit of maintenance, so I decided to fix several issues at once. As you can see in the pic above(the trailer is upside down in that shot) the license plate is utterly mangled from getting caught every time I tip the trailer on end to store it. And this is after the original bracket broke off. Also the tail lights were moved to the fenders after those brackets broke, but they point to far up and aren’t easy for other drivers to see. So While I was greasing & adjusting the wheel bearings I decided to fix those once and for all.
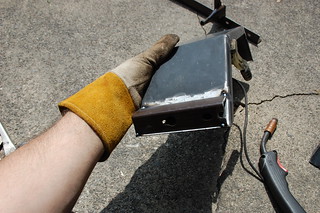
As the house is eating most of my money, I decided to see if I could do this with only stuff I had around. So I dug out a now extra bed frame, and cut a piece off to serve as the new tail light bracket. I tacked it to the bottom of the fender.
 Then I finished off the welds. After grinding the welds down I added a few more tacks to fill any low spots and ground that smooth, continuing until it looked decently smooth.

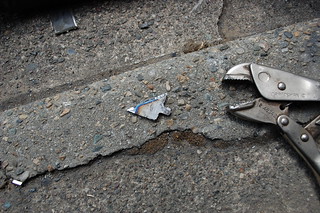
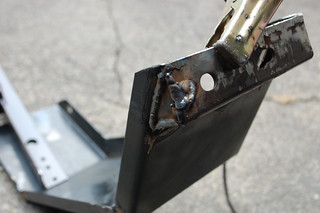
To save myself a lot of effort, I cut the bed frame so I could use the existing hole as places to bolt the tail light. On one side this meant another hole was on the edge of the cut, leaving this small cutout.
I wanted to cap the visible end of the bracket to make everything cleaner, so on this side I added a tab to the triangular filler piece.

This is the filler fitted into place, don’t take this image as a sign that I am an amazing fabricator, I was surprised as hell that I managed to get it to fit this well.
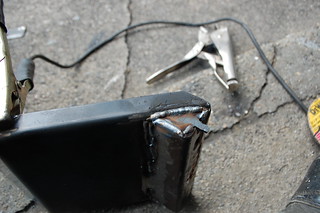
Then welded the cap in place. Once it was welded in I hammered over the tab and welded that in.
And fully welded.
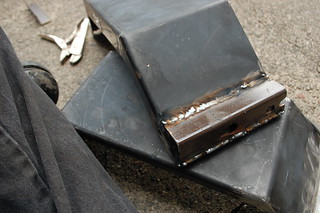
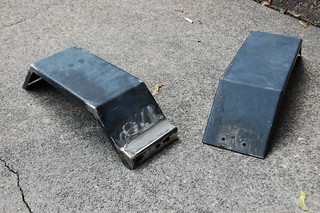 One bracket built, compared to the unmodified fender.
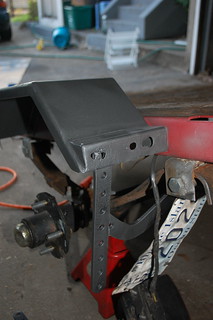
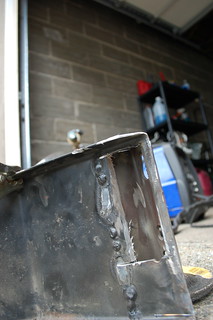 Once the brackets were attached, I cut the fender out behind the bracket so I can reach the bolt on the lights.
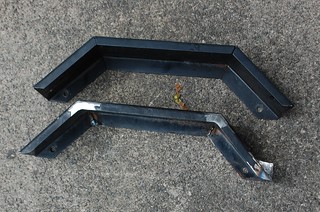
I also welded the seams on the fenders for strength, and to allow me to grind them smoother. Also barely visible in this shot is that I smoothed the corners.
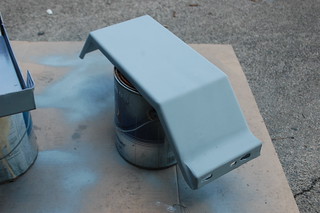 Fender with a coat of zinc primer. I didn’t worry about getting everything perfect as they are going to live a hard life anyway. Also I was planning to use the hammered metal spray paint, which covers a lot of sins.
 I also wanted to build a sturdier license plate bracket, hunting around I found these brackets from a dead garage door opener. The curved one turned out to be perfect.
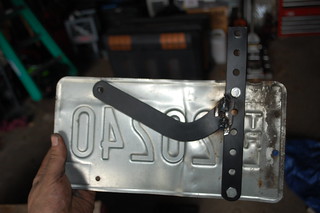 The completed bracket.
Installed on the trailer, and painted with hammered metal paint.

And the finished, re-assembled trailer. At some time soon I’ll need to replace the decking, at that point I’ll repaint the main frame. I also ground the rust off the rims and shot them with some leftover graphite paint from Box’s wheels.