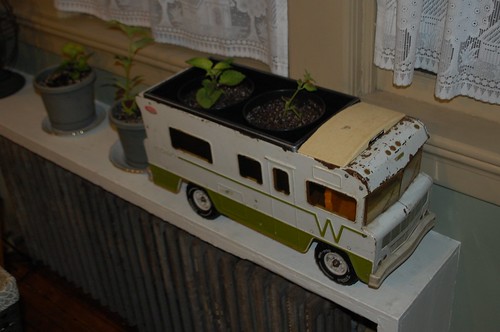
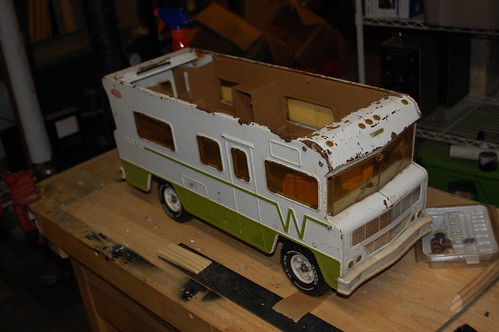
I bought this Tonka Winnebago at a flea market a few years ago for $5. I’d found out about these things after running across a thread where someone made it into an R/C car/tool box/tow vehicle for his other R/C cars. I really liked the battered look of this one, but didn’t know what to do with it, so it went into storage.
 After moving it twice, I was looking at it again and decided I needed to either do something with it, or get rid of it. I’ve wanted to display it, but it takes up so much room, and the lid was broken. I then had a brain wave and decided to turn it into a planter for my g/f’s ever-increasing plant collection.
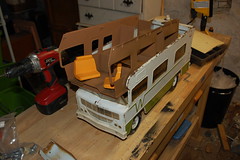
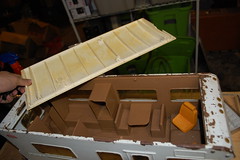
After measuring the roof opening, I was able to locate an appropriately sized planter, and went to work. With the header over the windshield unscrewed, the entire interior comes out easily. Without it, I understood why that guy had turned it into a toolbox, there is a ton of room inside.
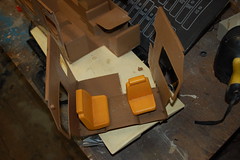 Next I sawed off the front of the interior, I needed the back gone to fit the planter, but this way I still had the front seats. I’m keeping an eye out for some appropriate action figures to put here. I also measured & cut down the roof as well.
 A sheet metal screw was added to hold the partial interior in place, and glue for the roof bit. Lastly I bent & cut the old roof prop-rod to serve as a brake for the wheels. It wedges into the spokes inside the wheels and keeps it from rolling around and dumping itself an a bunch of plants on the floor.
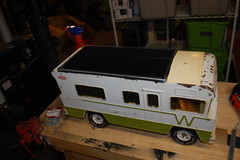 All that was left then was to drop the planter tub in place and call it done. I got lucky and found one at Home Depot that was exactly the right width. The planter isn’t secured in as I wanted it to be removable for watering or repotting. It should be ok supported on the edges, but if it looks like it is sagging when filled with dirt I’ll add some wood blocks inside the winne to support the bottom.
 All told it was a quick fun little project that let me do something useful and fun with something that was otherwise sitting in storage collecting dust. Plus now our living room looks that extra bit sillier.