Major Truck Project started

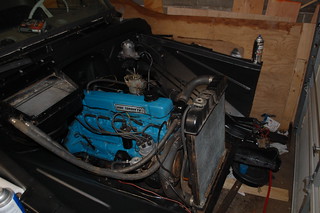
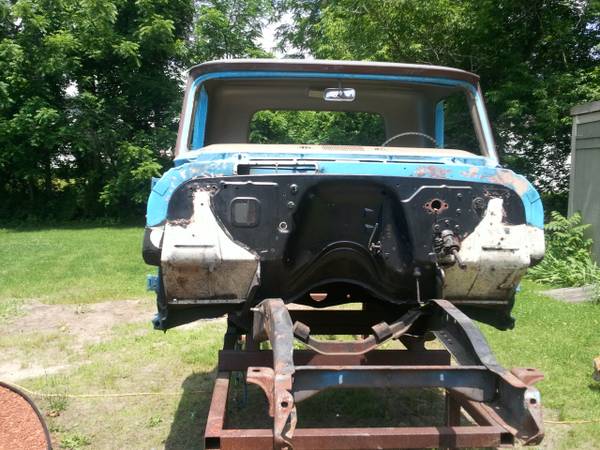
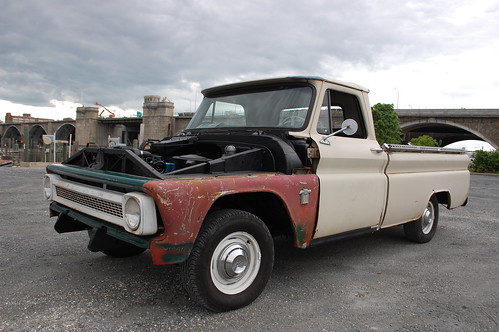
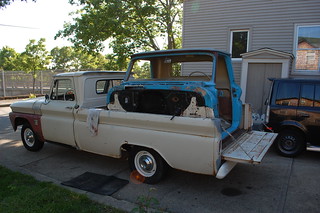
I finally started in on the major truck project that was supposed to happen this spring before I broke my collarbone. I’m pulling the very tired 230 inline and 3-speed and swapping in a 18K mile 250 inline, and a 3-speed with overdrive. I’m also rebuilding the front suspension and adding disc brakes with a 2″ drop.

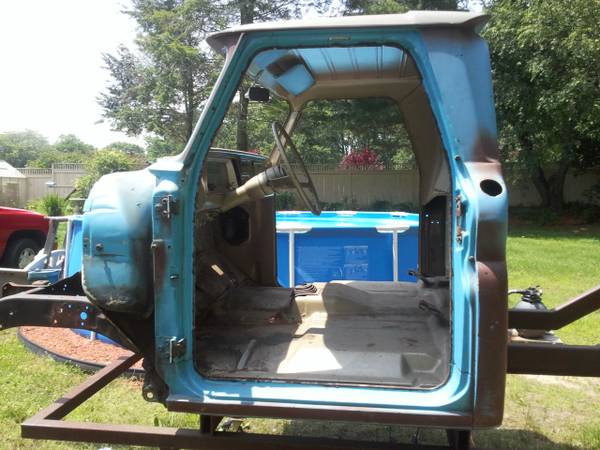
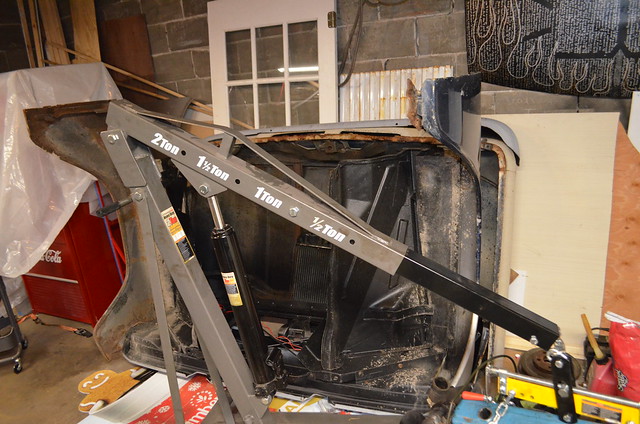
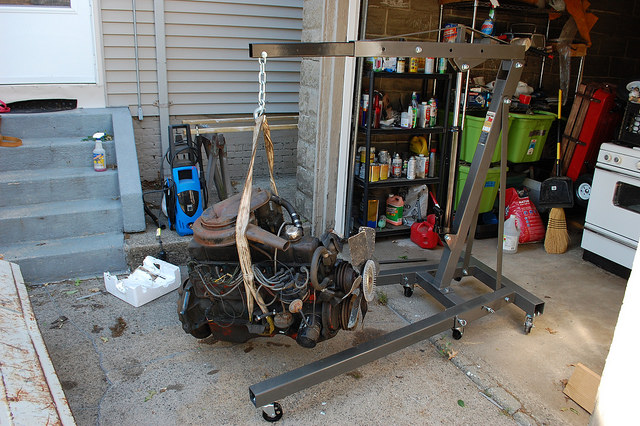
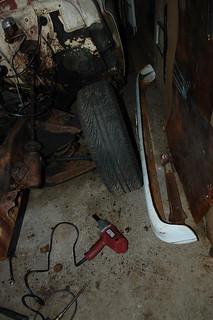
The day a friend came over and between her, my partner and I we had the hood, bumper and entire front clip pulled in an hour. That went so well we decided to pull the engine & trans while they were there. Disconnecting everything and getting the cherry picker set up took another hour. Then we spent the next 1.5 hours trying to get the driveshaft yoke to slide out of the transmission. It did not want to come out for anything. I ended up ratchet-strapping the engine to the front frame crossmember while it was supported by the cherry picker, then a combination of prying the yoke while someone violently rocked the engine from side to side and the third person trying to tighten the ratchet strap finally pulled it out.

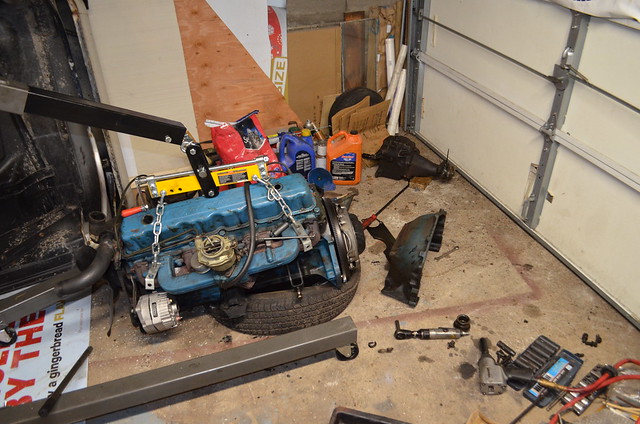
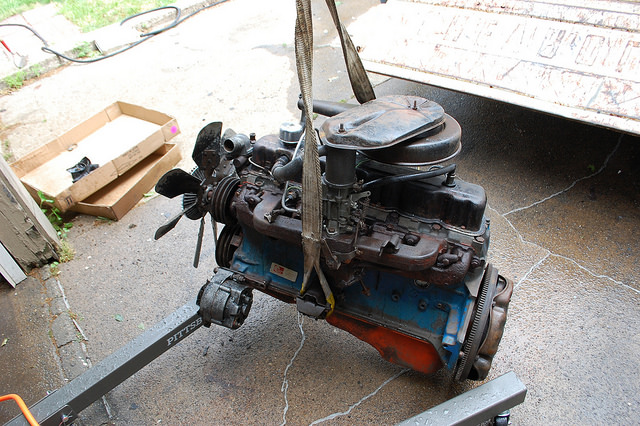
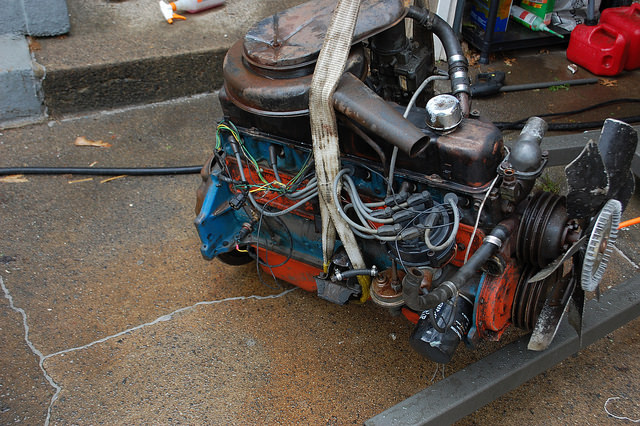
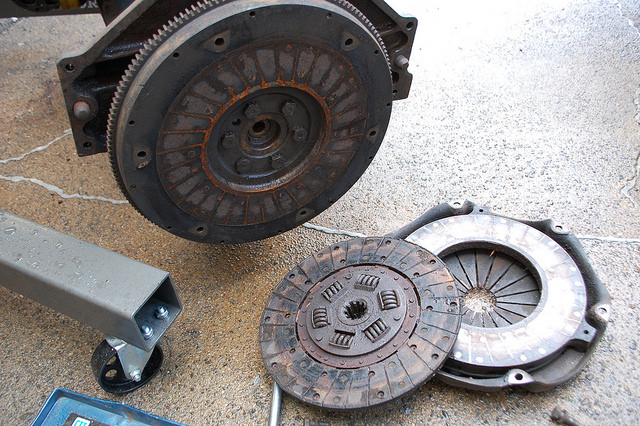
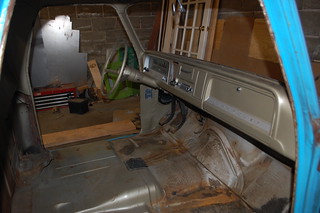
 I separated the engine & transmission to free the bellhousing, the only major component I will be reusing for the “new” drivetrain.

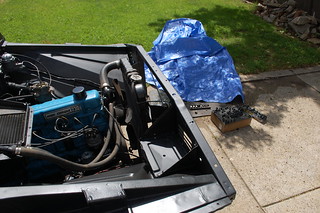
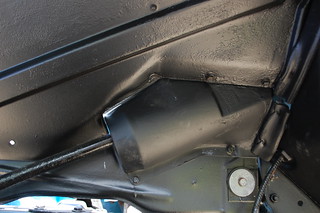
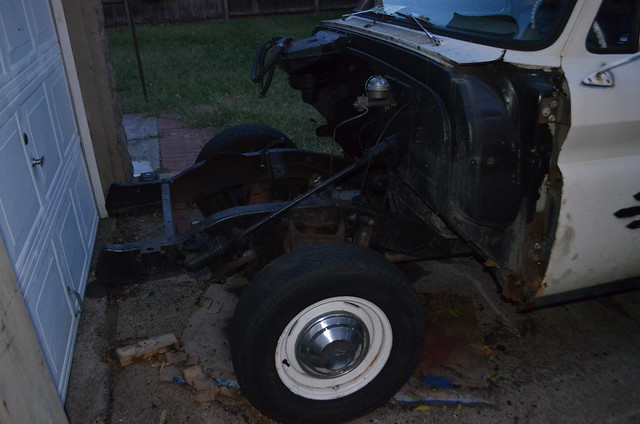
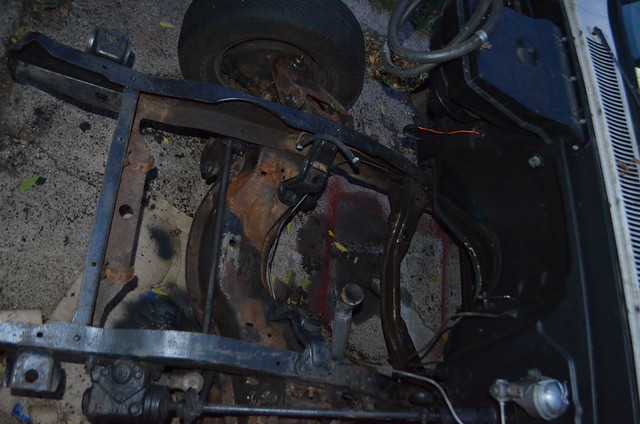
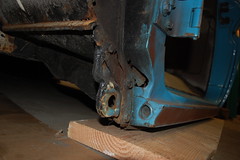
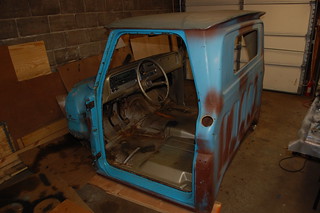
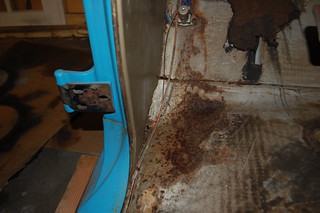
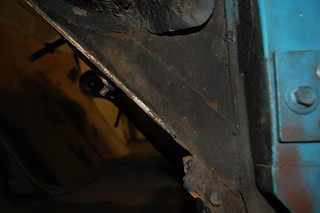
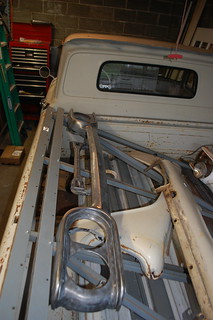
I also got the left suspension stripped off. The only part of the suspension & brakes I’ll be re-using are the upper & lower control arms(with new bushings), the center link, & steering box.

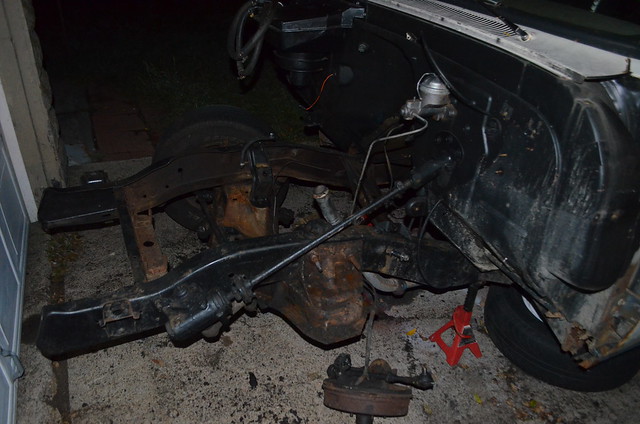
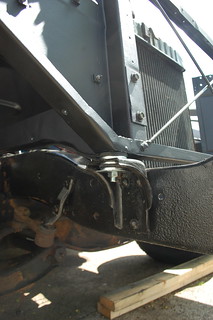
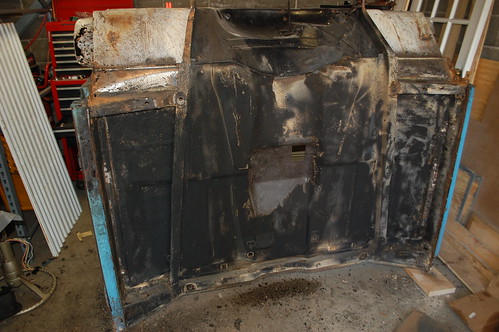
Once all the suspension & brake lines have been stripped off I will be doing major cleaning/degreasing in here, then either grinding or sandblasting the frame for painting before slapping new components on and running new brake lines. Then the new drivetrain can get assembled and installed.

This shouldn’t be a time-consuming project, but a combination of weather, timing and health are conspiring against me, so I’m just hoping I have it buttoned up enough to get the sheetmetal back on by snowfall.

$150 utility trailer progress report #3

It lives! Or more accurately, it tows! As of the last update I needed to run the wiring and install lights. I finally took care of that, with my awesome partner taking on the job of crawling under the trailer and fishing the wiring.

The lights are the ones that came with the trailer, I installed them sideways and tinted the license plate light portions red to give the trailer better side visibility. They are surprisingly bright for ancient lights with cheap bulbs, but I will probably paint the inside of the housings silver and get some red LED bulbs to make them really bright.

I found out the links for the tow chains won’t fit on the loops of the truck’s Curt bumper, so I’ve already upgraded them to larger snap-hooks rated for 2600lbs each.

Prior cost: $368

upgraded chain hooks: $6

electrical connectors, heat shrink, etc. $0(already had)

nuts & bolts to mount lamps: $3

Total: $377

Motor!

1

Last weekend I finally picked up my “new” engine for the truck, that I’d bought just before breaking my collar bone. This weekend I bought a engine hoist so I could unload it and start working on it.2

It is a Chevy 250 inline(to replace my 230) that was rebuilt in 1998 and has racked up all of 18K miles due to the truck being parked a few years later due to frame rot. I heard it run before it was pulled and it was smooth, but had a destroyed water pump bearing.3

The plan is to re-gasket it, throw a new water pump on, have the flywheel re-ground and assemble it with a new clutch and a 3-speed overdrive manual, they stuff it in the truck this summer.4

Oil coated and rusty, sooo tasty.

Digging into the new cab

Got the new cab tilted on it’s back, and started digging into the underside.

The outer rockers have been replaced already, but whoever did it didn’t actually fix the rust under them, just covered it with new rockers. I knew about this, so I’ll have to cut the new outer rockers off to properly fix the stuff behind them(inner rockers and lower front pillars).


Also found rust in all four cab braces, floors in front outer corners, cowl vents, & cowl panels below vents.


Annoyingly, I found out the cab corners *were* replaced, but done very badly and covered with bondo. Those are coming out too, to be done right


As bad as this all looks, It is still better than my other cab. I have everything to fix it except 1 cab brace & the lower front pillars. I’m going to form the patches for the cowl vents as those are invisible under the fenders.


I’ve decided that the cab is a low priority, I’m going to get all the rust *on* the truck delt with, then swap the cab over. However I wanted to mess with the cab a bit, so I decided to knock something easy out first.

This cab was from a deluxe trim truck (like the other ’64 I had), so I need to weld up the 4 sail panel screw holes, and the 4 larger side trim holes. I may put the side trim on this truck later, but if I do I’m going to used double sided trim tape.


For the small sail trim holes I just removed the paint and filled the holes with the welder & ground them smooth.


For the bigger trim holes I’m making small circular filler pieces and welding those in. A skim coat of filler and these should be perfect.


Bedside Grind

Sunday I decided I wanted to do something that would make the truck look better, and not just make the parts in the garage look better. So I broke out the D/A and angle grinder and stripped the passenger bedside. The truck has been repainted once, and the top coat of fawn came off with no effort, the newer primer and original paint/primer put up more of a fight though. I did manage to get it all stripped in one day.

I did find filler behind the wheel and one spot higher up in front of the wheel, but the filler was in good shape and looking at the backs of the panel it appears to be smoothing small imperfections and not massive dents, so I left it in place rather than grinding it out only to have to re-do it.

The paint did not want to come off the bedside cap for anything so I left it for now. I’ll have to re-grind this whole area when I install the ’50 Pontiac lights, so I’ll worry about it then.


There was two spots of rot in the wheelwell, which I knew about. I  also found some pinhole rust in the bottom of the bedside cap. Nothing dire though.

Once it was stripped, I coated it in Masterseries anti-rust paint as we have thunderstorms predicted for this week. I’ll just grind back the Masterseries when I get to he rust repair & bodywork.

Truck temporary assembly & cab acquisition

DSC_3240

DSC_3239
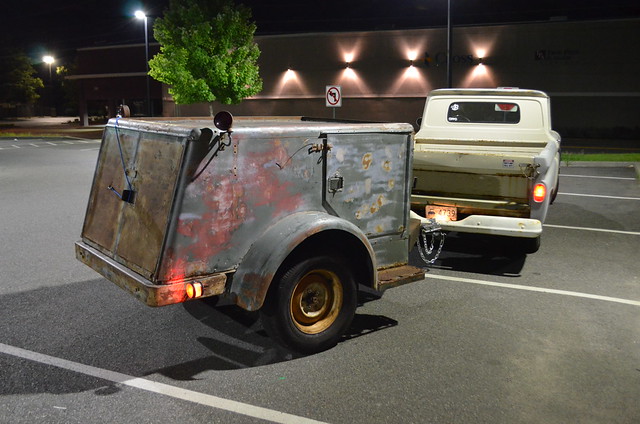
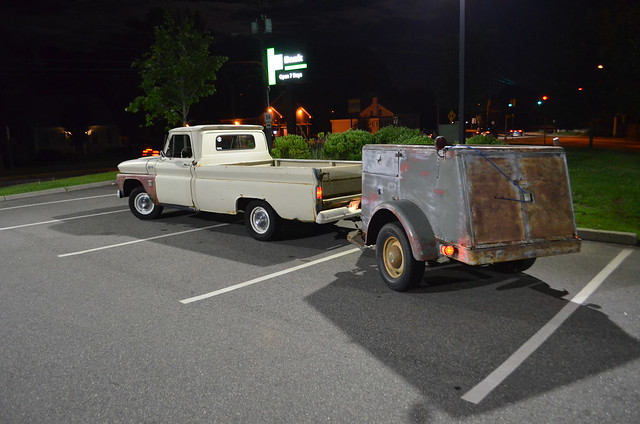
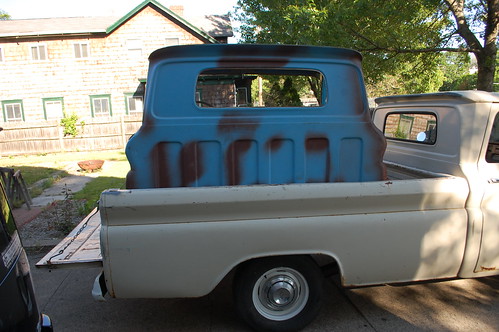
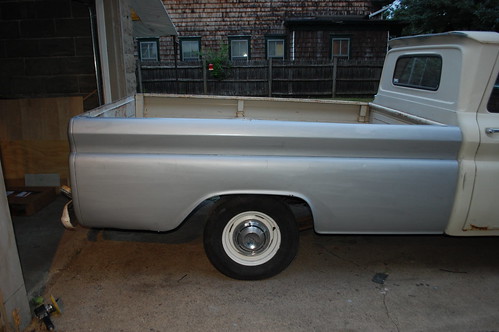
I put some of my junk parts on the truck so I could use it. I have to admit it looks pretty cool like this. I drove it up the Boston to drop of some shelving that has been sitting in the truck since the fall, and I got more thumbs up and compliments with the truck like this than in any other trip.

DSC_3242


I put the hood on shortly thereafter, as having the engine exposed while the truck was parked outside seemed like asking for trouble.

DSC_3248


Got my “new” ’66 cab home the next Saturday. I ended up paying only $400 for it, and the guy threw in a beat up aluminum grille for free.


DSC_3244

Rounded up 3 of my friends to load it in the truck and unload it into my garage. The unloading was full on 3-stooges madness trying to get it out of the truck inside the garage without smacking it into the roof beams.

DSC_3254


Once it was in my garage, I finally was able to dig deeper into the new cab and see whet I now had.

DSC_3251


It came with the full dash(lessheater stuff), AM radio, steering column & wheel), and a set of nice blue sun-visors(the center mirror looks nice, but the ball & socket is rusted solid). I’ll be keeping the wiper switch as it appears to have a washer switch built in, other than that everything else is getting sold to help put some money back in the truck fund.


DSC_3252The biggest selling point for me is that the roof is perfect inside & out. No dents or rust(the rust at the front edge of the inside roof in the sun visors pic is surface rust from where the scraped the paint getting the windshield out). All the roof should need is a quick sand & re-prime for some tiny surface rust spots, new sealant in the gutter and to be painted.

DSC_3259


The bad now, there is rust in the floors at the outer edge, though not much.
DSC_3261


The cab has also had cab corners and rockers done, but they put the new rocker on over any issues under there, and made the inner rocker out of scrap steel and barely welded it to anything. So the outer rocker is coming back off so I can re-do this area.
DSC_3262


There is also this mystery patch, so that has to come off to find out what is going on there.
DSC_3273


The only rust not in the floor I’ve found so far is in the driver’s drip rail(but non in the passenger side, weirdly). Once I remove the rusty one, I’ll either scavenge the one off my old cab, or cut the rusted section off the drip rail and weld on new metal.

Bumper? I hardly know her…

DSC_9737

The front bumper on the truck looked like hell when I bought it, when the truck was all battered it fit in well, but once I planned to re-do it, I knew the bumper was going to need help.

DSC_2921


Back during dis-assembly, only one of the eight bumper bolts simply unscrewed. Of the rest three snapped off and four had to be cut off.


DSC_2997
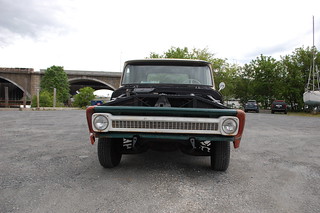
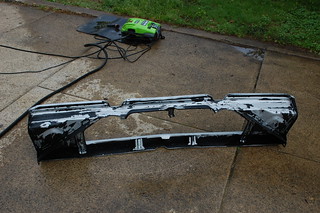
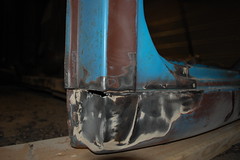
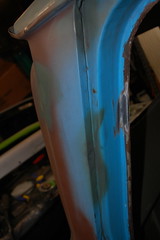
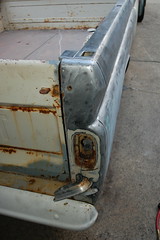
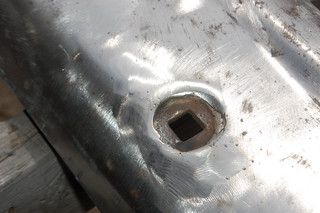
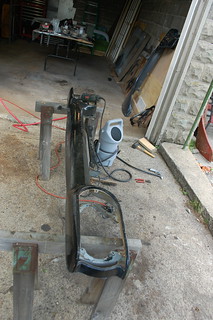
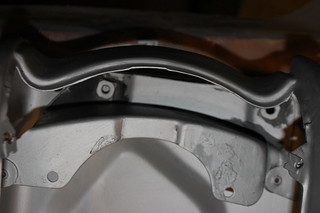
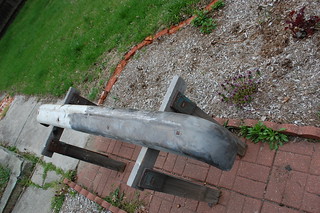
So once the bumper was off, I stripped it of several layers of white paint, and ground down all the surface rust. I was pleasantly surprised to discover it doesn’t appear to be bent, and doesn’t have an dents in it.


DSC_3087
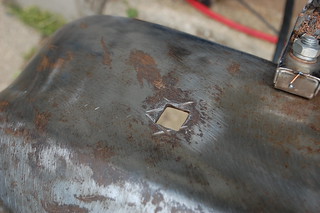
Before I could start the repainting, I had to address the gouge I’d made with the cutting wheel when I cut the various bolts off.


DSC_3088


First I filled them in with metal using the mig welder, then ground them smooth. This sometimes took a few rounds to fully fill them.


DSC_3093

The end result was something that, after primer & paint would show no sign it had ever been damaged and would be a stronger part of the bumper than if I’d just used filler.


DSC_3124
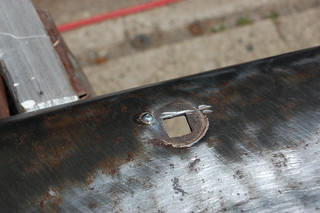
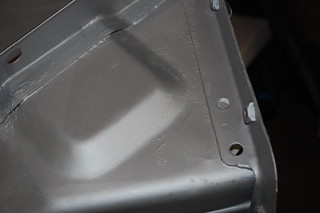
Once that was done the bumper was coated in MasterSeries & primer like all the other parts.

Thrills & Grilles

DSC_3118

Despite being in very good shape for their age, the GMC grille from the swap meet and the grille support panel from Arizona were both still going to need work.

DSC_3119
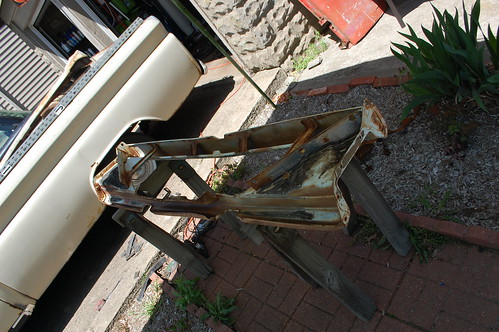
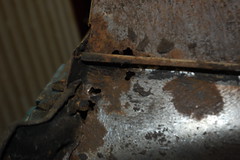
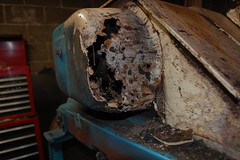
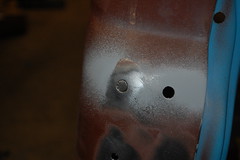
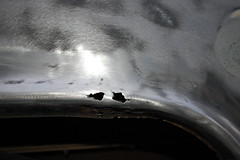
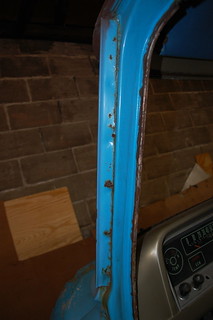
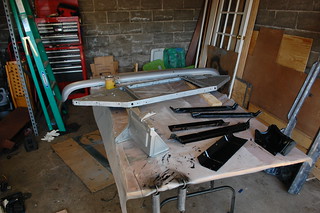
The first order of business was to unbolt everything from them and get to work grinding all the paint off. The grille panel has this odd spot of rust. Which, given its location, was probably the result of battery acid from a battery leaking or exploding, fortunately it was only surface deep and came right off.


DSC_3123


A few hours work gave me a shiny and largely rust-free grille panel. There was no rot, but there will be a lot of little dents & dings to fix.


DSC_3168


The grille was stripped of its little headlight trim & headlight buckets. These will be rebuilt & painted before going back on the grille.


DSC_3200


Then the grille was similarly ground clean. I found one old dent that will need a skim of filler to be smooth, but there were no nasty surprises hiding under the paint.


DSC_3207


Both were given two coats of MasterSeries anti-rust paint.


DSC_3214
One surprise I did run into was that despite having come with a GMC grille on it, the Grille panel from AZ was actually for a Chevy, which meant two of the mounting hole per side were in the wrong place.


DSC_3212
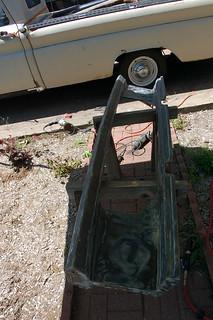
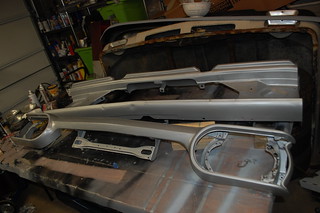
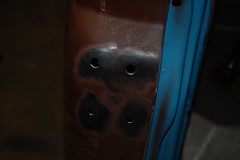
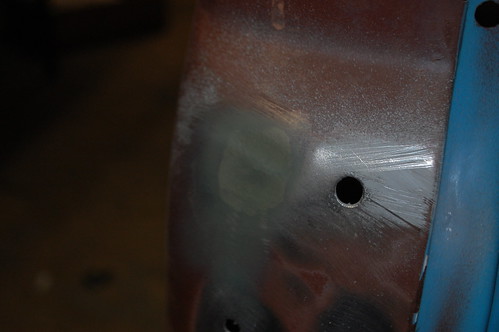
Fortunately this turned out to be an easy fix, the brace on the back had a cutout where the GMC grille hole was supposed to be, so I just had to drill them out and I had the correct holes needed to let the GMC grille bolt up.

DSC_3228
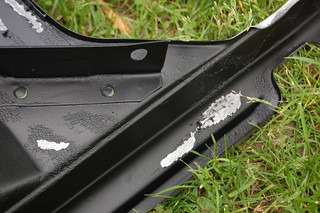
I painted the backs of both with Rustoleum, then sprayed the back of the grille panel with truck bed liner. I think it was because I didn’t dust the parts with primer when the MasterSeries was still wet, but when the bedliner went on it crinkled and lifted most of the Rustoleum off the back of the grille panel.

DSC_3231

I power-washed it the next day and was left with the result at the right. I’m going to need to sand this down to get any other unattached paint off, then re-prime & paint this again. Not a huge setback, but very annoying.

Giving the truck a bit of structure again

(Yes, I am finally updating this, this is all work that was done shortly after the work in the prior posts)

DSC_3140

After spending a  week getting all the layers of paint & bedliner on the rebuild radiator support, I finally re-assembled the re-done inner structure of the front end.

DSC_3070


I painted the inner fenders with truck bed liner and installed them.


DSC_3076


The engine got a quick repaint just so it wouldn’t look terrible in the redone engine compartment. It’ll get a better job once I actually re-do it.


DSC_3141


Then the radiator support went in. The “new” radiator support is definitely bent, and despite my efforts to straighten it, it is still not right. However it is still an improvement and will suffice until I find an good one.


DSC_3148


I cleaned up and reused the original bolts for most of it, and bought new support mount kits for the radiator support.


DSC_3145

Just after these pics were taken I put on the upper radiator bracket and was able to start & run the truck for the first time in two months. I then installed a Pertronix electronic ignitiion kit in the distributor, now it starts much easier, unlike the fight it used to be.