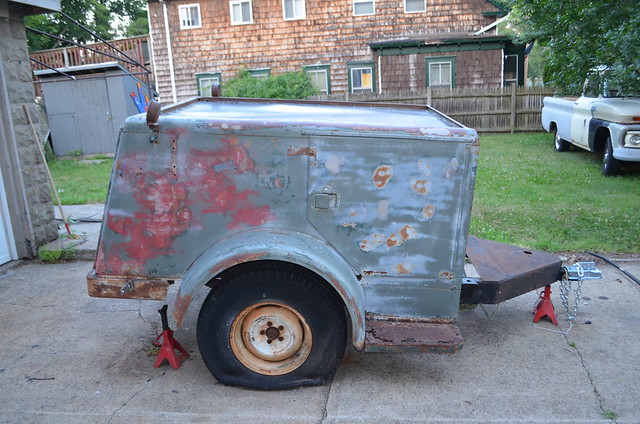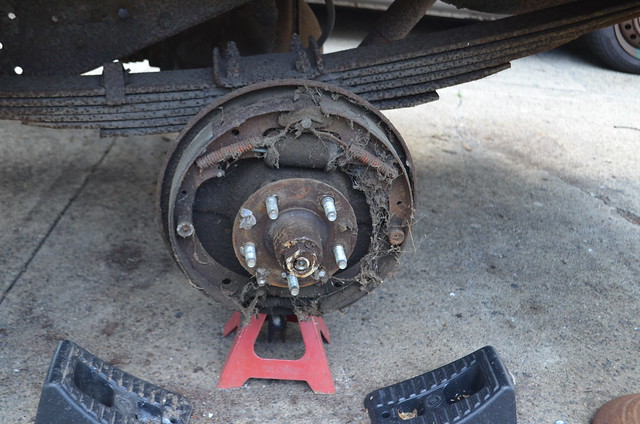
For those interested in the ongoing saga, it is still ongoing, but massive progress was made. I pulled the wheels off the trailer. The driver’s side(above) had no brake drum, but did have recent lug studs & nuts, so that was a pleasant find.
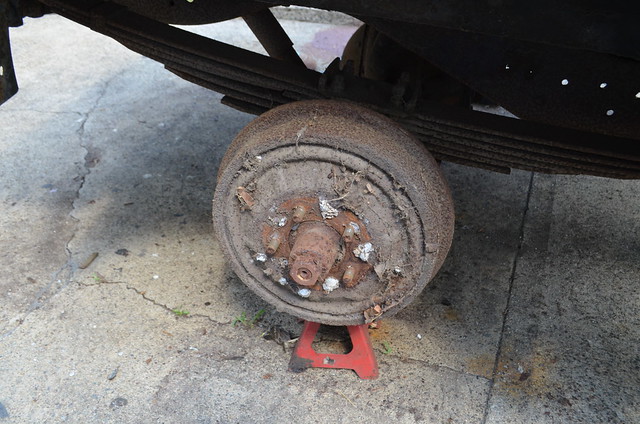
The passenger side required a 2 foot breaker bar with a 3 foot cheater bar. However I didn’t snap any lugs, so it went easily all things considered.
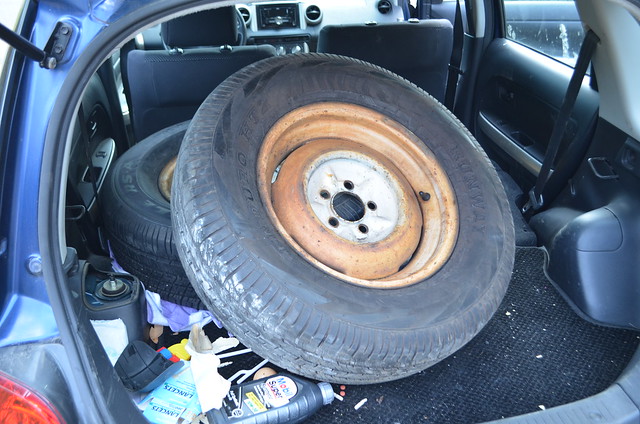
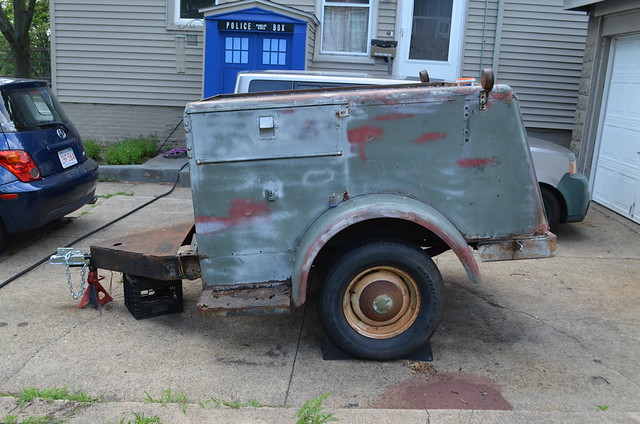
A couple of hours hunting junkyards and used tire shops netted me two mismatched but similar 235/70R16 passenger tires. They should be fine as I’m not planning to do any heavy hauling with the trailer. If I start using it for heavier loads I’ll upgrade to proper heavy duty trailer tires.
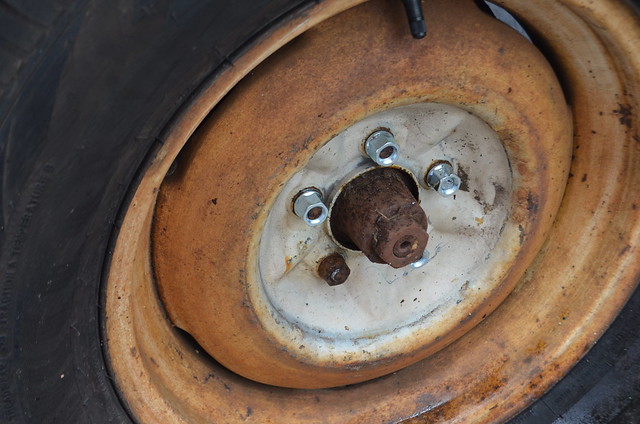
Replaced 4 of the rusted lug nuts as autozone(the only place open at 5pm on Sunday) only had 4 so I need to find another. Or find 5 that are the same style as the far side(these take a different socket size).
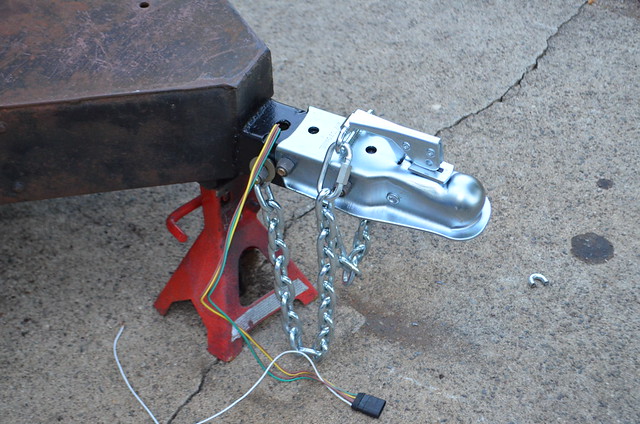
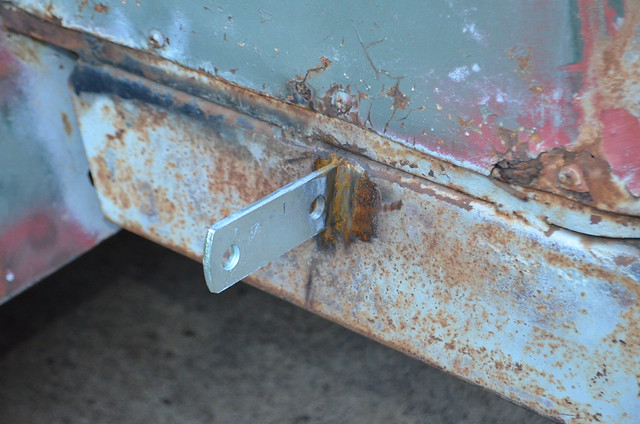
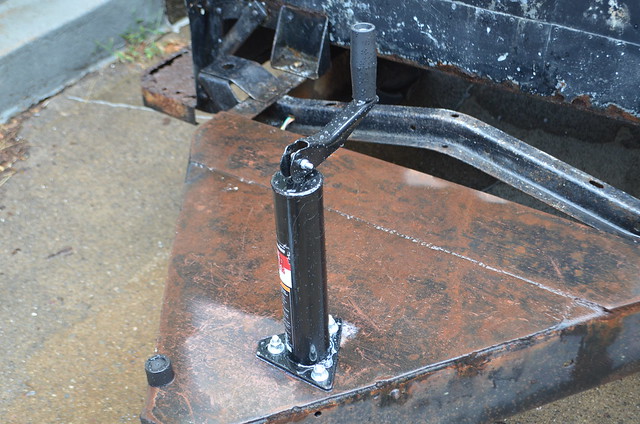
I also installed a Harbor Freight trailer jack. I had to drill one new hole to match the pattern on the new jack. I would have preferred to mount it from underneath so it would be lower(it is at its maximum when the trailer is level, but this was the only way it would both fit and be able to be bolted in place.
So the trailer is now level front to back & side to side, and able to be moved for the first time since it arrived. I will need to add some sort of fold/crank down support at the back as it likes to tip back if you put weight on the bumper.
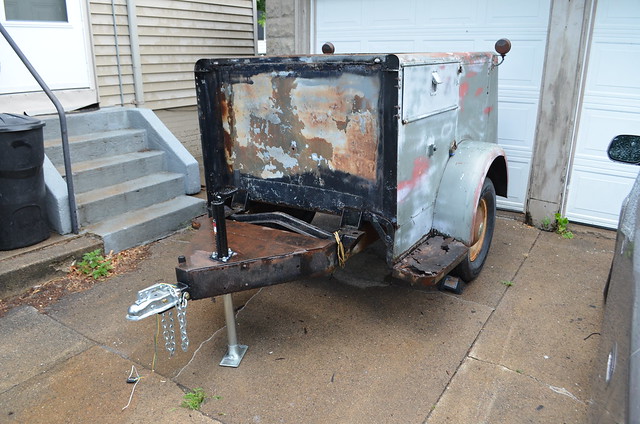
But for now it is installed & wired lights away from it being legal and safe to tow.
Prior cost: $211
2 used tires $85
mounting tires $35
lug nuts & valve stems $14
trailer jack $23
Total thus far: $368