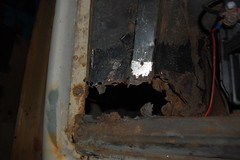
After the discovery of major hacked repairs on the truck cab(found it a couple weeks ago, only just posted it), I’ve been trying to find a better replacement cab to avoid having to deal with all that. I found a Craigslist ad for a “Junk 1962 Truck” That was abandoned by a tenant. I asked what make it was and was told it was a “1960 Chev”. I figured it might have a few useable parts, so after work I drove over to the house where it was sitting.
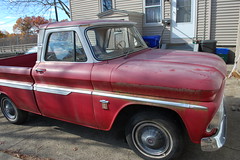
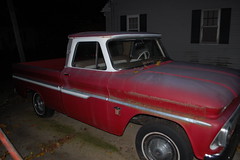
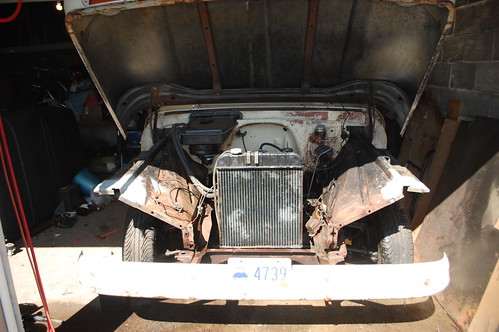
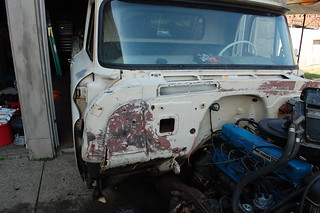
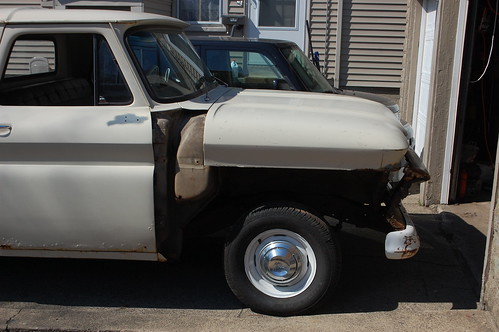
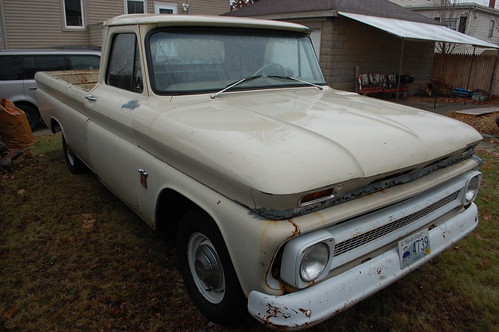
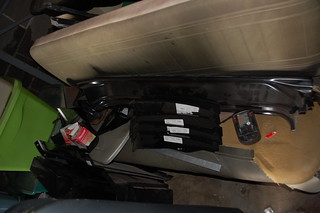
This is what I found there…
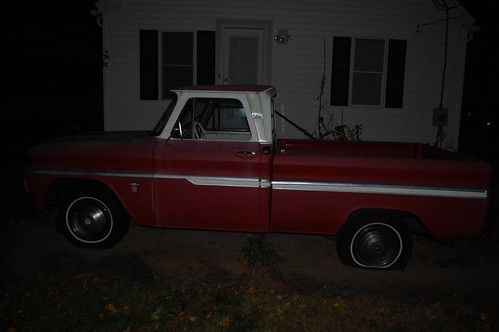
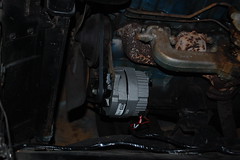
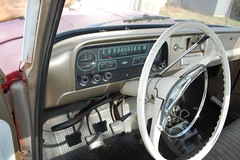
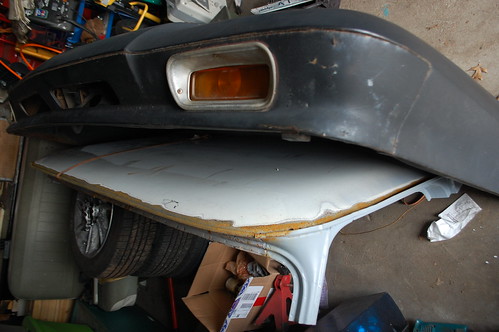
 I’m not sure of the year but it is definitely a ’64-’66 truck. Short bed, custom cab, big back window, deluxe seat, deluxe dash, deluxe wheel, 6-cyl, 3-spd and clearly the subject of a halfway decent amateur restoration at some point. There are no keys as of yet, and the battery is missing so drivetrain status is a complete mystery.
 Story I got from the seller was his tenant bought it 2+ years ago and drove it home, parked it in the driveway and never touched it again. A little over a year ago the tenant moved out and left it behind.
 He says he filed all the proper abandoned property paperwork at the time to make it his, but it currently trying to track it down as in addition to selling the rental house, he personally is moving to a new house.

But I don’t care about any of that, because I bought it for all of $500.
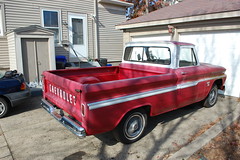
Paid a local garage $60 to drag it home this morning. I had to grind the rivet off one of the vent windows to get it open and be able to open the door(after I got a slim-jim stuck in the door).
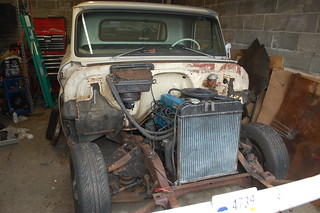
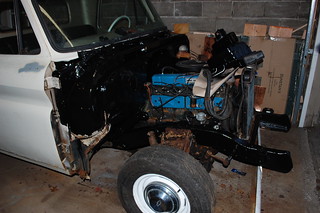
I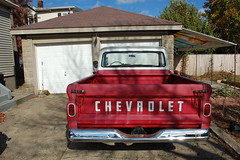 t is currently sitting in my driveway awaiting a very thorough scrubbing and then a look at the drivetrain & brakes. Even if I can’t get the paperwork I need to be able to register it, in parts alone this is hands down the best score of my life.
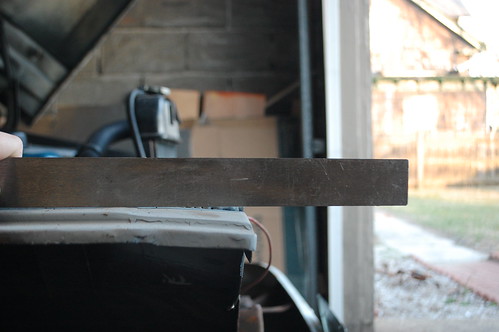
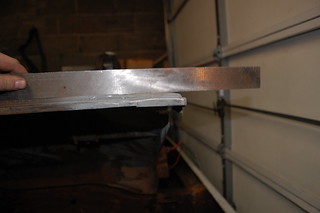
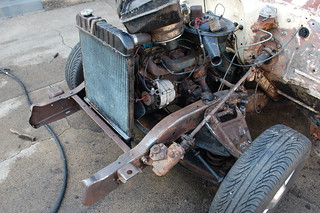
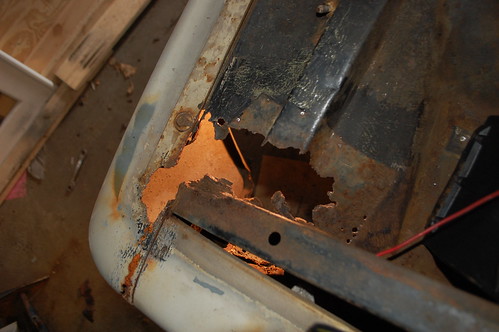
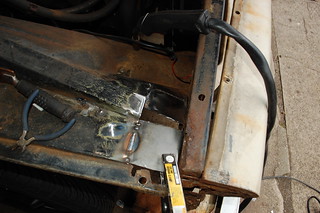
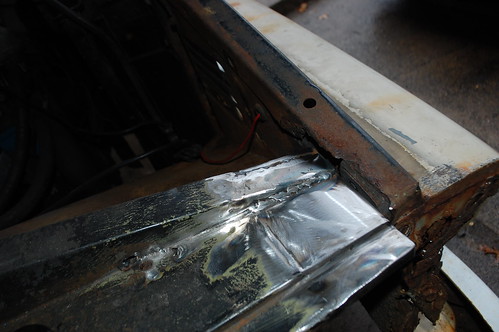
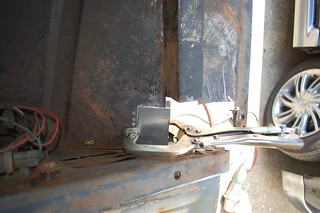
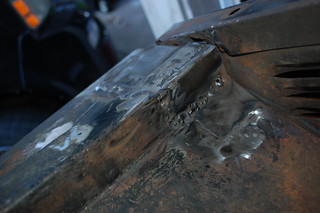
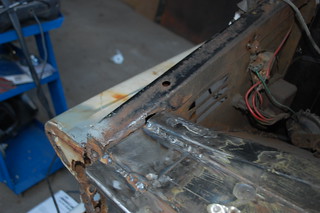
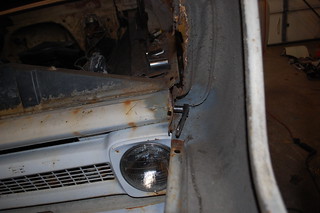
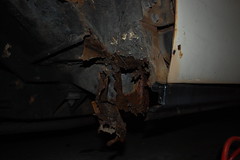
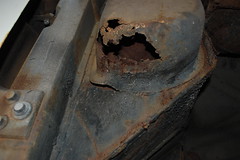
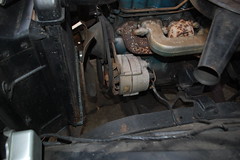
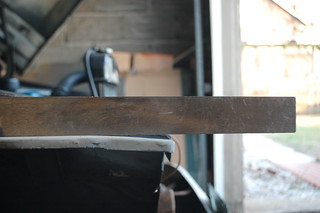 As I was tearing down the front end, I found a screw up in my prior welding work. I didn’t notice at the time that the heat of my welding had warped the second patch downwards on the passenger side. It is significant enough that the bolt hole for the rad support would be too close to the top to actually get a bolt in.
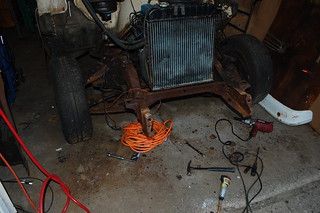
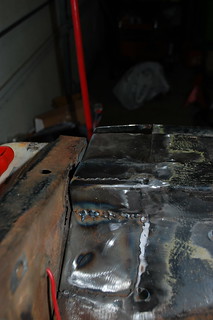
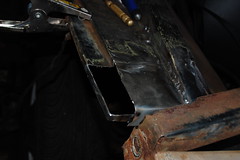
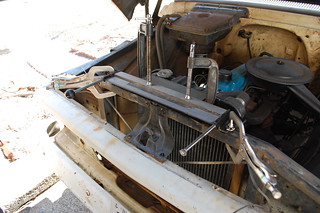
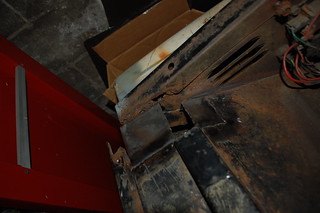
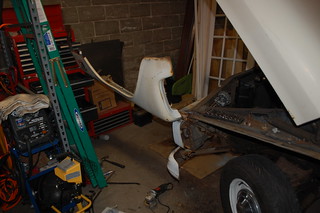
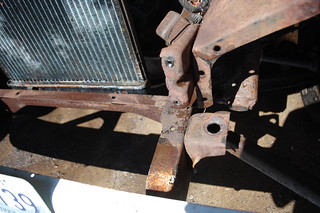 Once I had the front of both inner fenders patched, it was time to strip the rest of the front off. First the radiator support came out, which was just as much of a
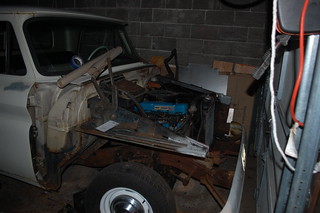
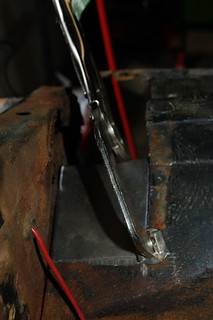
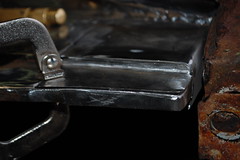


 I was able to use