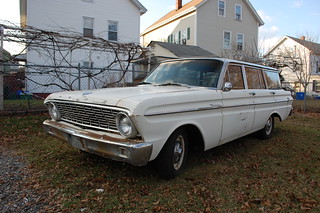
I made an effort during the front-end project to try and get a picture from the same approximate angle at each major step in this process. Some didn’t come out or I was so busy I forgot, but it still make a pretty good timeline of the whole thing, so here you go.
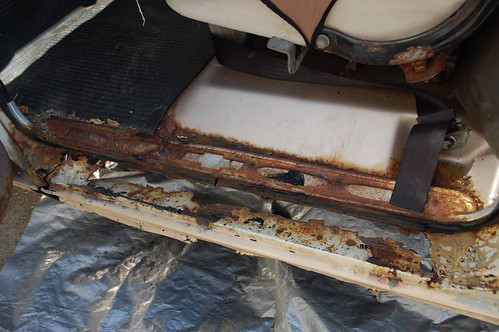
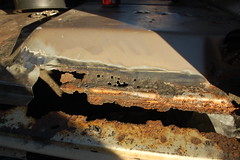
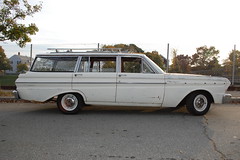
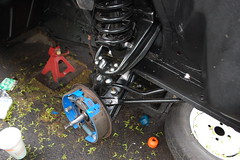
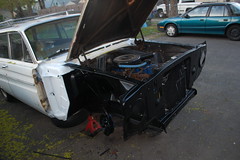
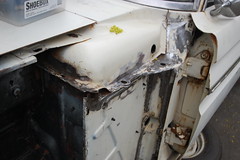
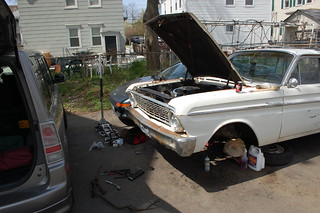
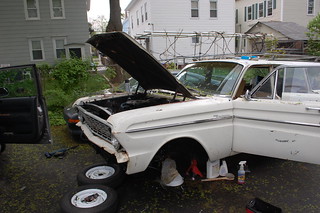
 Before I started, the wagon with it’s worn out front suspension & rusty wheels. The original plan had been to simply replace the front suspension, cleaning up and painting the parts & mounting points as needed.
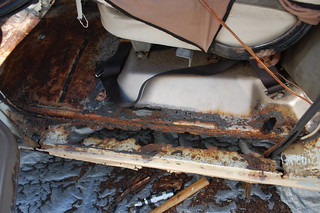
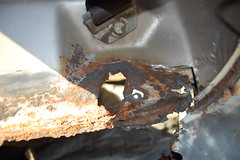
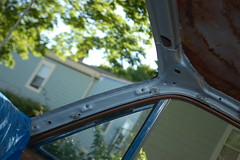
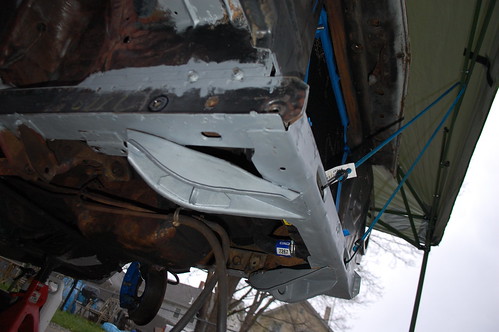
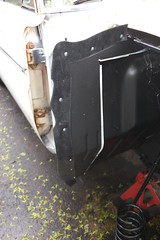
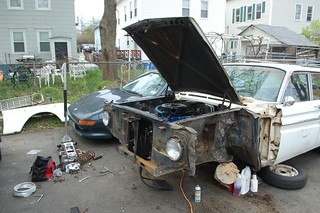
 This is that point, when the suspension was pulled apart. At this point I decided to clean up & repaint the insides of the fenderwells since it was easier to get in there with the suspension gone. As soon as I started I realized it would be easier without the pesky fenders in the way, which required removal of the bumper & grille…
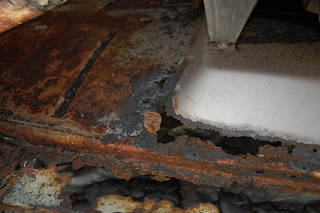
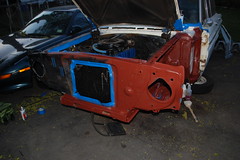
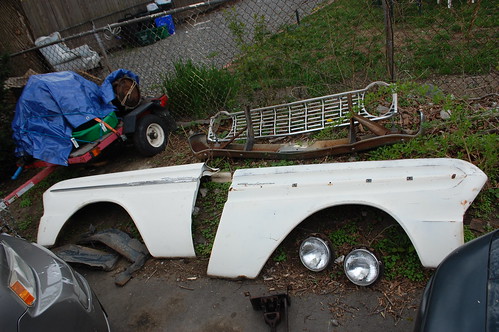
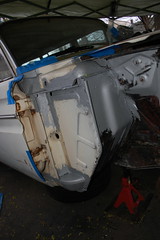
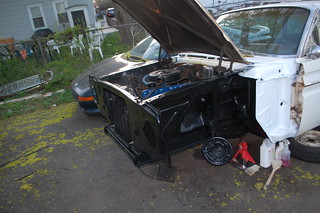
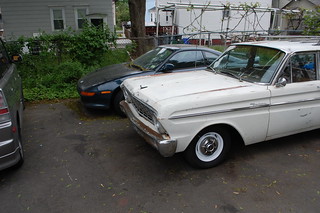
 So all those parts were pulled. At this point since I had them off I figured I might as well redo this whole area, since I could get at it all.
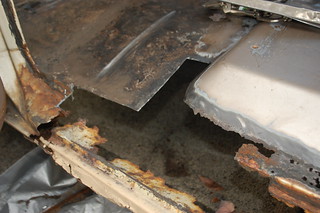
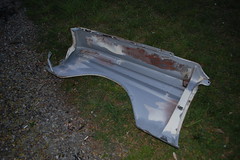
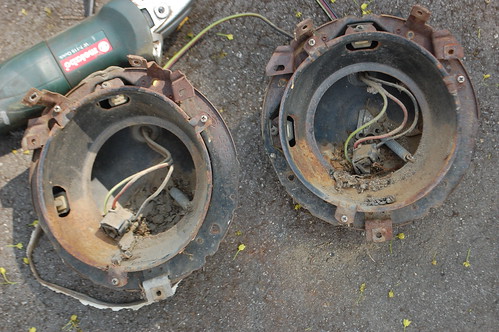
 To this end the headlights, the hood latch, fender shields & all remaining brackets were pulled off.
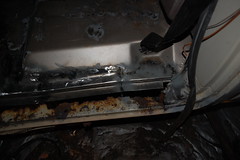
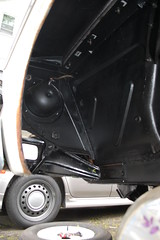
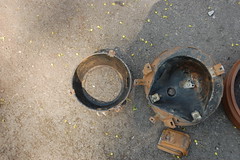
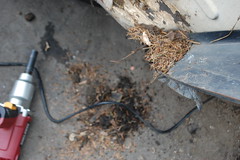
 Next up everything was powerwashed. I have a cheap little electric power washer, it is surprisingly useful and does an amazing job of removing grime that would take forever to scrub off. I should have a picture here of everything ground down and ready for paint, but I forgot that overall shot.
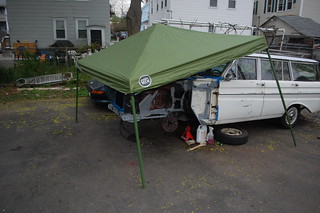
Next was Masterseries paint on all the rusty areas, Right after I put the first coat on it began to drizzle, thus the shot after I’d thrown the tent over it in a panic.
 There was another coat of Masterseries the next day, then the primer went on over everything.
 Lastly was two coats of semi-gloss black, and one coat of truck bed liner in the wheelwells.
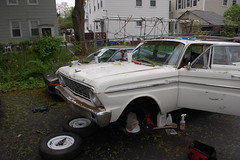
 With the painting done the re-assembly could begin. The new suspension went in first, followed by the smaller brackets, etc, then the headlights, valance panel & one fender.
 Then the other fender & grille. In these pics the brakes are still wrapped in a plastic bag, this was because I couldn’t find my grease gun, so I couldn’t repack the wheel bearings & finish up assembly. I tracked it down the next day and got all that put together.
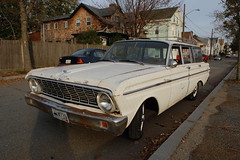
 Then the bumper & headlight trim rings. The car say more or less like this for a week while I located replacement for some defective tie-rods. Once those arrived I was able to wrap everything up.
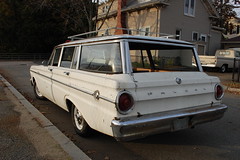
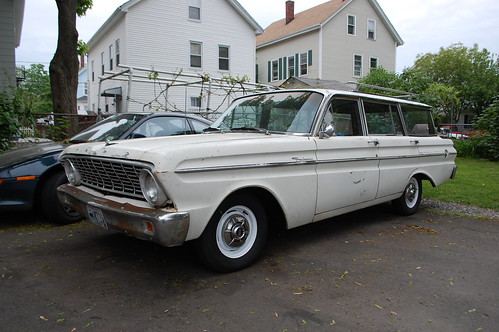
 The freshly painted wheel went on and the car was finally back on its “feet” for the first time in three weeks. It is amazing how much all the work doesn’t show, while at the same time how much the painted wheels chance the look of the car.
 Lastly the hubcaps went on and I could finally call the project done. She’ll need an alignment but tracks straight enough for right now that that isn’t a huge priority, she’ll get it once I can carve the funds out of my budget.

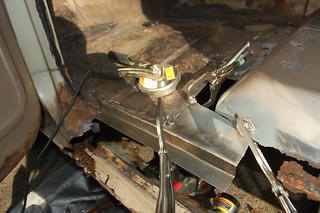
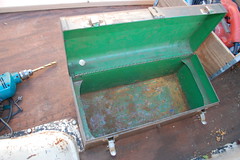 I bought this tool box at the flea market for all of $5, I liked its design, and the somewhat battered look suits the look of the truck quite well. I knew it would stop the getting wet problem, but I needed it to both not slide around, and to make it a little harder for someone to steal it.
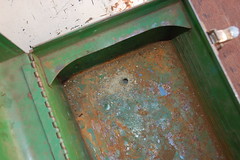 I bought two wing screws(like wingnuts, but screws, I didn’t know this existed before I found them) and some nut inserts for wood. Then I figured out where I wanted the tool box to be(making sure to position it so the lid could open), and drilled two holes through the bottom of the and through the wood of the truck bed.
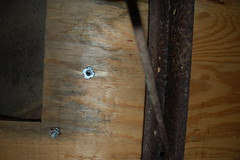 From below I hammered in the nut inserts, I went from below so they wouldn’t just get yanked out if someone tried to pull the tool box up. Turns out I didn’t get the holes completely straight which made getting the inserts to stay properly was a pain.
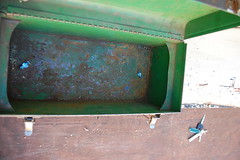 Finally the wing screws were installed. Now the tool box won’t be sliding around, but if I need to remove it, it should only take a moment to remove the wing screws and lift the whole thing out.