Oops.

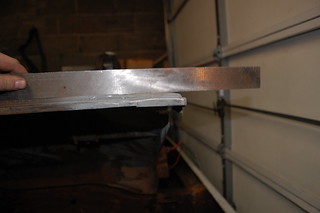
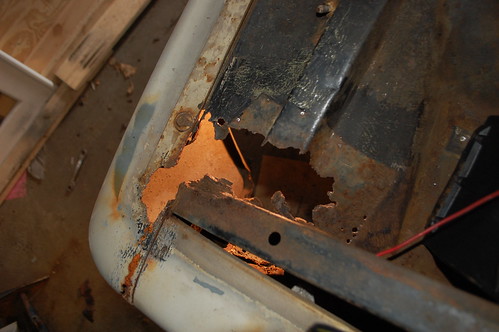
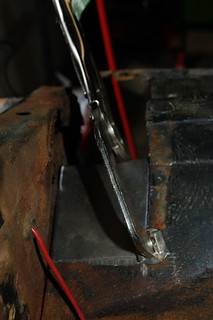
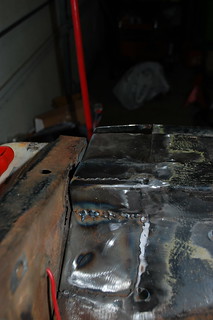
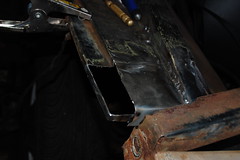
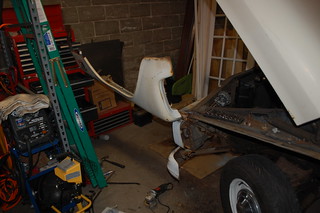
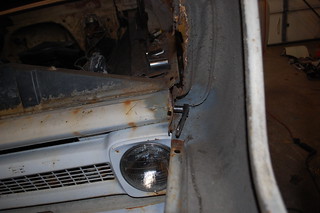
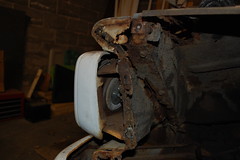
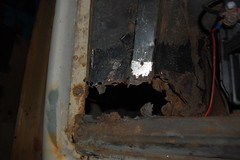
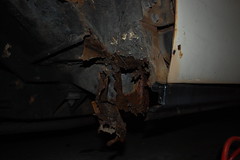
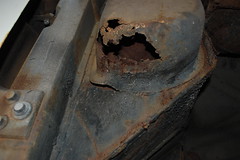
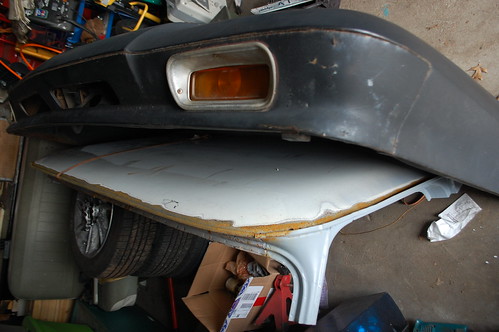
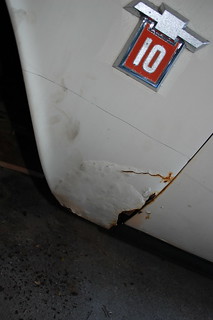
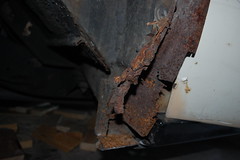
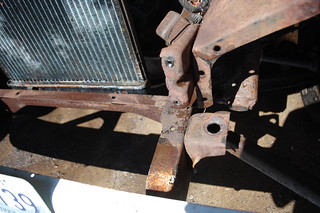
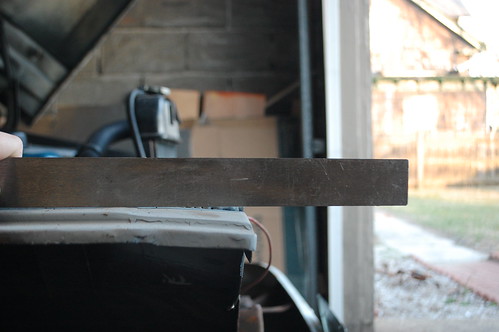
DSC_2889 DSC_2890As I was tearing down the front end, I found a screw up in my prior welding work. I didn’t notice at the time that the heat of my welding had warped the second patch downwards on the passenger side. It is significant enough that the bolt hole for the rad support would be too close to the top to actually get a bolt in.

The fender flange also has a similar bend.


DSC_2892


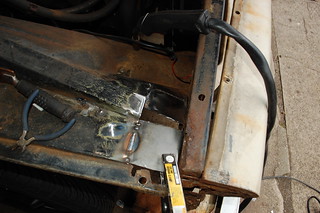
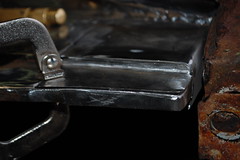
I ground & cut the welds along the side, bent the whole thing upwards, and tacked it in the right place. There is now a gap along that edge, so re-welding it was extra fun.


      DSC_2893


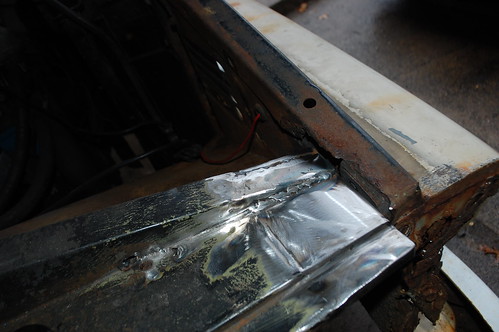
Much closer now. The outer corner is still a bit low, but I should be able to fix that with some hammer work once the inner fender comes off.

Laying the truck bare

DSC_2872
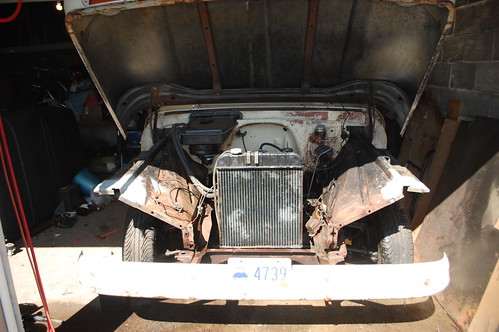
DSC_2873Once I had the front of both inner fenders patched, it was time to strip the rest of the front off. First the radiator support came out, which was just as much of a rusted ruin as I thought. Fortunately though the frame where it mounts was fine, which means at least the frame doesn’t need repair.
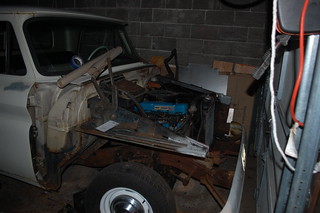
DSC_2891


Next off came the hood with the assistance of my weekly gaming group.
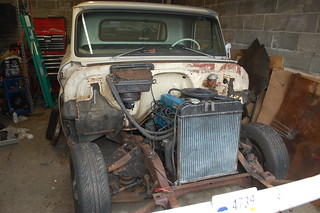
 

DSC_2894


Then off came the inner fenders. All of this so far had come off with minimum fuss, next up was the bumper though, which put of a hell of a fight.
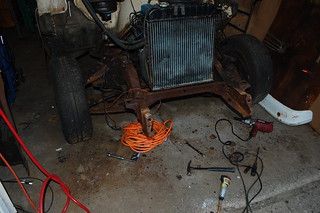
DSC_2920

The final tally when the bumper & brackets were removed was 3 snapped bolts, and 4 that needed to be cut off and 1 that actually came out intact.
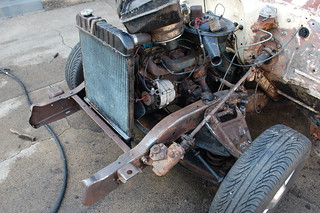
DSC_2933

Once everything was off, I was finally at the point where (hopefully) the truck wasn’t going to get any worse and would hopefully start looking better.
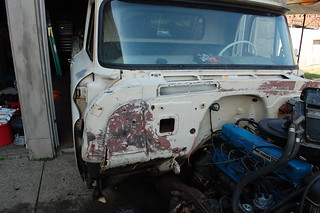
DSC_2941


To that end, I ground down the surface rust on the exposed parts of the frame and firewall to start painting them. I am using paint designed for tractors in hopes of adding durability. The firewall is supposed to be the same color as the truck, but I decided to have it match the other panels in the engine compartment.
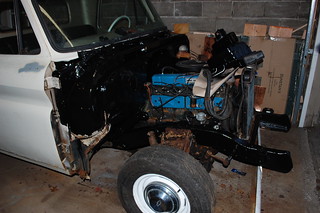
 

DSC_2961


After a round of painting this is what I ended up with. It looks really good in this shot, and while the frame came out great, the firewall ended up with a lot of runs & drip marks. I’m going to put a coat of truck bed liner on the firewall to make it look smoother & stand up better to oil & grease.
More welding work

DSC_2777

In the continuing adventures of my rotted out ’64 Chevy truck. Today’s plan was to get the front of the passenger inner fender repaired enough that I no longer need the core-support in for reference. As a reminder, this is what I started with.

DSC_2816First patch went in.


DSC_2822

Second patch went in

.


DSC_2826Third & fourth patches went in.


Then I started fabricating the end of the fender mounting flange.
DSC_2827DSC_2830

The corner all welded up. As before, once the radiator support comes off I’ll be finishing up the grinding and re-doing some of the crappier welds as I’ll be able to reach them easier.
DSC_2837

Getting started on this year’s plans for the truck.


My plan now that the weather is warmed up is to start in on the rust repair on the truck. My hope is to get the bodywork done so I can get paint on it before the end of the season. At a minimum though I want to get the cab & inner structure repaired so even if I don’t finish all the bodywork this season, I’ll know the underlying structure is solid.

Step one was the pull the front end apart. That turned out to be easier said than done, everything is so rusty nearly every bolt was a challenge. I averaged 1 snapped bolt for every 3-4 that came out normally. The front-most fender bolt was particularly difficult as you can see.


In addition to looking ridiculous, this actually was really helpful. I could see what I was doing, and therefore could figure out what tools would fit and let me get the bolt off.


Once the fenders & grille were off and the front grille panel was loosened(it won’t come off completely until the front bumper or radiator support come off), I could see the degree of the problem.


DSC_2754

DSC_2839


AS you can see there is a lot of work here. However since one of the reasons I bought this truck was to practice welding and fabrication, this is not as terrible as it might be to someone else. My plan is to see how much I can fix/fabricate myself before buying any more parts.

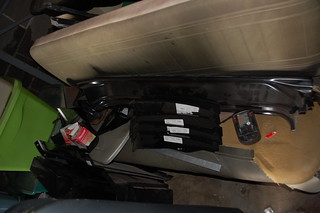
Truck bits acquired

Since there is a bit more money in the truck fund, I’ve started acquiring the bits to do the rust repair the longbed needs. To that end I found someone on Craigslist selling a lot of ’66 Chevy truck parts left over from a project he got rid of.


I was able to pick up every bit I need to fix the rockers on both sides, including some I probably won’t need. It was about $400 of metal for $200. This includes inner & outer rockers, front floors, floor braces, cab corners & front footwells.


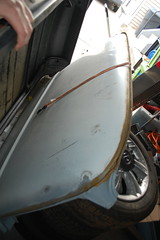
I was also able to get a less rusty hood, and a complete(if somewhat rusty) roof section to fix the dents & damaged roof drip rails. It looks like the sections I most need are in good shape.


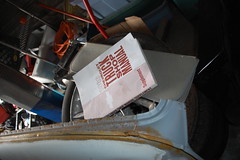
I was also able to get a set of good sunvisors to replace the one destroyed one in the truck, a spare set of wheel cylinders, and a free 1966 shop manual supplement(wrong year, but close enough to be useful).

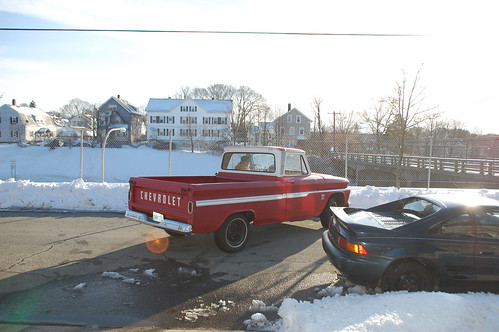
Box hauled it all home easily, with the new metal pieces inside & the hood & roof sections strapped onto Box’s roof.

Now I just need the weather to warm up, and I’ll be able to start working on the truck again.

And now the fleet is down to 5 vehicles.

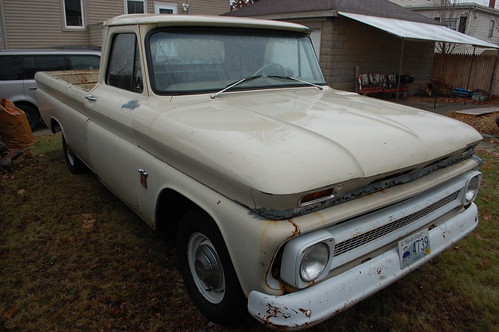
Sold the shortbed ’64 pickup today.

I’d been asking $6500, and had been hoping to get at least $5000. I ended up taking $4500 cash because someone finally showed up with cash in hand, instead of with lots of stupid trade offers(No I don’t want you 15 year old Harley, no I didn’t want your 18 year old ford ranger) or with vague promises to come by later in the week with a deposit.

Can’t really complain about the final selling price as I bought it for $500 and had about $200 into towing it home, a battery, an alternator and other small stuff to get it running.

I’d been trying to figure out what to do with it, as I didn’t have the money to get it running, and couldn’t rationalize parting it out for the other truck. Plus I never got the paperwork I needed to register it. It ended up that the easiest option was to sell it and make some money that I can use for other projects.

Alternator upgrade

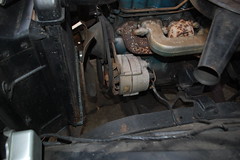
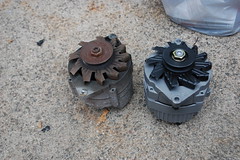
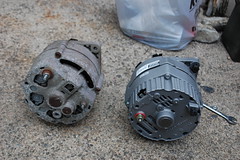
The alternator in the new truck was DOA when I bought it. I was just going replace it, but a quick bit of research showed me that an upgraded 63 amp alternator would cost the same as the original 37 amp alternator.


I used this website to figure out that the correct alternator to fit the truck is the one from a 1979 Buick Regal, with the 8 cylinder 4.9L engine, & air conditioning.

The big difference(besides amperage) between the two is the new one is internally regulated, removing the need for an external voltage regulator in the engine compartment.

I was able to use this thread’s wiring info, as even though it is for a 12SI alternator and I’m using a 10SI the wiring is the same. The brown wire from the dash light gets connected to the white connector wire, the thick red power wire is re-used and all the other stock wiring harness wiring is removed. Then a new wire is run from the red wire on the connector to the battery.

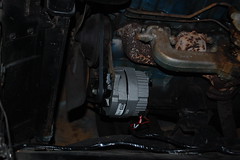
It only took a short while to cut out the unneeded wiring, solder in the new wire & connector and bolt in the alternator.

Started the truck up and the new alternator was charging perfectly. Not a bad upgrade since the only added cost over just replacing the bad alternator was the $4 electrical connector.

Digging into the $500 truck.

It took a few days before I had a chance to do anything with the new truck. I robbed the battery from the other truck, sprayed carb cleaner down the carb, and hot wired the truck. It started right up and ran until the carb cleaner was used up. So I bought a battery for it and put a few gallons of gas in it. It started and ran reasonably well, though it does smoke some.


I also had some friends over and we power-washed the first layer of grime off the truck. It had sat long enough that it was growing moss on it’s north side.


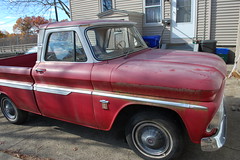
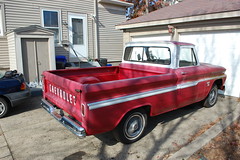
Overall though the truck is in amazing shape. There is very little rust, and what I have found is minor. The paint is clearly a cheap quickie job and while the red is salvageable, the white is already flaking off in multiple places. I may sand & rattle-can the white just to make it look presentable. The bed wood is completely rotted out, and will need to be replace very soon.

With the engine running reasonably well, I checked the brake master cylinder and discovered it was bone dry. Filling it up with fluid and pumping the brakes several times resulted in a firm pedal.

So with a running truck with working brakes, I did the only logical thing. I drove it around the block.


Fender work

I finally decided to get back to doing some rust work on the truck. I haven’t yet figured out how to fabricate the inner rocker, so I decided to work on the rot in the fenders first.

I cut the bottom of the fender off, only to discover the inner bracket was rotted out and a prior owner had done some hack repair work. All the original bracketry for attaching the fender was cut out and not replaced properly The fender was actually welded to the cab.


Now I have an entirely new problem to deal with. I have to decide whether to buy all the patch panels to fix the cab mounts & fender bracket which would cost about $250. The other option is to fab it all from scratch, or only buy part and fab the rest. I’m going to have to do more thinking on this.


Instant Upgrade? Just add Seat

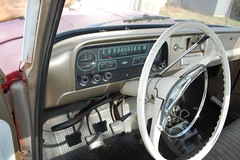
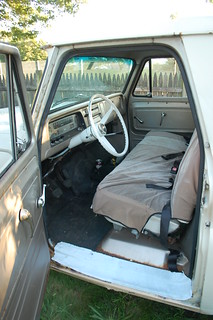
The seat in the ’64 Chevy was a disaster area, and made the cab look like it had been a home to wolverines with a 2-pack a day habit.

It was torn, paint splattered, and yellowed with nicotine stains. And it was covered with a cheap ill-fitting cover that came off every time you climbed in.

A factory-correct replacement seat cover was $150 + shipping and that wouldn’t fix the battered foam. A local upholstery shop gave me a quote of $250 to completely re-upholster it, but that would be in plain vinyl that would be pretty boring looking.


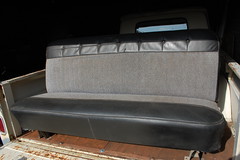
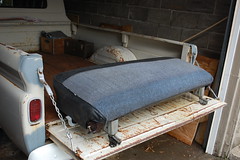
I was surfing the list that is Craig’s one day when I found this bench seat for sale for all of $100. It is from a similar truck but had been custom upholstered. The seller was replacing it with some bucket seats. It was in perfect condition aside from one minor tear in the piping.


I power-washed the whole thing to get the grime out of all the nooks & crannies. It turns out the tweed portions were once blue, but had faded to the current grey(which I’m ok with, as I prefer the grey). I also painted the brackets on the sides while it was apart.


After installing the seat I was amazed at how much it changed the interior. With no other changes but the seat the cab now looks respectable with a bit of patina.