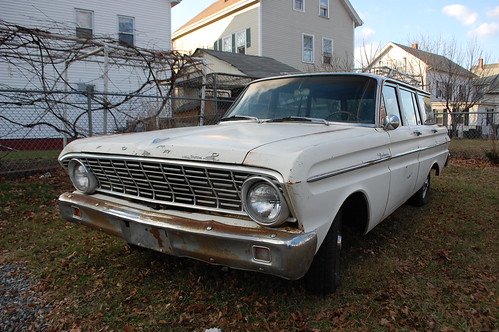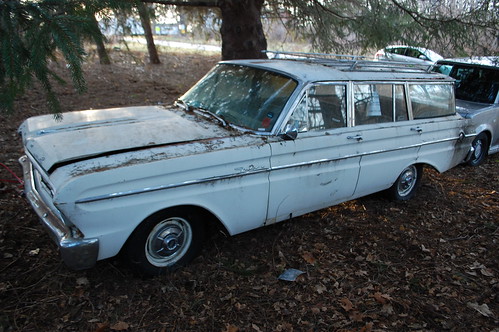

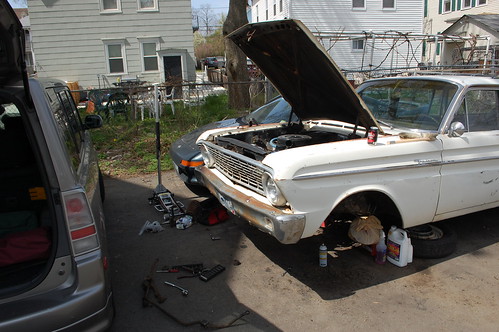
The plan was simple, replace the worn out front suspension with all new parts so that the steering wheel would feel more like it had a say in the direction the wagon went. To that end I ordered a complete rebuild kit that had nearly every piece I needed, and on Saturday started pulling the old parts off.
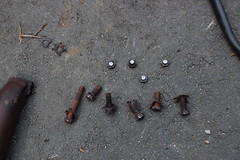
 All things considered it came apart surprisingly easily. The tie rods were stuck in place, but after some enthusiastic hammering they popped loose. Compared to other times I did this job this was a cakewalk, no stripped nuts, no rusted in place bolts. Everything came apart with simple hand tools. I spent about 1.5 hours on saturday getting the driver’s side completely removed, and got a good start on the passenger side before having to clean up for a friend’s party.
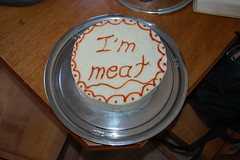 It was an OMGWTFBBQ!!1!, where you’re supposed to bring weird or disturbing food. We brought a meat cake. Two layers of pork & beef meatloaf frosted with mashed potatoes and iced with ketchup.
Yeah, we’re weird.
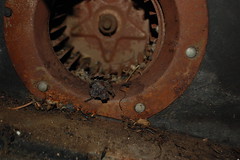
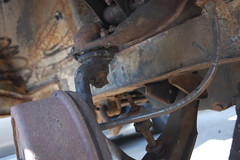
 Sunday found me back out working on the wagon. One great surprise during all of this was the front brakes. The guy I bought the wagon off of told me he didn’t think his mechanic had touched the brakes, so despite them working well I was already budgeting for a complete brake overhaul. So imagine my surprise when I pulled the drums and found front brakes that looked like brand new.
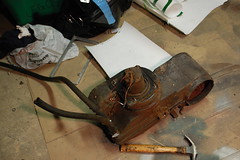
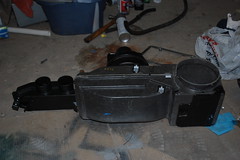
 Everything in here looks like new, the pads have tons of meat on them, and the rubber parts are in great condition. Even if the rest of the system is junk this is $100+ in savings right here. Regardless they were removed for now, and eventually the suspension was stripped down to the bare spindles. The spindles, strut rods & springs are the only parts I am re-using, so they will get cleaned up and repainted before going back on.
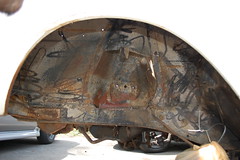
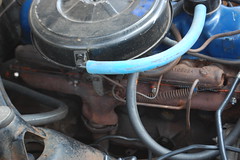
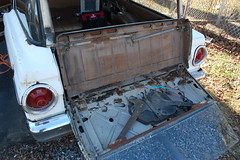
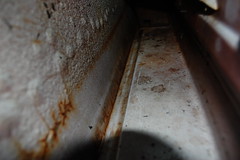
the squiggles are from a quick pressure-washing before I started, turns out pressure washers remove old undercoating
Eventually I was left with two empty wheel wells. I had planned to paint the mounting points for the suspension before re-assembly so I wouldn’t have to take it back apart to paint those later. Looking at the space in the wheelwell I decided it would make even more sense to clean up and paint the entires wheelwell area while the suspension was out of the way. I started cleaning in here, then realized that if I was going to repaint in here, it would be even easier if I cold reach everything.
And so the project creep begins.
Going…
Going…
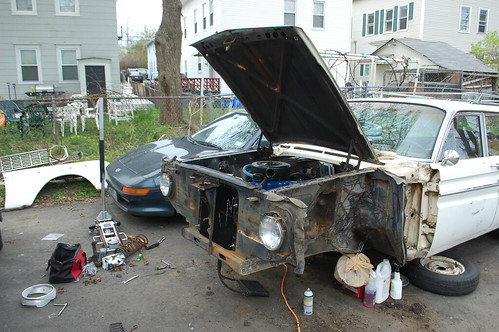
Gone.

In the next post I start in on the rust cleanup and repainting.