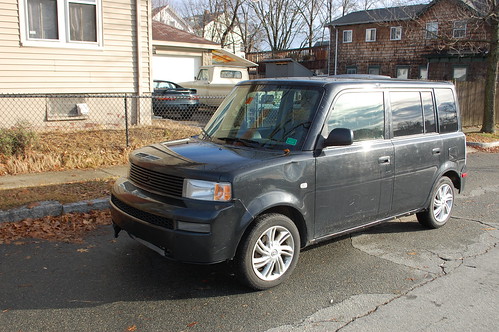
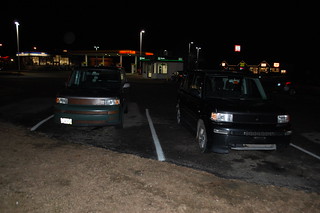
In my first installment of the $1000 Scion xB, we’d driven driven 5 hours round trip and bought Project Beat(er) Box in the dark & rain. Saturday I got a chance to really get a good look at it. Fortunately the harsh light of day didn’t reveal and new horrors I wasn’t aware of.
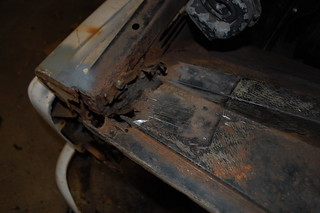
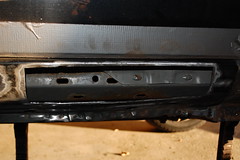
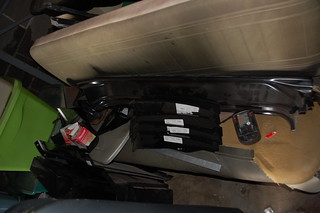
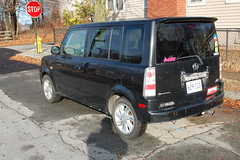
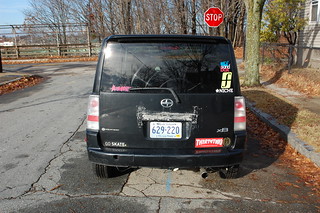 The car was owned by a college kid in New Hampshire who was into skate & snow boarding, and you can definitely tell, especially from the back. In addition to a lot of sticker removal, the lower bumper lip is missing, fortunately I have a spare set in silver. But the big deal back here is the hatch handle.
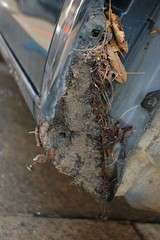
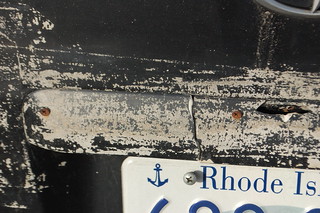 These are prone to breaking, so the whole handle area is covered in fossilized duct tape residue from trying to keep it on. Their final fix was to badly epoxy it together before being re-attached with sheetrock screws randomly punched through the handle & hatch. The Goo-Gone is going to get a workout here before I do a better job of fixing the handle & finding a nicer way to re-attach it.
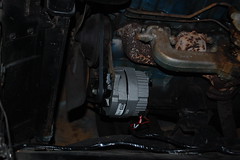
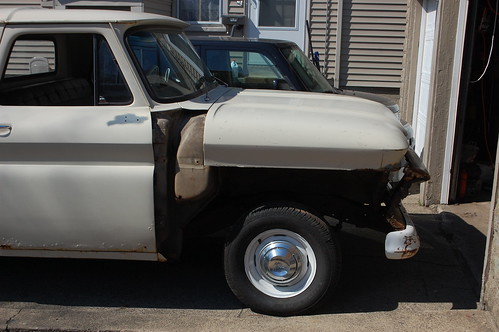
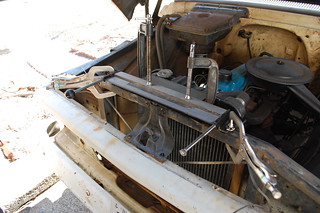
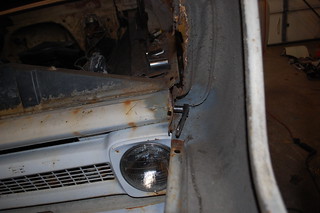
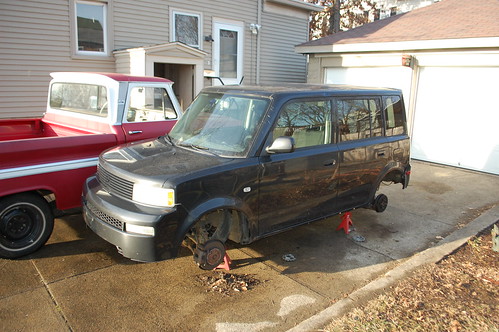
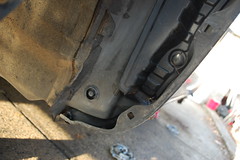
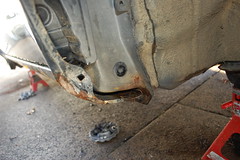
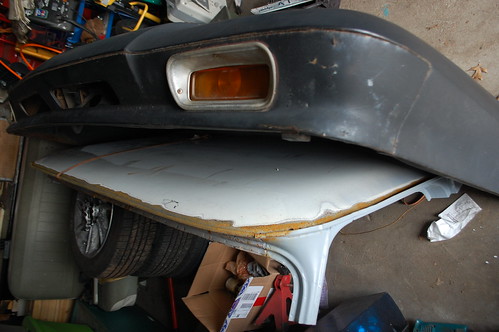
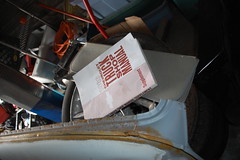
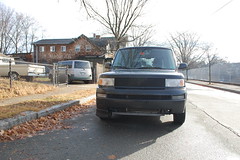
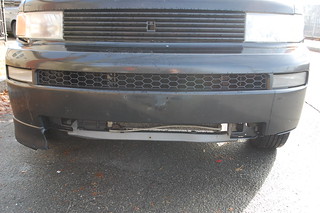 The front bumper is missing most of the lower lip, the lower grill and all the underbody plastic. I have a ratty lip that will work, and a spare grill, so that should be a simple fix. The underbody plastics will likely get replaced with some sheet chloroplast.
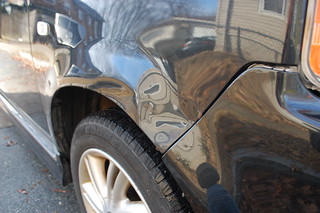
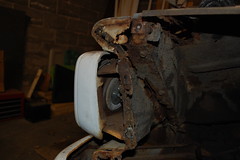
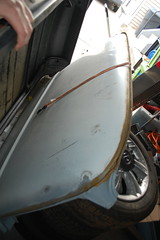
Both front fenders have some significant dents, I’m hoping I can pop most of this out so it’ll look better until I can do some serious bodywork.
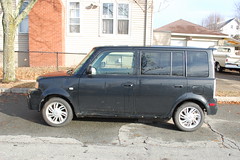
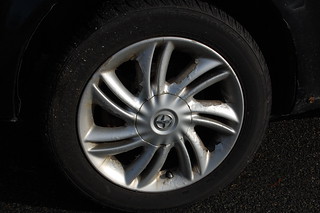 The wheels are nasty, and are going to be a whole project in themselves. I will probably just wire-brush the loose paint and hit them with some silver to hold them until spring when I can do a proper job.
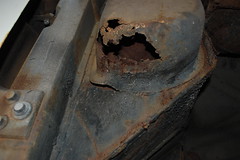
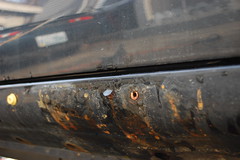
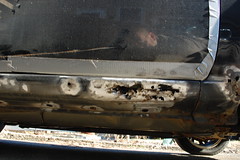
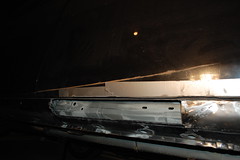
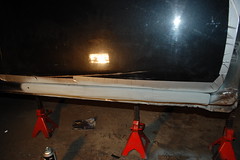
 The driver’s rocker molding is torn off and the rocker is crunched near the front. Fortunately nearly all of this is hidden when the molding is on. It came wit the molding, but the mount holes are a mess. I may try and fix it, or I may just throw on the spares I have. The passenger side is partially loose, but looks to be a quick fix. There are a bunch of other minor dents & dings, and a lot of deep paint scratches. But no rot and no sign of any major accident damage.
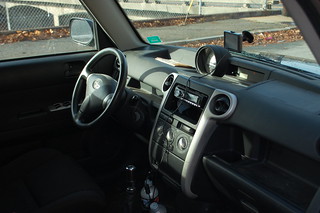
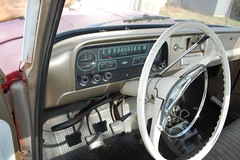
Aside from a half-assed radio install & worn driver’s floor mat, the interior is in decent shape and only needs a good cleaning.
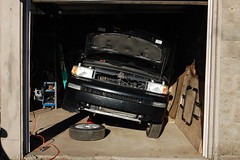
Next step will be getting it in the garage and getting dug into the brakes & drivetrain, but that will have to wait for temps above freezing.

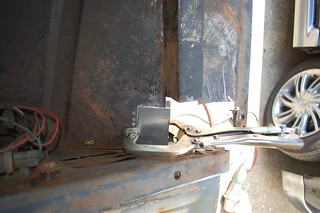
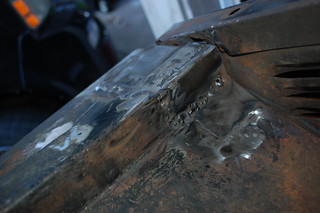
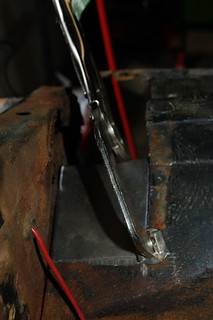 First patch went in.
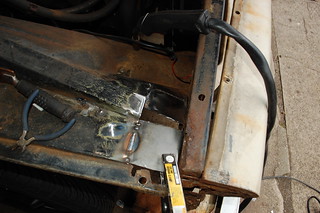
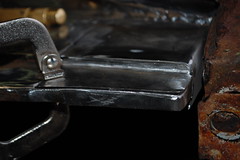
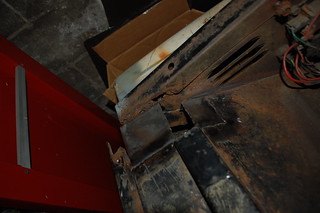
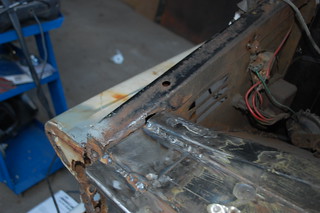
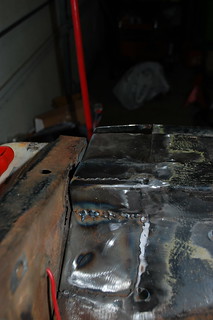 Third & fourth patches went in.
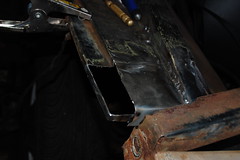
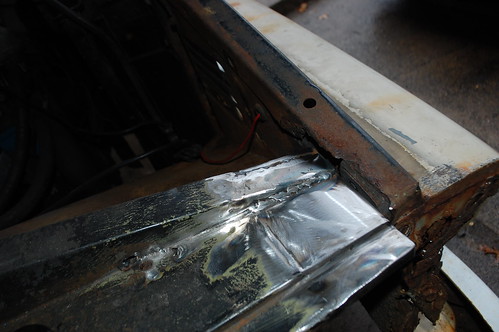


 I was able to use