 Went to the Mansfield swap meet looking for more truck parts. I was able to score the radiator support I desperately needed along with a few other goodies. All of them were in the vendor lot furthest from where I parked of course.
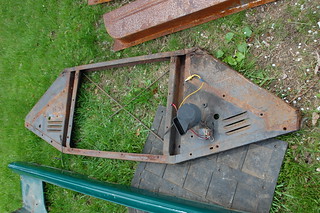
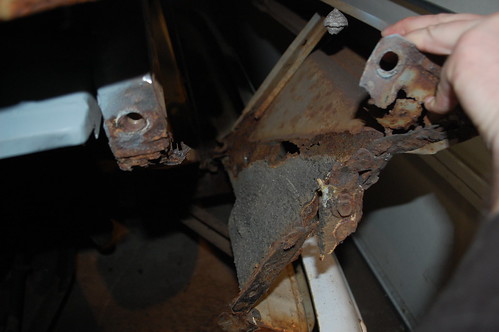
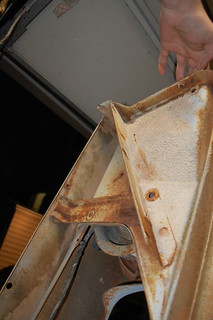
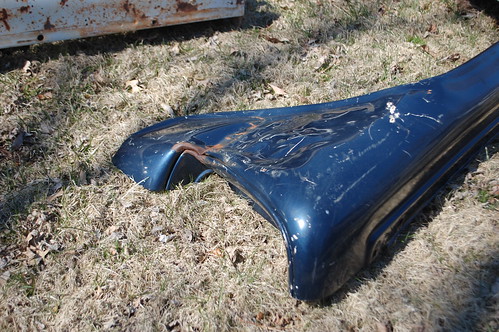
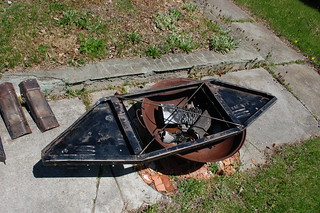
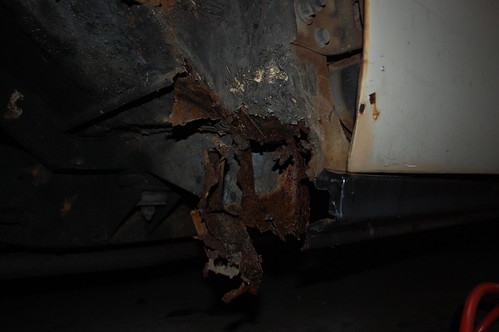
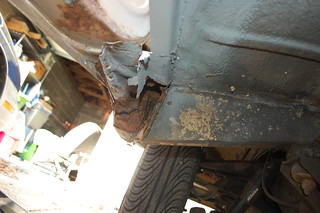
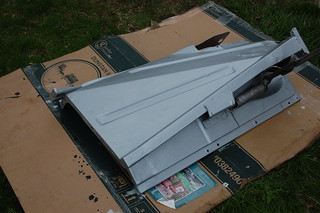
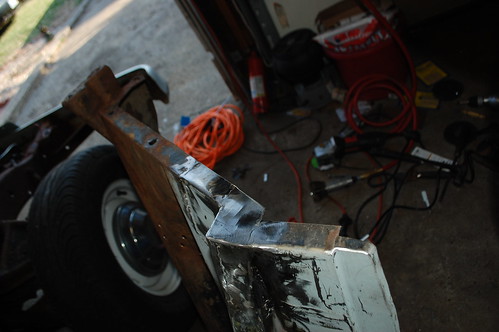
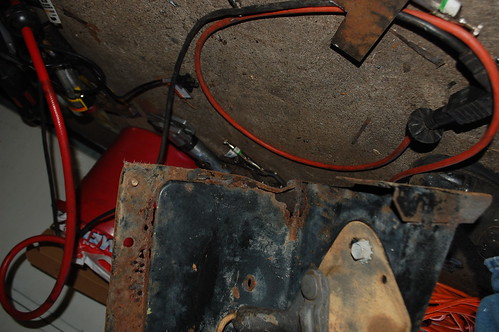
One less rusty radiator support. While it has rot where the mounts are, the rest is intact & solid unlike mine. It also looks to have been dented & straightened poorly at some point. But it will work well enough, and I got it and the door parts below for only $80.
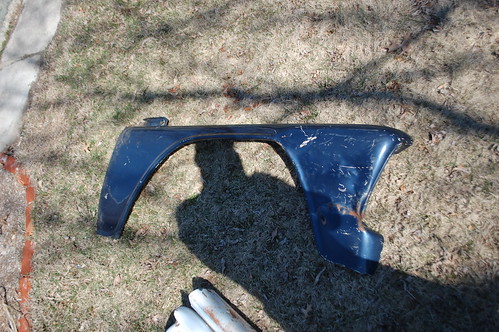
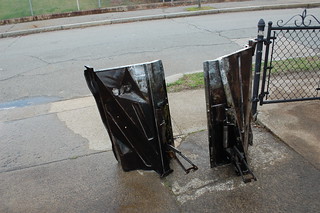
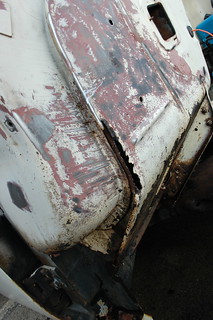
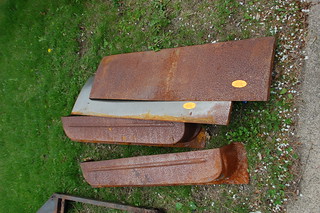 Lower door skins & inner door bottoms. These are repro parts that were never installed, but have surface rust form sitting. While I will need to do some serious de-rusting, I couldn’t beat the savings. A new rad support & door patch panels would have been over $250.
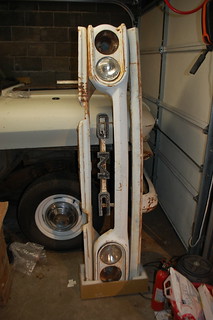
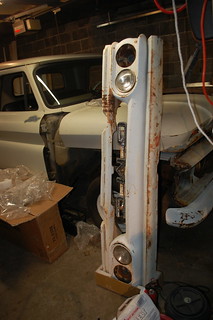
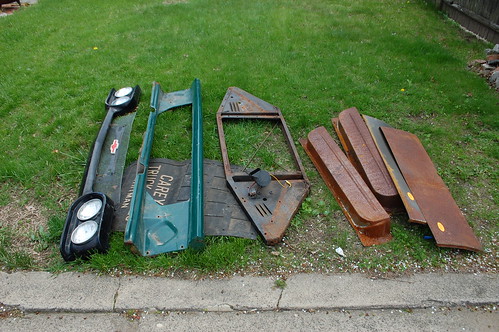
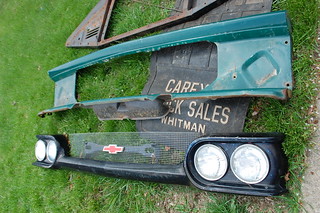 Also picked up another GMC grill & grille panel. I didn’t need these parts, but for $40 I couldn’t pass it up. The grille is nicer than the one from AZ, but the grille panel is rotted like my original was. I’m now planning to use the AZ grille panel & this grille on the truck. The AZ grille will likely become garage art along with my chevy grille.
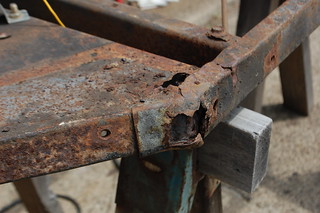
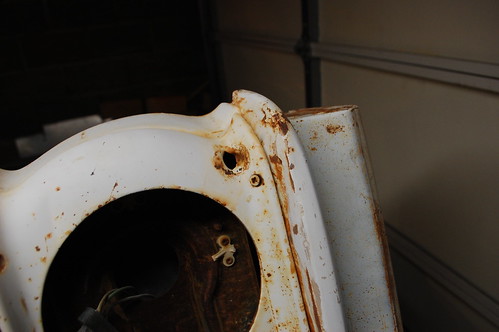
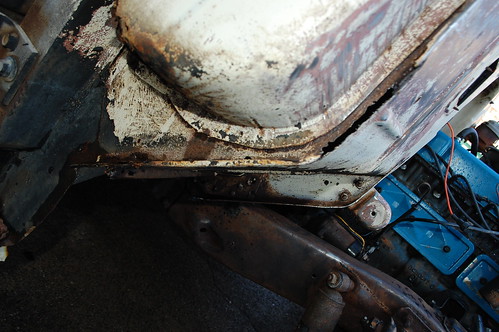
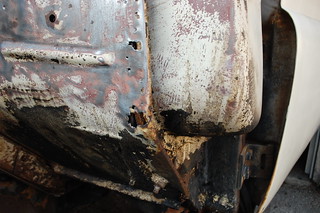
Rot to be fixed on the rad support. While it looks really nasty, it is confined to a fairly small area.
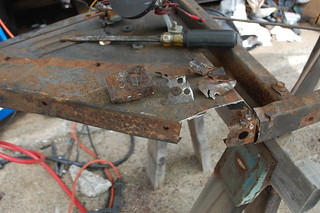
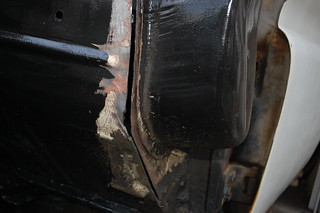
Rot cut out, I left the inner most layer both because it was solid and for reference to make sure everything still lined up for the mounts.
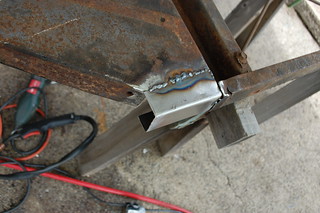
New patch panel bent into the U shape needed and the first welds in place.
Patch cut & bent to match the angle of the original. You can see a pie shaped gap where I mis-measured the patch.
Patch fully welded in & trimmed to match. You can see where I added a small filler to bridge the gap in the earlier pic.
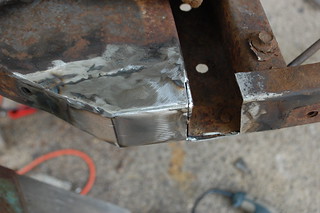
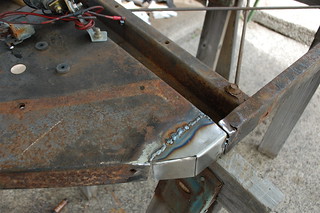
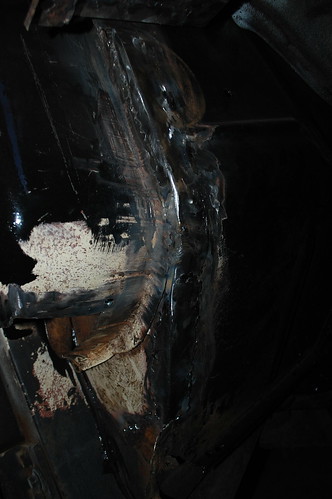
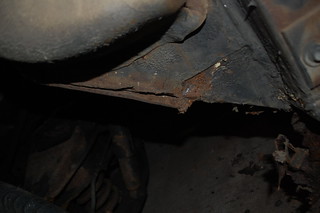
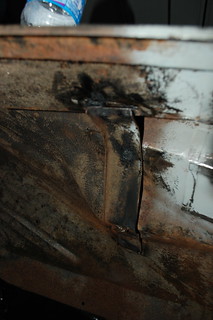
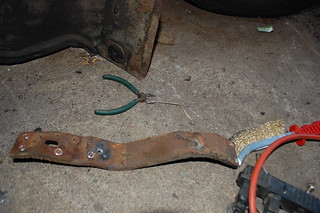
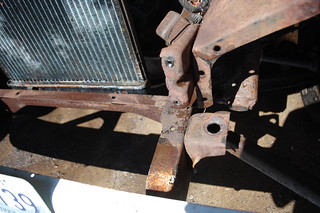
Damaged metal next to mount area cut out. I don’t have any good final pics, but I made a patch that fits not only here, but overlaps the other patch right up to where the bend is to build this back up to the OEM 3 layers.
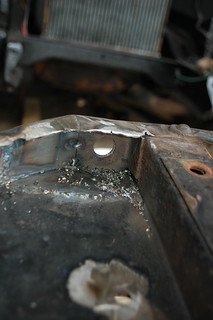
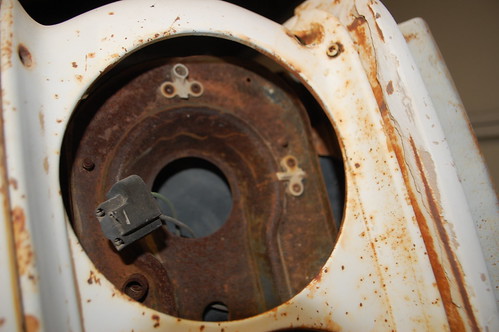
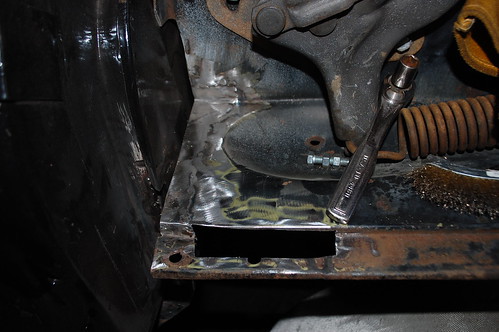
Hole for radiator support mount drilled out.
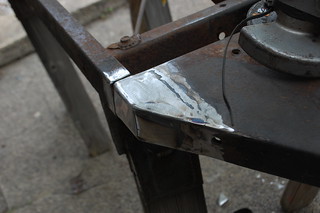
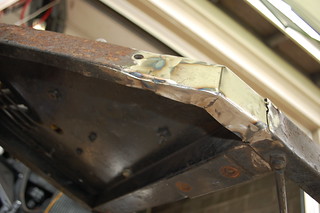
Rot on passenger side cut out & patched.
I also drilled the bolt holes in the inner fenders now that I have a good radiator support to use for reference.
Once the welding was done, I rand a wire cup over the radiator support & associate parts and degreased them for paint.
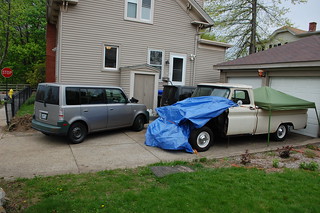
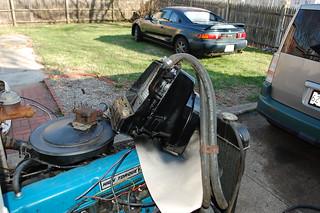
Then the truck got moved out in the driveway so I could use the garage for painting(last time I painted parts outside the wind kicked up and I ended up with bumper braces that looked like 40 grit sandpaper). The tent over the back is because I’m storing most of the front end parts there.
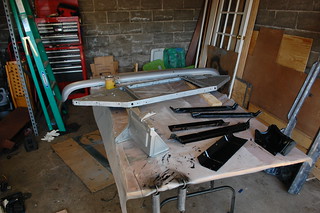
Then the parts got laid out and painted. The silver paint is Masterseries anti-rust paint, the black paint is tractor paint from Tractor Supply. Since that pic I have gotten all the black parts done(baring touchup) and a second coat on some of the silver parts.
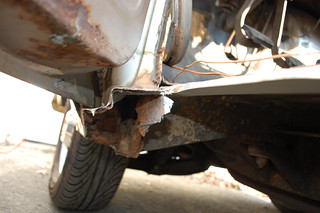
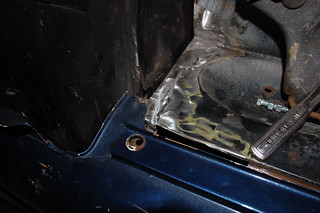
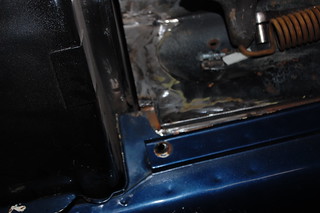
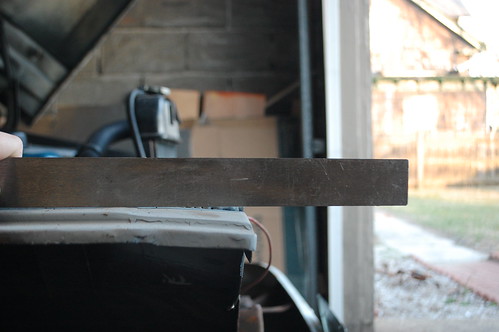
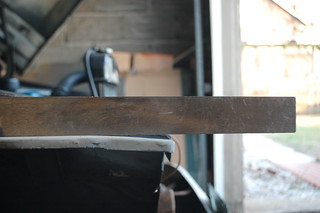
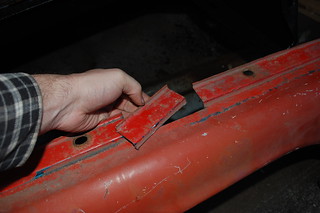 But first I needed to patch the other section that you can see cut out above. There is 3 bends here that needs to be carefully made so everything lines up. I got a brain wave and measured the lip at the top of a junk fender I had. Everything appeared to match so I cut out a section.
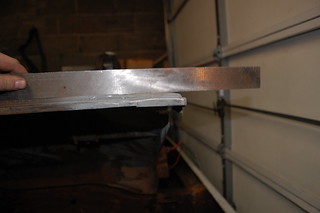
 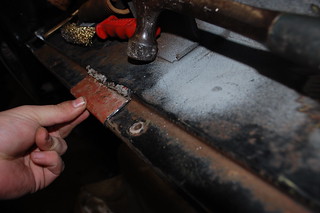 I flipped the piece over and tested it, the bends are an exact match. I carefully trimmed it and the fender edge to fit and tacked it into place.
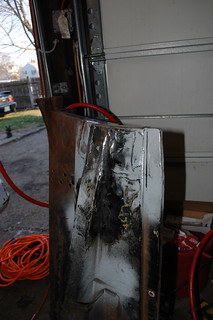
  Here it is tacked in place, please ignore the terrible welds from forgetting to turn on the shielding gas on the MIG. Below is the piece with the welding finished & ground down.
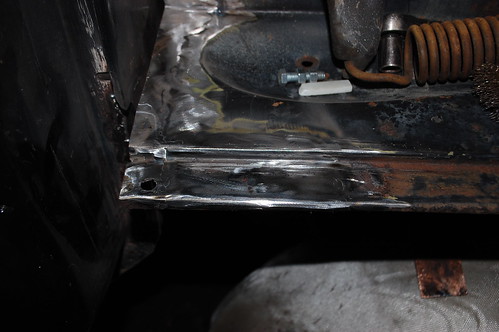
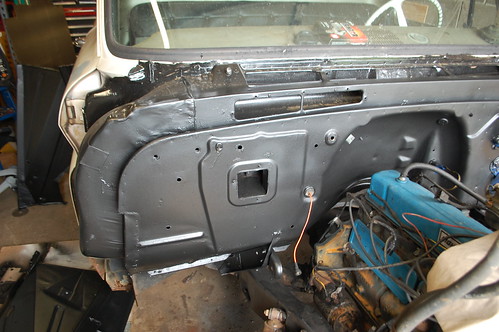
 I decided I was tired of welding, so I worked on something else for a change. I decided to paint the now exposed parts of the frame & firewall. Normally the firewall should be matched to the body color on these trucks, but since I am not sure what shade of dark green I ‘ll be using I decided to paint the firewall to match the rest of the sheetmetal in the engine compartment so I didn’t have to worry about it matching the outside.
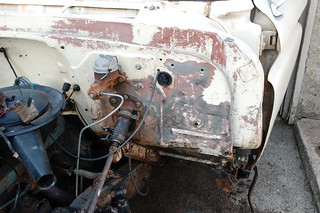
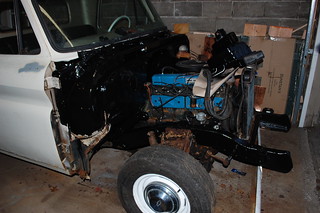 And here is the frame & firewall freshly painted gloss black. I used tractor paint as it is supposed to have good durability. The frame came out great. However despite looking good in pictures, the firewall has a lot of runs & brush marks. I let it dry for a few days anyway, and decided to cover it in textured truck bedliner to hide the flaws.
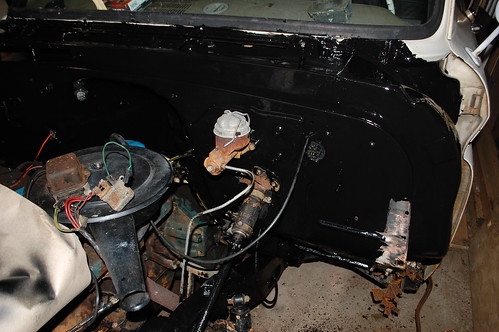


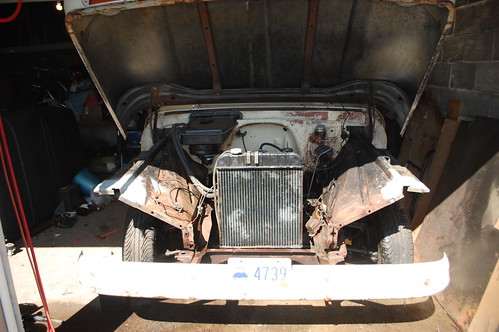
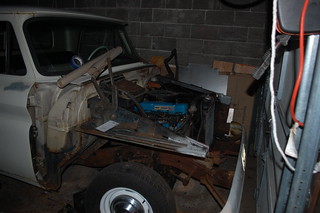
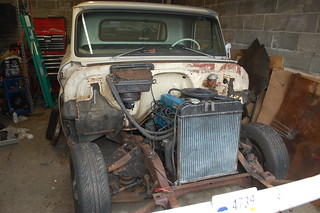
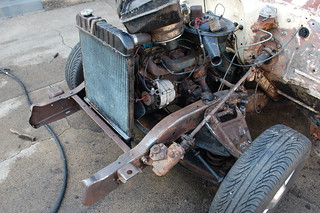
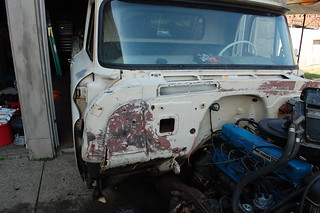
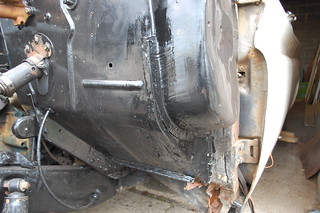
 Once I had the front of both inner fenders patched, it was time to strip the rest of the front off. First the radiator support came out, which was just as much of a