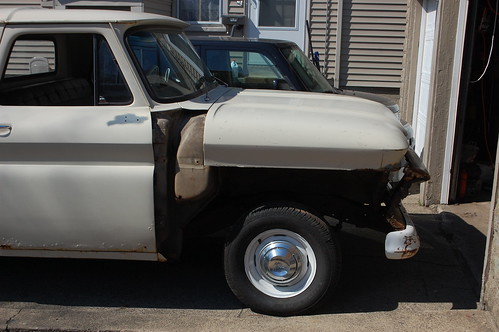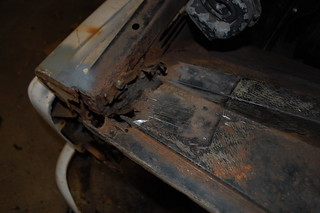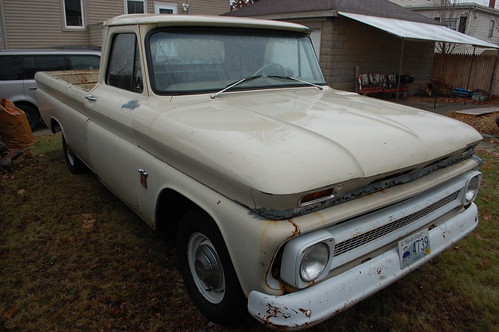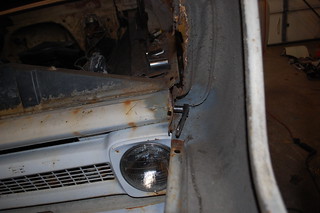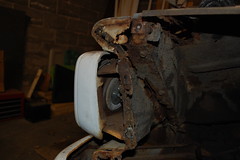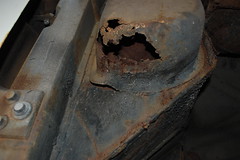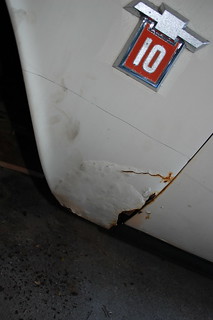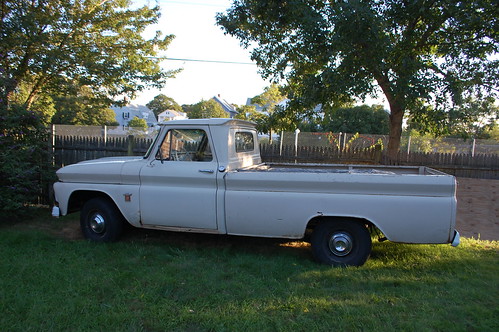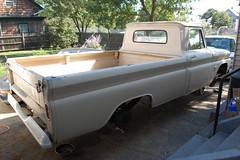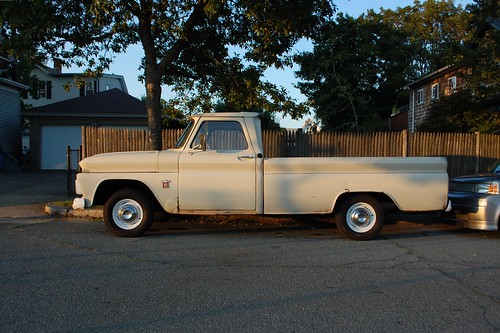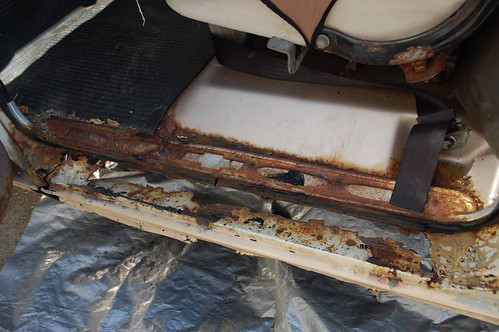
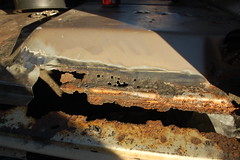
When I bought the ’64 Chevy I knew the worst rot on the truck was in the driver’s rocker area, the whole area was rotted badly enough you couldn’t step there without the whole thing crunching and feeling like it would collapse at any second.
Part of my plan with this truck is to fabricate metal repairs wherever possible, so I could practice metal fabrication, and save money. With the rocker I decided to buy a replacement outer rocker, but fabricate the inner stuff myself.
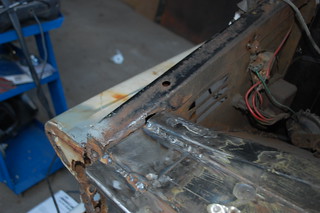
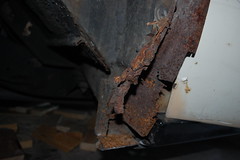
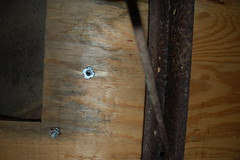
I started by pulling off the sill plate(which was a ruin in and of itself), and made a pass with my Harbor Freight sandblaster to find all the rust holes.
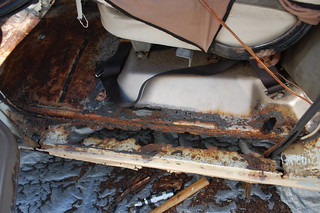
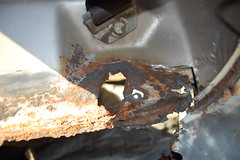
I was left with very little good metal. It quickly became clear that the decorative sill plate had become structural, and was stronger than the remaining rocker.
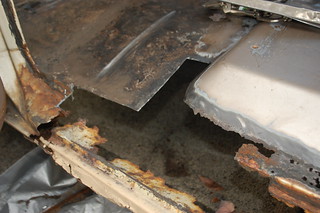
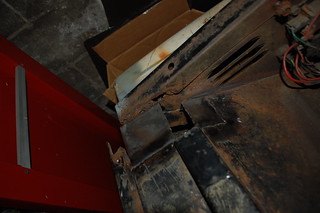
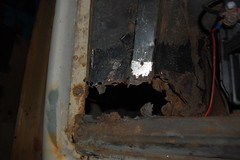
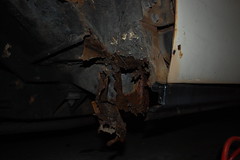
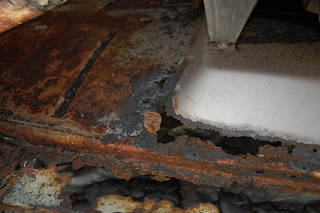
So first I cut back to solid metal, getting rid of all the marginal stuff so I knew I had a solid base to start from.
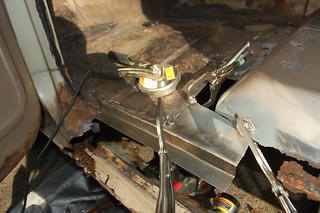
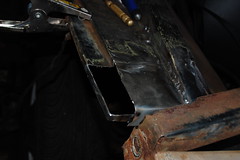
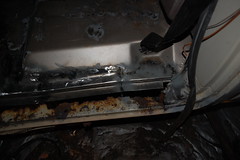
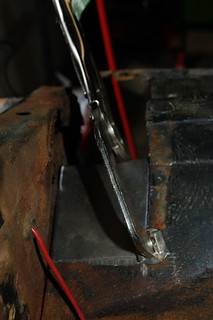
Then came the first of four patches. I formed the right angle bends with the help of a brake, but the rest was hammer formed using whatever around the garage had the shape I needed.
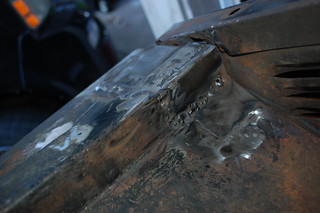
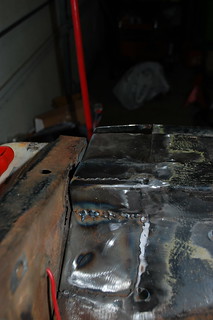
Then it(and the second filler patch) was welded in and ground smooth.
.
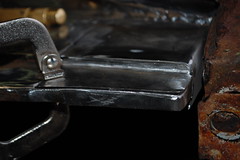
Then the second patch, before and after.
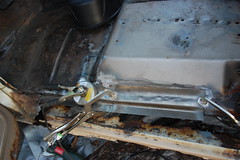
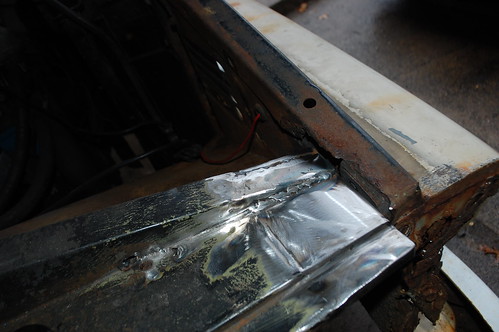
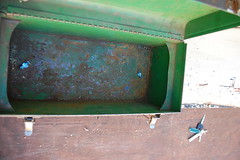
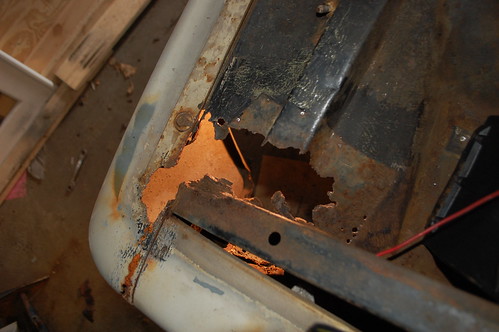
And the third. This patch only got tack welded in before I ran out of light.
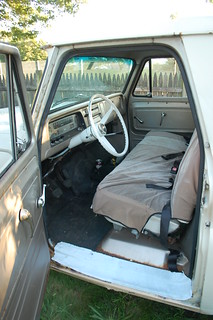
Then between Hurricane Sandy & selling the wagon I haven’t gotten back to it. But the floor is already noticeably more solid with just this much completed.

 First patch went in.
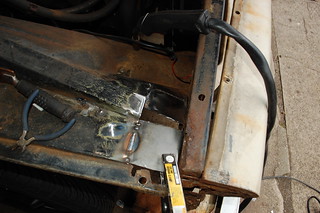
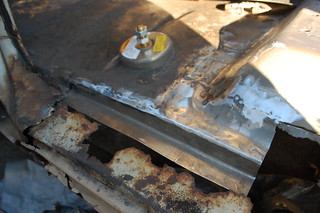
 Third & fourth patches went in.