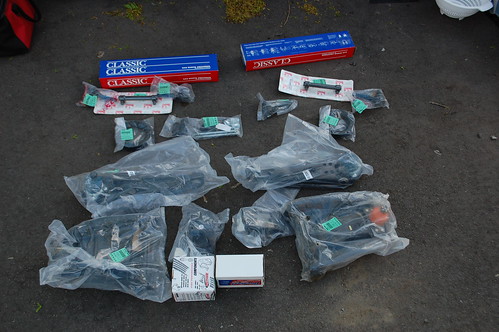
Those are all the replacement parts for the front suspension. Everything is being replaced except the spindle, strut rod & spring(all of which don’t have any wear parts). So once I’m done, The wagon will essentially have a brand new front end.
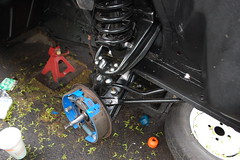 I forgot to take pictures of the installation, probably because I was too busy trying to convince the spring to seat properly. Despite cutting one coil off the springs(to lower the car) they were still a tight fit to get in place with new stiff bushing on all the parts. It turned out the tie rods they sent me as part of the kit were wrong, I had four inner tie rods and no outer tie rods. When I call them they said they’d just found out there supplier had screwed up a whole batch, and they had no correct inner tie rods. I ended up having to order them from another company, which delayed the whole project by an extra week.
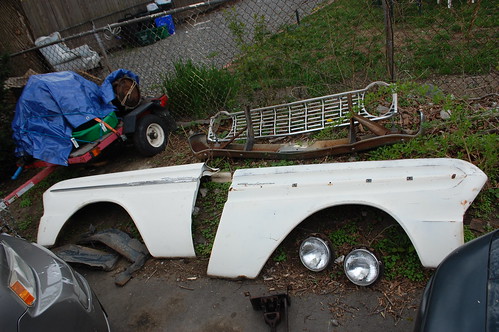
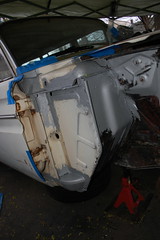
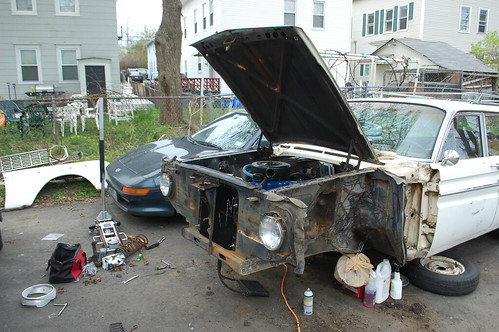
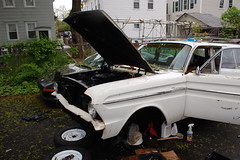 Once I’d gotten as far as I could with the suspension, I started putting the sheet metal on. It took surprisingly little time, even with all the fiddling to get things to line up as straight as possible. With as many pieces as there was to put together, I made a few mistakes. I initially had the grille brackets upside down, but fortunately that was an easy fix.
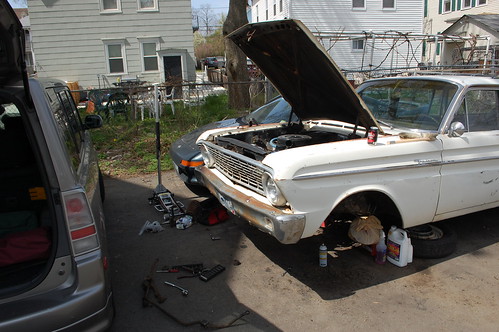
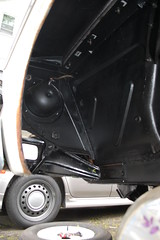
 One of the things with doing all of this work was that the area visible through the grille was going to look better, more consistently dark instead of a mishmash of black, rust and the pieces that were white from the factory. It is a little thing, but I always prefer cars where the area behind the grille is all dark, it just looks cleaner and more finished.
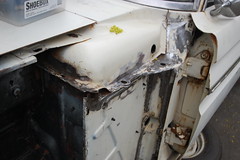
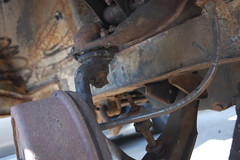
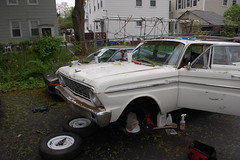 The only part of this project I wish I’d been able to do more with was the bumper. I don’t even want perfectly new looking chromed ones, but the level of rust on the current one bugs me. I did grind the rust off the brackets, and shoot them with some paint. However I didn’t bother to take them apart, as I didn’t want to risk stripping out the holes in the bumper.
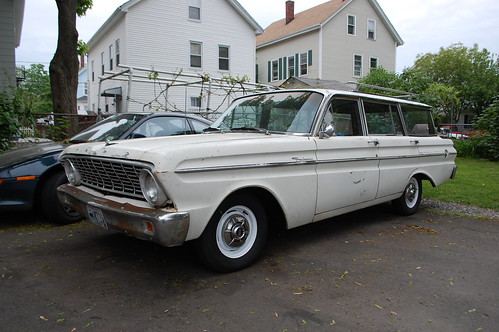
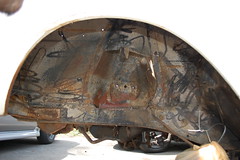
Altogether I’m really happy with how all this turns out. Under the fenders it looks like a brand new car. Being able to look at something that looked like this, and make it look like this it immensely satisfying.
As soon as the new Tie rods arrived. I was finally able to put the last bits together and get the wagon back on the ground. Even I am amused at how little the three weeks of work show once the car is all together again. But now the steering wheel will actually have a more direct influence on where the car goes.